
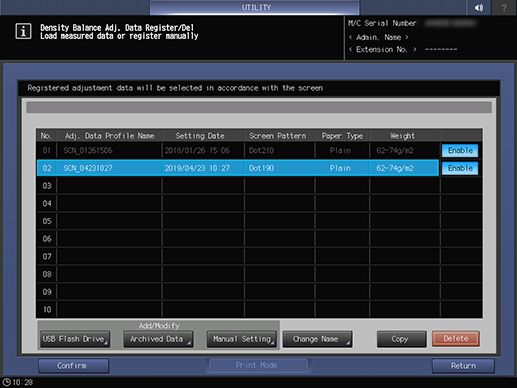
[Density Balance Data Reg/Del]
Overview
Register new colorimetric data, and correct, copy, or delete the registered data.
- Up to 10 density balance adjustment values can be registered.
- For details about how to enter characters, refer to Entering Text.
Setting Items
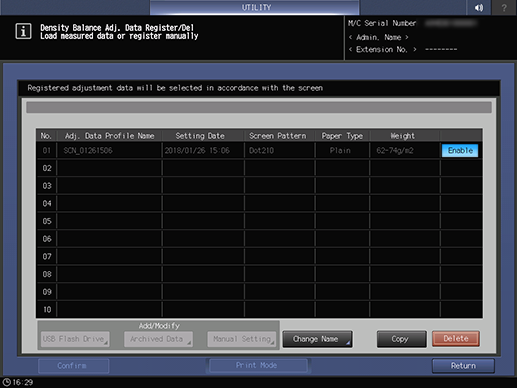
Setting item | Description |
|---|---|
Density balance adjustment value list | Displays registered density balance adjustment values. |
[USB Flash Drive] | Registers the colorimetric data to the system using a USB flash drive. |
[Archived Data] | Registers the colorimetric data to this system via Web Utilities. |
[Manual Setting] | Enter the density balance adjustment values manually and register them as new. Existing data can also be corrected. |
[Change Name] | Changes [Adj. Data Profile Name]. The profile name can be entered using up to 22 single-byte characters. |
[Copy] | Copies the selected density balance adjustment value. It is not possible to duplicate if 10 density balance adjustment values are registered. Deletes any unnecessary values and then make further copies. |
[Enable] / [Disable] | Select the density balance adjustment value to apply when outputting on the screen used for adjustment. Setting to [Enable] applies the density balance adjustment value. Every time you press, [Enable] and [Disable] will be switched. Notes
|
[Confirm] | Confirm adjustment values. |
[Print Mode] | Outputs a chart for measurement. |
Setting Procedure (Registering Colorimetric Data of the USB Flash Drive in This System)
Register colorimetric data saved on the USB flash drive to the system.
Error messages such as those listed below may be displayed. Follow the instructions contained in the error message.
- [Data Error The required information cannot be obtained from the file Confirm the measuring procedure, and then measure again]
- [Number-of-Data Error The number of data in the selected file is not correct Confirm the area in the chart and the procedure, and then measure again]
- [Data Saving Error The data saving method for the selected file is not correct Create the file again by using [Save as..] Note:Do not use the method of "Lab color space"]
- [File Name Error The file name of the selected file is not correct Change the file name Ensure that the strings after "_" are the same]
- [File Data Error The selected file has incorrect data Confirm the adjustment procedure, and then retry from the beginning Note: The chart must be output again]
- Save colorimetric data registered to the system on to a USB flash drive.
- Set "/model name (e.g. CXXXX)/ADJUST_DATA" as a path and save the colorimetric data to the lowest level folder in a USB flash drive. If non-standard path is set, colorimetric data cannot be recognized by the system. Therefore, be sure to save the data under the correct path.
- Create a file name for the colorimetric data to be stored on a USB flash drive using the following text string configuration flash drive.
(14 characters identification information printed on the chart)_(optional text up to 22 characters).txt
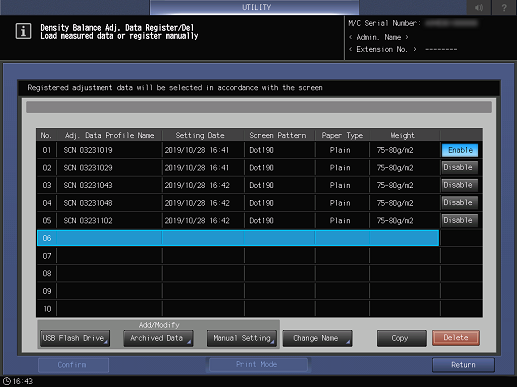
When overwriting or combining colorimetric data, select a registered number.

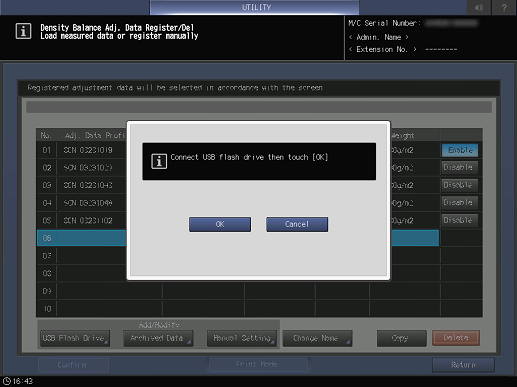
This port supports low-power devices only. Please provide an external power supply for devices that require a large amount of power.
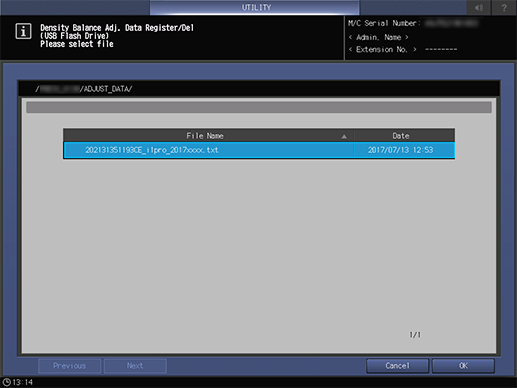
The registration screen is displayed, and the colorimetric data file names are listed.


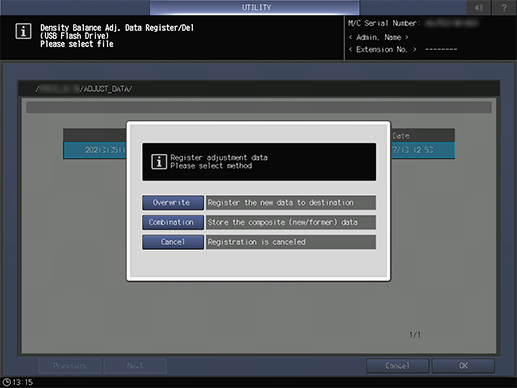
When replacing data, press [Overwrite].
When combining data, press [Combination]. When the conditions of the screen type, paper type and weight are not uniform, [Combination] is inactive.
When not overwriting or combining, press [Cancel].

[Adj. Data Profile Name] can be changed. For details, refer to [Density Balance Data Reg/Del].
Setting Procedure (Registering Colorimetric Data in This System via Web)
Register colorimetric data to this system via Web Utilities.
- Do not OFF/ON power supply during operations.
- It is necessary to access Web Utilities from the computer connected to the system and network during operations.
- Create a file name for the colorimetric data to be registered to the system using the following text string configuration.
(14 characters identification information printed on the chart)_(optional text up to 22 characters).txt
URL: http://<IP address of the machine>:30091/
URL (SSL): https://<IP address of the machine>:30092/
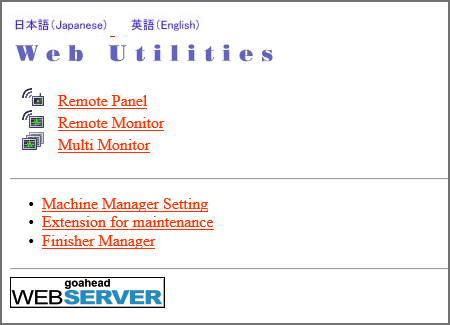

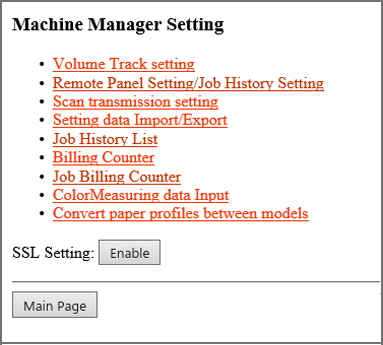

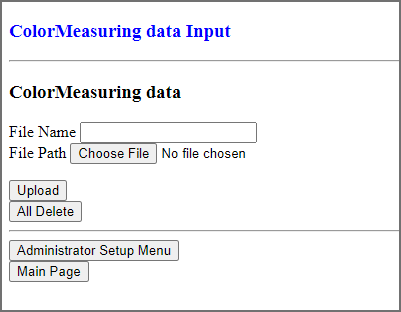

If there are multiple colorimetric data items, repeat steps 4 and 5.
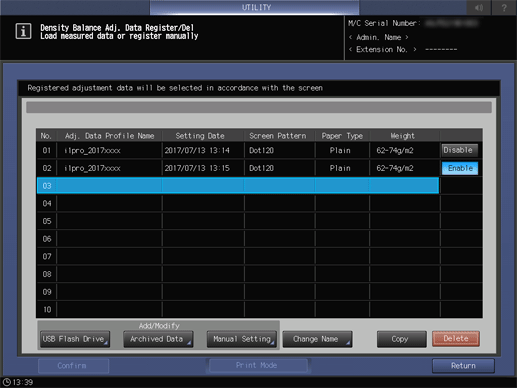
When overwriting or combining colorimetric data, select a registered number.

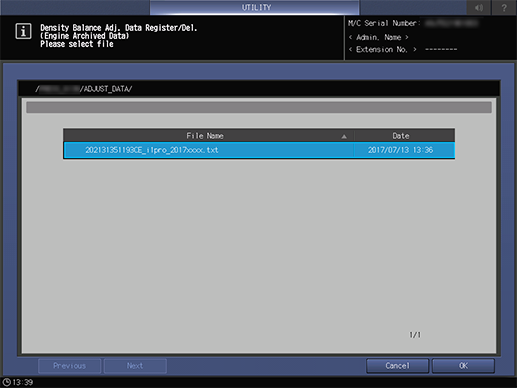

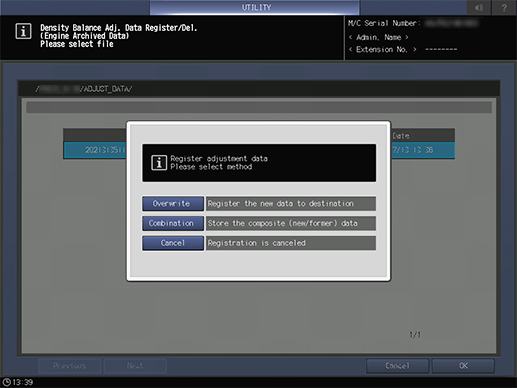
When replacing data, press [Overwrite].
When combining data, press [Combination]. When the conditions of the screen type, paper type and weight are not uniform, [Combination] is inactive.
When not overwriting or combining, press [Cancel].

[Adj. Data Profile Name] can be changed. For details, refer to [Density Balance Data Reg/Del].
Setting Procedure (Manually Registering the Density Balance Adjustment Value)
Manually enter the density balance adjustment values, and register them.
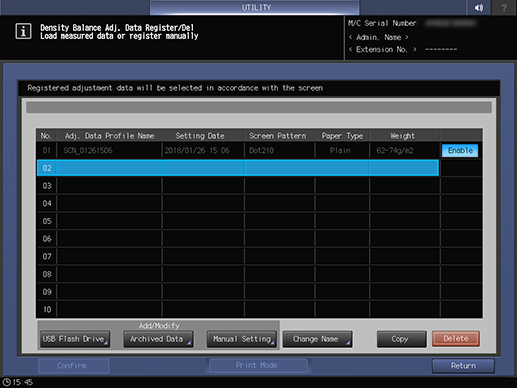
If you select a number that is already registered, the registered density balance adjustment value is displayed.
Up to 10 density balance adjustment values can be registered. Select an already registered number when overwriting.

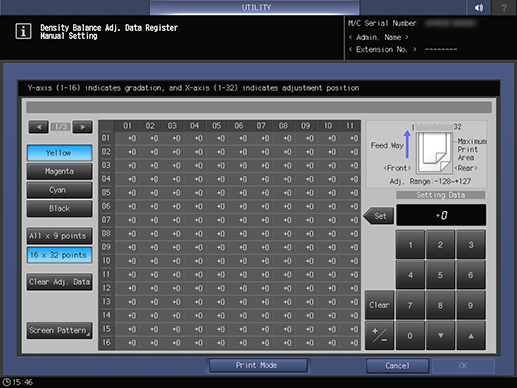

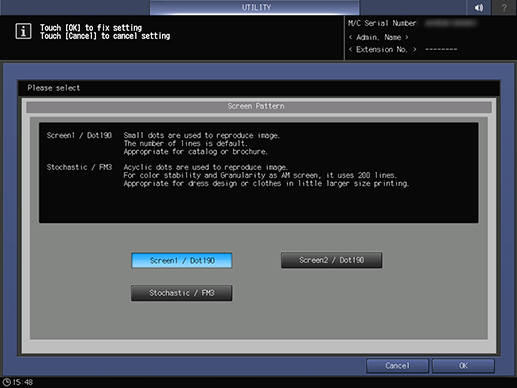
The screen type can be changed. For details, refer to [Custom Screen].


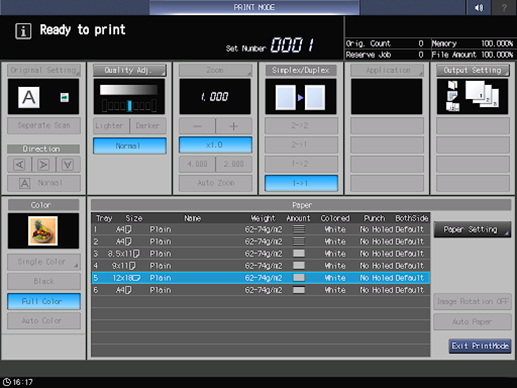
Select a paper feed tray loaded with paper of any of the following sizes: 12 e 18 w, SRA3 w, 13 e 19 w, 11 e 17 w or A3 w.

The chart containing the adjusted density balance is output.
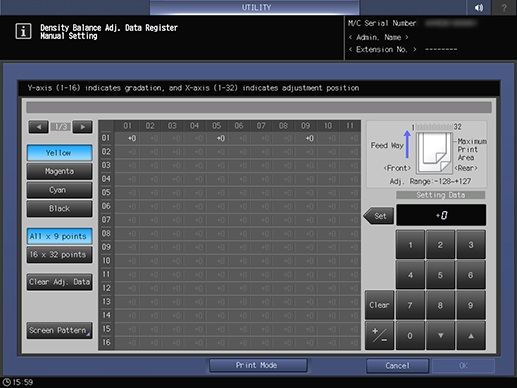
[All e 9 points] mode: Enter the 9 density values manually from the paper feed crossing direction divided into 32 points. (Horizontal axis [01], [05], [09], [13], [17], [21], [25], [29], [32]). System will automatically set the density value around it.
[16 e 32 points] mode: Manually enter density adjustment values of 32 points in the paper feed crossing direction and 16 points in the paper feed direction for a total of 512 points.

Select positive or negative of numerical value using [+ / -] and press [Set] to enter the value.
[Adj. Range:-128~+127]
Press [*] or [)] to display the button at any position along the horizontal axis, and then select it.
When [16 e 32 points] mode is selected, if you press on the top column on the horizontal axis, the same numeric values can be entered with one entry by selecting the respective column beneath it.
Press [Clear] for setting to zero.
- Press [Clear Adj. Data] to set adjustment values of selected points as well as adjustment values of all points to zero. Exercise care when using.
The display returns to the [Density Balance Data Reg/Del] screen, and "NEW PROFILE" is displayed in [Adj. Data Profile Name].

If the chart is not output, the density balance adjustment values will not be changed or registered, even if you press [OK] on the [Density Balance Adj. Data Register] screen.

For details, refer to [Density Balance Data Reg/Del].
Setting Procedure (Editing the Density Balance Adjustment Value)


If the density balance adjustment value to be changed is colorimetric data by the colorimeter, the screen cannot be changed. [Screen Pattern] is inactive and cannot be selected.


The screen type can be changed. For details, refer to [Custom Screen].

The display returns to the [Density Balance Data Reg/Del] screen.
If the chart is not output, the density balance adjustment values will not be changed or registered, even if you press [OK] on the [Density Balance Adj. Data Register] screen.
[Adj. Data Profile Name] can be changed. For details, refer to [Density Balance Data Reg/Del].


 in the upper-right of a page, it turns into
  and is registered as a bookmark.