[FD-Mag. Adjustment]
Overview
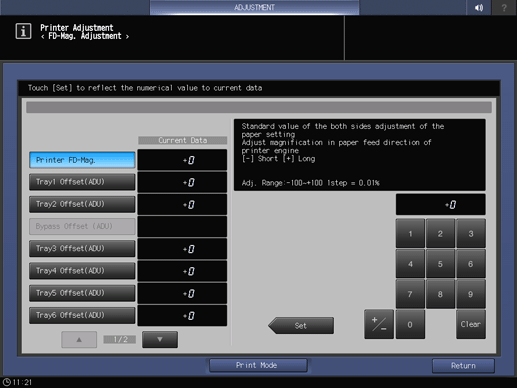
Adjust the printing magnification in the paper feed direction when printing.
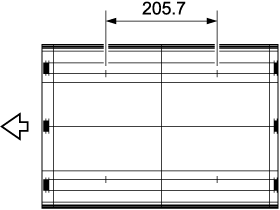
You can adjust so that the test pattern of a chart is output with the correct magnification.
- For details about the
 mark that is printed on the front side of the chart, refer to About Charts.
Setting Procedure (When Adjusting the Front Side)


A chart is output.

Standard value: ^ 0.5% or less (when full size), within 205.7 mm ^ 1 mm

Use [+ / -] to select the plus or minus of the numeric value. To change [Current Data], press [Set].
[Adj. Range:-100~+100 1step = 0.01%]
Setting Procedure (When Adjusting the Back Side)

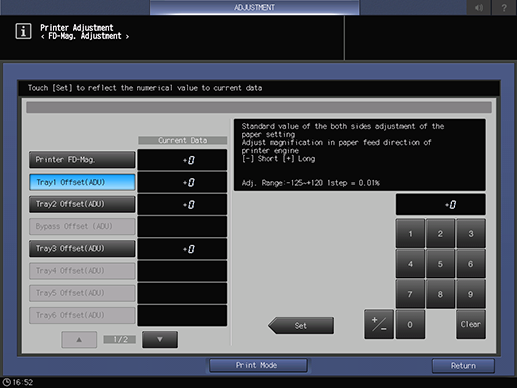
Example: For Tray 1, press [Tray1 Offset(ADU)].

A chart is output.

The side that does not have the
 mark is the back side.
Standard value: ^ 0.5% or less (when full size), within 205.7 mm ^ 1 mm

Use [+ / -] to select the plus or minus of the numeric value. To change [Current Data], press [Set].
[Adj. Range:-125~+120 1step = 0.01%]

 in the upper-right of a page, it turns into
  and is registered as a bookmark.