[Restart Timing Adjustment]
Overview
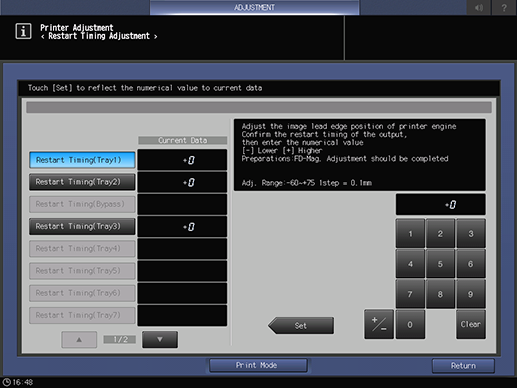
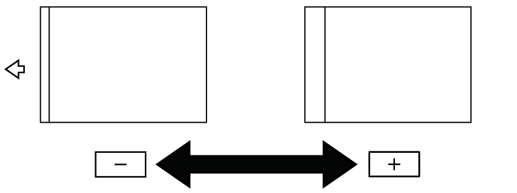
Adjust the image lead-edge position (image writing position) in the paper feed direction when printing.
An image can be printed at the correct position by adjusting the reference position of the print side.
The following setting is required to use this function.
- Perform [FD-Mag. Adjustment] in [Printer Adjustment].
- For details about [FD-Mag. Adjustment] in [Printer Adjustment], refer to [FD-Mag. Adjustment].
- For details about the
 mark that is printed on the front side of the chart, refer to About Charts.
Setting Procedure (When Adjusting the Front Side)


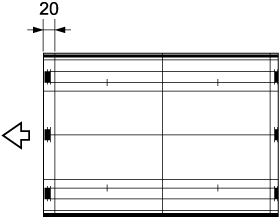
A chart is output.

Standard value: 20 mm ^ 0.5 mm


Use [+ / -] to select the plus or minus of the numeric value. To change [Current Data], press [Set].
[Adj. Range:-60~+75 1step = 0.1mm]

Setting Procedure (When Adjusting the Back Side)


A chart is output.

The side that does not have the
 mark is the back side.
Standard value: 20 mm ^ 0.5 mm


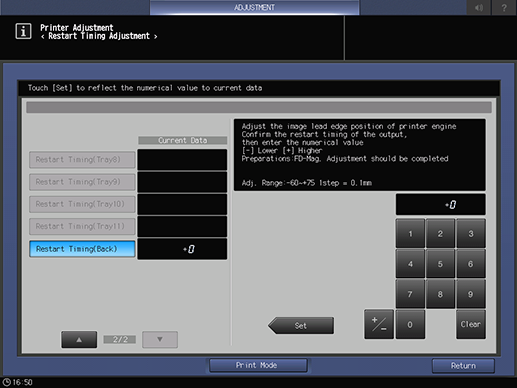
Use [+ / -] to select the plus or minus of the numeric value. To change [Current Data], press [Set].
[Adj. Range:-60~+75 1step = 0.1mm]


 in the upper-right of a page, it turns into
  and is registered as a bookmark.