
Erase Operation Setting: Setting the Original Density for Erasing the Outside of the Original
Set the original density to be used when the Non-Image Area Erase function is selected. The original density can be set automatically. The default setting is [Auto].

In the auto mode, erasing may not work well depending on the original. In such a case, manually select the original density.
Follow the procedure on Administrator Setting to display the [Administrator Setting Menu] screen.
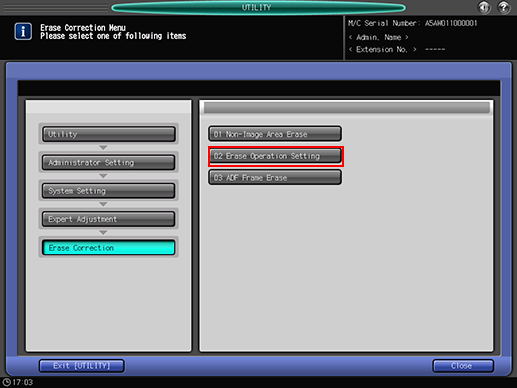
Press [System Setting] on the [Administrator Setting Menu] screen, and then press [Expert Adjustment], [Erase Correction], and [Erase Operation Setting] in sequence.
The [Non-Image Area Erase Operation Setting] screen is displayed.
Select the desired original density key. Press [Auto] to set them to function automatically.
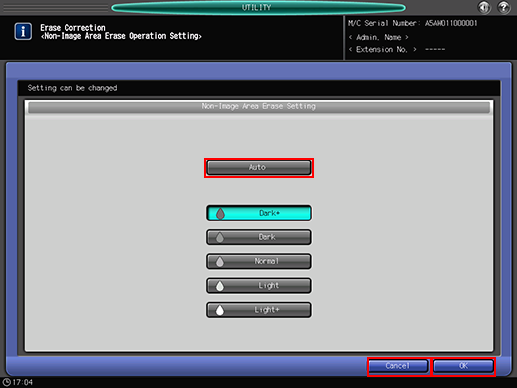
Press [OK] to complete the setting.
To cancel the change, press [Cancel].
In either case, the screen returns to the [Erase Correction Menu] screen.