
Printer Gamma Sens. Adj.(RU): Correcting the IDC Sensor Using the Color Density Sensor
Correct the internal IDC sensor using the color density sensor attached to Relay Unit RU-511 in order to make the gamma correction properly.
The printer gamma correction curve formed by the color density sensor cannot be adjusted.
Follow the procedure on Administrator Setting to display the [Administrator Setting Menu] screen.
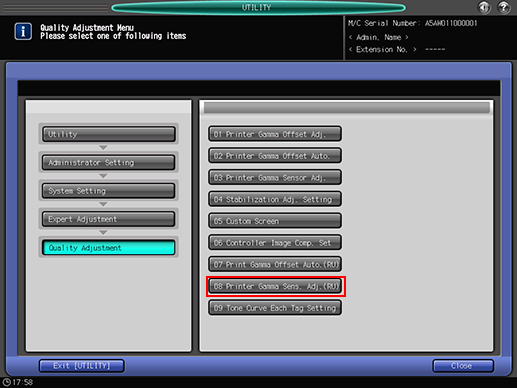
Press [System Setting] on the [Administrator Setting Menu] screen, and then press [Expert Adjustment], [Quality Adjustment], and [Printer Gamma Sens. Adj.(RU)] in sequence
The [Printer Gamma Sensor Adjustment(RU)] screen is displayed.
Press the desired screen key to select the screen to be adjusted.
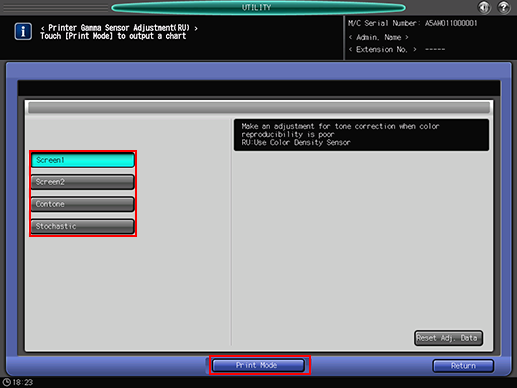
Press [Print Mode].
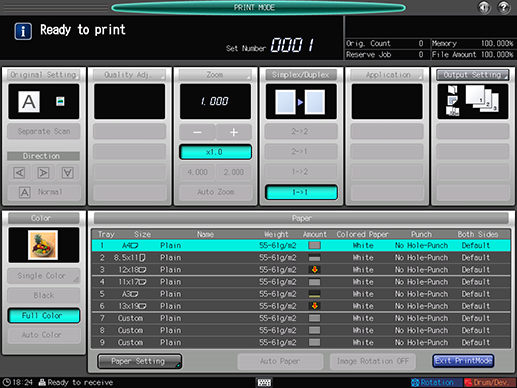
The [PRINT MODE] screen is displayed.
Select a tray to be used for the adjustment, then press Start on the control panel.
A printed chart is scanned through the color density sensor of Relay Unit RU-511 for color measurement.
The screen returns to the [Printer Gamma Sensor Adjustment(RU)] screen.
The measured chart will be delivered to an output tray.
When [Input Sensor Value Error] is displayed, check the size of the output chart. Repeat steps 4 and 5 until the error message does not appear.
When [Acquisition Sensor Value Error] or [Regression Calculation Error] is displayed, repeat steps 4 and 5 until the error message does not appear.
If the error message displays repeatedly, contact your service representative.
To reset the adjustment value for the sensor of selected screen, press [Reset Adj. Data].
Press [Return] to return to the [Quality Adjustment Menu] screen.