
Correcting Image Unevenness / Improving Feedability
Overview
When outputting documents (data) containing a high percentage of text and images onto large sized paper, there may be occasions where the images are uneven.
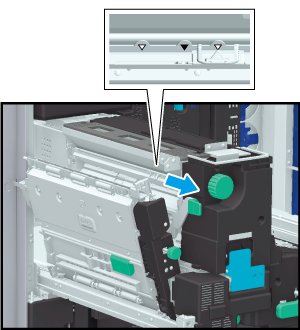
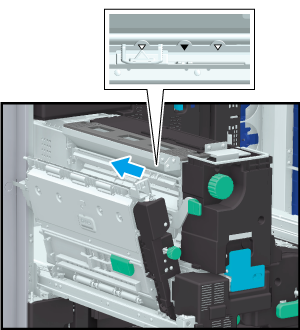
Image unevenness on paper sized A4 w/v, 8.5 e 11 w/v or larger can be corrected using the Compression Adjusting Lever of machine fusing unit.
If the feedability drops when you print on small-sized thick paper (the length in the conveyance direction is less than 200 mm / 7.87"), or if you print on thin coated paper (less than 100 g/m2 / 27 lb Bond), you can increase the crimping compression of the machine fusing unit and improve the feedability.
Follow the steps below to adjust the crimping compression.
The following output paper sizes can be used when correcting image unevenness: A4 w/v or 8.5 e 11 w/v or larger. Do not operate the Compression Adjusting Lever of the fusing device when printing the paper of sizes smaller than this size.
In Japan, to correct image unevenness on postcards, operate the Compression Adjusting Lever only when printing 4-sided postcards. Do not operate this lever when single-printing postcards.
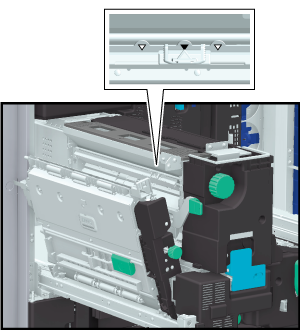
- Do not move the Compression Adjusting Lever for other purposes than this adjustment. In Normal Mode, make sure that the Compression Adjusting Lever is positioned in line with the middle triangle.
Procedure
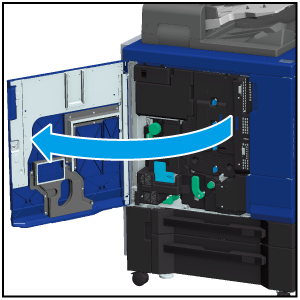

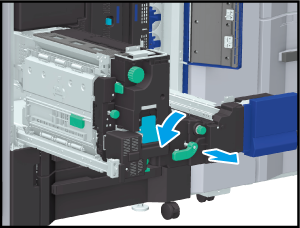

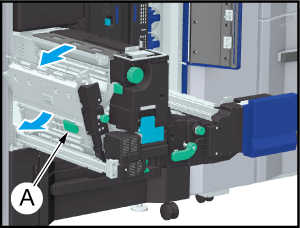




 in the upper-right of a page, it turns into
  and is registered as a bookmark.