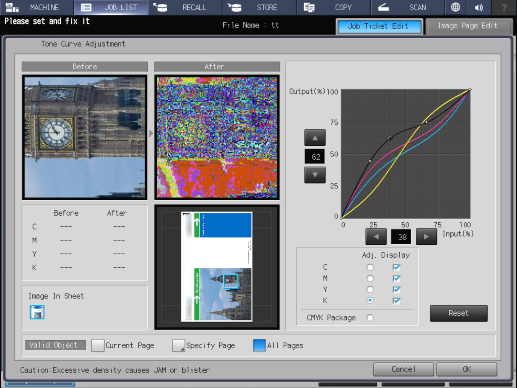
[Tone Curve Adj.]
Overview
Adjust the tone curve.
This function adjusts the entire brightness and contrast by adjusting the tone curve individually or collectively for cyan, magenta, yellow, and black.
You can also select pages to reflect the setting on.
- This adjustment can also be done by connecting the mouse to this system and dragging the mouse. For details, refer to Mouse Operation.
Setting Items

Setting item | Description | |
|---|---|---|
Preview screen | [Before] | Displays an image on the preview screen before tone curve adjustment. |
[After] | Displays an image on the preview screen after tone curve adjustment. | |
CMYK value: [Before]/[After] | Displays the unadjusted CMYK value of the selected part on the preview image. | |
[Image In Sheet] | For the combined image page data such as 2 in 1, each combined image is displayed. The selected image is displayed on the preview screen. | |
Thumbnail screen | Displays the overall view of an image page. | |
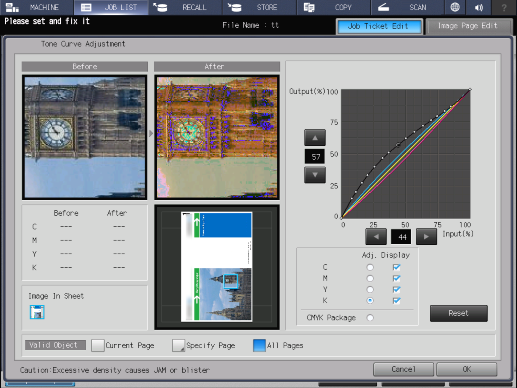
Tone Curve Adjustment Screen | Displays a tone curve. Adjustment is made by moving the position of the tone curve adjustment point (-).
| |
[Adj.] | Select the color (cyan, magenta, yellow, or black) to adjust a tone curve. | |
[Display] | Displays the tone curve of the color (cyan, magenta, yellow, or black) selected by the check box on the Tone Curve Adjustment screen. Clearing the check box hides tone curves. | |
[CMYK Package] | Collectively adjusts CYMK tone curves. The adjusted tone curve for each color is reset. | |
[Reset] | Resets all the adjustment values. | |
[Valid Object] | Select the page to reflect the setting on. For details, refer to Setting Procedure (Setting [Valid Object]). | |
Setting Procedure

Pressing the [Adj.] radio button selects the [Display] check box and displays a tone curve.
The tone curve of more than one color can be displayed simultaneously.
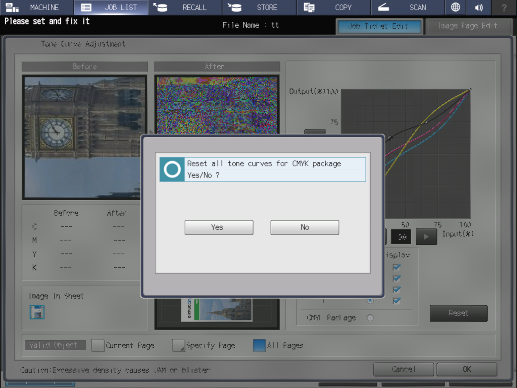
To collectively adjust tone curves, press [CMYK Package]. Press [Yes] on the confirmation dialog box.


The adjustment point (-) is created by pressing the desired point on the tone curve.
Press [+]/[,] or [*]/[)] of [Input(%)] or [Output(%)] on the Tone Curve Adjustment screen, and set the adjustment point position.
Up to 17 adjustment points can be created on a 1-color tone curve (including 2 points of input: 0% and 100%).
The selected adjustment point is targeted for the adjustment and displayed as a black circle (-). Other adjustment points are displayed as a white circle (.).
To undo the adjusted tone curve, press [Reset].


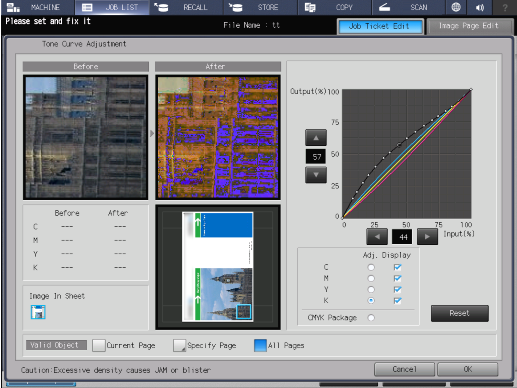
If a specific part is selected on a thumbnail, it is displayed by a blue frame and enlarged in [Before] and [After] on the preview screen.
When the mouse is connected to the system, if you click on the preview image in [Before] or [After], the parts corresponding to the CMYK values at that position are displayed as a black circle on the tone curve. This is useful when you want to change the tone curve of a specific part on a preview image.

For details, refer to Setting Procedure (Setting [Valid Object]).

 in the upper-right of a page, it turns into
  and is registered as a bookmark.