
Highlight Automatic Adjustment
Change the printer gamma curve automatically to adjust the gradation and background density in highlights.
Use this function when the color reproducibility in the highlight part varies depending on the selection of screen for Screen 1, Screen 2, and Stochastic, respectively.
Tips
Make this adjustment after completing the Gamma Automatic Adjustment.
Use plain paper or white paper for color printing in this adjustment. Using colored paper cannot make this adjustment properly, affecting the color of output test pattern.
Normally, this adjustment is made as the printer gamma adjustment. Perform Highlight Adjustment if fine adjustment is needed.
Follow the procedure on Displaying the [Administrator Setting Menu] Screen to display the Administrator Setting Menu screen.
Press System Setting on the Administrator Setting Menu screen, and then press Expert Adjustment, Quality Adjustment, and Highlight Automatic Adjustment in sequence.
The Highlight Automatic Adj. screen is displayed.

Use Next and Previous to select the screen to be adjusted.
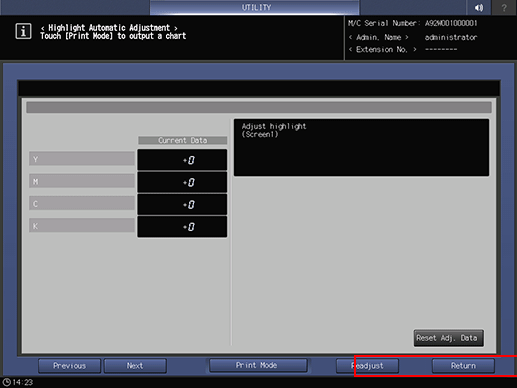
Press Readjust.
supplementary explanationIf the gradation appears widely misaligned in highlights of the image, press Reset Adj. Data to set the highlight value to "0", then press Readjust.
A dialog is displayed for confirmation of readjustment.
Press Yes.
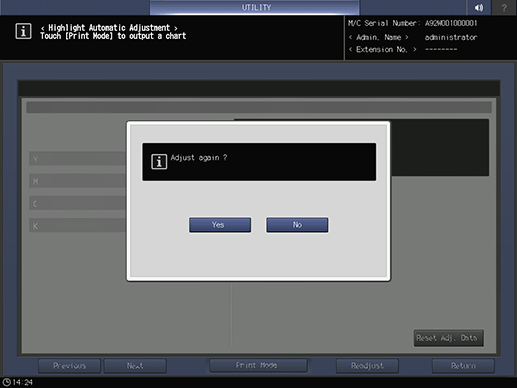
Or, press No to cancel the readjustment.
Press Print Mode.
The PRINT MODE screen is displayed.
Select A4 long edge feed paper, then press Start on the control panel.
A test pattern is printed, and the screen automatically returns to the Highlight Automatic Adjustment screen.
Tips
When a test pattern is output, Relay Unit RU-511 automatically measures the test pattern and adjusts the gradation and background density of the highlighted areas based on the result.