
Making Booklets Bound with Bind Parts through Punch Holes: Ring Bind
Tips
When binding a simplex-printed set without using the Insert Sheet function, select the print side (Inside Print or Outside Print) for each of the top and last sheets of the booklet.
Using tabbed paper, the top sheet will be fixed to Outside Print and the last sheet to Inside Print.
Select the bind direction (Left Bind or Right Bind) for the booklet. This selection is effective only for the portrait original, while the setting is fixed to the top binding for the landscape original.
Available paper weight ranges from 75 g/m2 to 216 g/m2 / 21 lb Bond to 57 lb Bond.
The maximum number of sheets that can be bound is 102 (75 g/m2 / 21 lb Bond), and the minimum number is 7 (75 g/m2 to 120 g/m2 / 21 lb Bond to 31 lb Bond).
Available paper sizes are A4 long edge feed, 8.5 11 long edge feed and its tabbed paper size, A4 long edge feed, 8.5 11 long edge feed. The tab extension width of tabbed paper should be 13 mm / 0.51" or less. Any other sizes are unavailable. Tabbed paper cannot be duplex-printed.
Make a sample copy to check the pagination of a bound booklet. The sample copy is output, without being bound, to the secondary tray of a downstream device next to the ring binder.
Position the original.
supplementary explanationPrepare the original in the order of the front cover, body, and then the back cover.
Load paper into the tray.
supplementary explanationLoad paper for body sheets in Paper Feed Unit PF-707m (trays 1 to 9) or Paper Feed Unit PF-711 (trays 1 to 3). When not using the Insert Sheet function, the tray for covers is not required.
supplementary explanationWhen using the Insert Sheet function, load paper for covers or insert sheets in Paper Feed Unit PF-707m (trays 1 to 9) or Paper Feed Unit PF-711 (trays 1 to 3).
Change the paper setting of the tray to be used, as required.
supplementary explanationFor details on changing the Tray Setting, refer to Setting Paper in a Paper Tray.
supplementary explanationIf temporary change of the paper setting is desired, change the setting from the Paper Setting screen. For details, refer to Setting Paper in a Paper Tray.
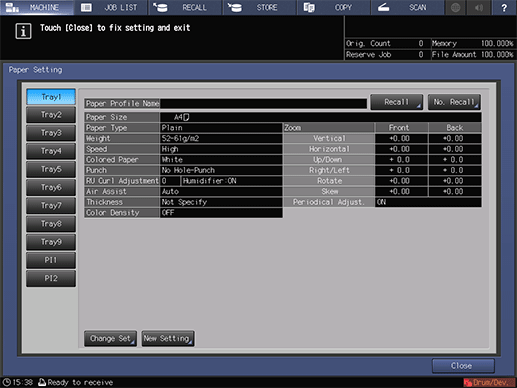
supplementary explanationIf the paper weight specified for the tray is inadequate, the binding operation cannot be performed. For the paper weight adequate to body sheets, covers, and insert sheets, refer to Equipment.
Press the COPY tab to display the COPY screen.
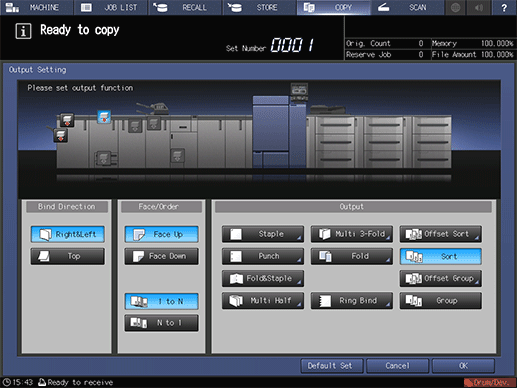
Press Output Setting.

The Output Setting screen will be displayed.
Press Ring Bind.
The Ring Bind screen will be displayed.
Specify the print side for the top sheet and the last sheet.
supplementary explanationWhen binding a simplex-printed set, select Outside Print or Inside Print for each of the top sheet and the last sheet.
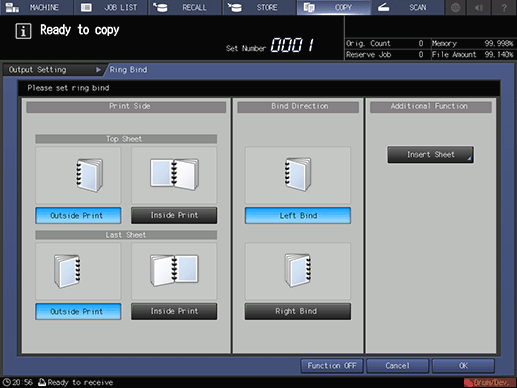
Select the bind direction of the booklet.
supplementary explanationSelect either Left Bind or Right Bind.
Press OK.
supplementary explanationTo restore the previous setting, press Cancel.
supplementary explanationTo disable the function while keeping the current setting, press Function OFF.
The Output Setting screen will be restored.
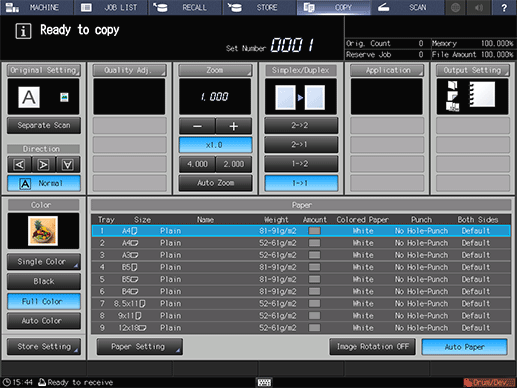
Press OK on the Output Setting screen to return to the COPY screen.
An icon representing specified output mode will be displayed under Output Setting on the COPY screen.
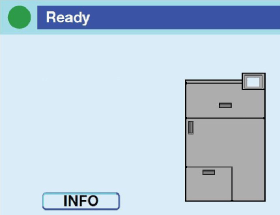
Check that the Ready screen is displayed on the control panel of the ring binder. If ALERT or ERROR screen is displayed, please refer to OPERATION MANUAL supplied with Auto Ring Binder GP-502.
Select additional copy conditions, as desired.
supplementary explanationWhen making double-sided copies, select 1->2 or 2->2.
supplementary explanationUse Separate Scan if the original page count exceeds 100.
Enter the desired print quantity from the keypad on the control panel.
supplementary explanationThe booklet tray of the ring binder has a limit in capacity. For details, refer to Capacity.
supplementary explanationPressing the Proof Copy button on the control panel to output a proof copy is recommended before binding multiple sets.
supplementary explanationThe sample copy is output, without being bound, to the secondary tray of a downstream device next to the ring binder.
Press Start on the control panel.
Never open the top cover or front door of the ring binder while the machine operation is in process. Also, never withdraw the booklet tray. Otherwise the machine immediately stops the operation and paper jam may be caused.