
Adjusting Red/Green/Blue
Adjust the strength of red (R), green (G), and blue (B) individually.
Original | Output |
|---|---|
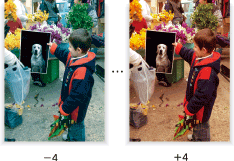
| Red
|
Original | Output |
|---|---|
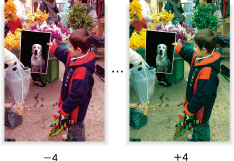
| Green
|
Original | Output |
|---|---|
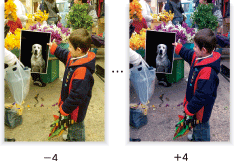
| Blue
|
preconditionIn Full Color mode, this adjustment properly reflects on the strength of red (R), green (G), and blue (B) reproduced on a printed image.
preconditionUsing Black or Single Color mode, this adjustment operates to the reproducibility of each color of colored original, giving effect to the strength of black or single color on a printed image.
preconditionTo reproduce the yellow part of the original which cannot be printed normally in Single Color mode, make the Red stronger in this adjustment.
preconditionTo change the hue of images copied in Single Color mode, use the Color Balance adjustment.
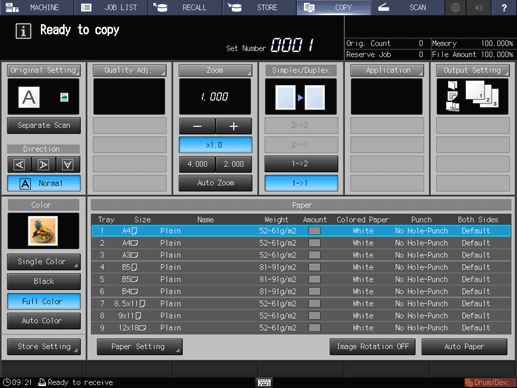
Press the COPY tab to display the COPY screen.
Press Quality Adj. on the COPY screen.
Position the original.
supplementary explanationPrepare an original for adjusting the color, and position it into the ADF or on the original glass.
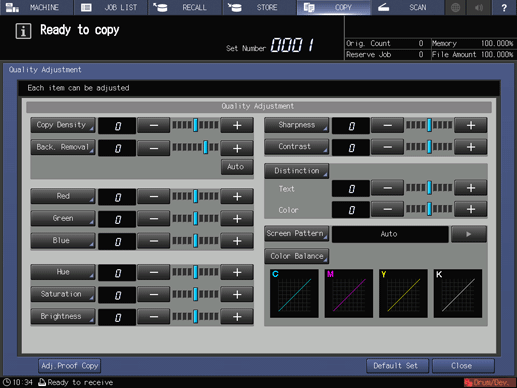
Make an adjustment for Red, Green, and Blue individually on the Quality Adjustment screen.
Use - and + on the right side of Red, Green, or Blue to specify the desired adjustment level for each.
Specify a negative level to make each color weaker, or a positive level to make it stronger.
supplementary explanationTo make the red color adjustment on the Red screen, proceed to step 5.
supplementary explanationTo make the green color adjustment on the Green screen, proceed to step 6.
supplementary explanationTo make the blue color adjustment on the Blue screen, proceed to step 7.
supplementary explanationTo output a sample copy to check the adjustment result, proceed to step 8.
supplementary explanationTo complete the adjustment, proceed to step 9.
supplementary explanationIf you press Default Set on the Quality Adjustment screen, all adjustment items are returned to the standard level.
Make an adjustment for red color on the Red screen.
Press Red to display the Red screen.
Select one from -1 to -4 to make the red color weaker than the original.
Select one from 1 to 4 to make the red color darker than the original.
supplementary explanationTo resume the standard level, select 0.
supplementary explanationTo resume the standard level and return to the Quality Adjustment screen, press Default Set.
supplementary explanationTo output a sample copy to check the adjustment result, proceed to step 8.
supplementary explanationTo complete the adjustment, press OK and proceed to step 9.

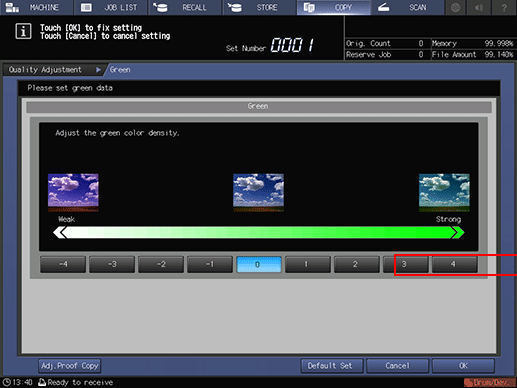
Make an adjustment for green color on the Green screen.
Press Green to display the Green screen.
Select one from -1 to -4 to make the green color weaker than the original.
Select one from 1 to 4 to make the green color darker than the original.
supplementary explanationTo resume the standard level, select 0.
supplementary explanationTo resume the standard level and return to the Quality Adjustment screen, press Default Set.
supplementary explanationTo output a sample copy to check the adjustment result, proceed to step 8.
supplementary explanationTo complete the adjustment, press OK and proceed to step 9.
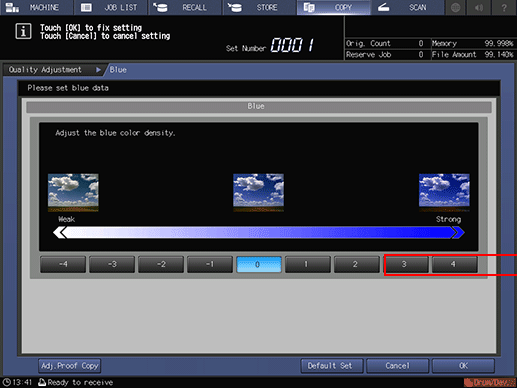
Make an adjustment for blue color on the Blue screen.
Press Blue to display the Blue screen.
Select one from -1 to -4 to make the blue color weaker than the original.
Select one from 1 to 4 to make the blue color darker than the original.
supplementary explanationTo resume the standard level, select 0.
supplementary explanationTo resume the standard level and return to the Quality Adjustment screen, press Default Set.
supplementary explanationTo output a sample copy to check the adjustment result, proceed to step 8.
supplementary explanationTo complete the adjustment, press OK and proceed to step 9.
Output a sample copy.
After making the desired adjustment, press Adj.Proof Copy on the Quality Adjustment screen, Adj.Proof Copy on the specific color screen, or Proof Copy on the control panel. Check the adjustment result with output image.
supplementary explanationRepeat steps from 3 to 8 until the desired result is obtained.
Press Close on the Quality Adjustment screen.
The screen returns to the COPY screen. The indication of adjusted color can be found under Quality Adj. on the COPY screen.