
Registering Color Sensor Adjustment Data for Each Paper Type
Overview
Register the data measured by a spectrophotometer to the machine and create color sensor adjustment data for each paper type. Perform the following steps:
Set the paper type and screen for the color sensor adjustment data for each paper type, and then output the chart from the machine.
supplementary explanationFor details, refer to Printing the Chart.
Measure the colorimetric data for the chart using a spectrophotometer.
Register the colorimetric data to the machine, and then register the color sensor adjustment data for each paper type.
supplementary explanationThere are two ways to register the colorimetric data.
- Registering colorimetric data using a USB flash drive->Registering Colorimetric Data Using a USB Flash Drive
- Registering colorimetric data via Web->Registering Colorimetric Data via Web
Printing the Chart
Press Adjustment on the MACHINE screen to display the Adjustment Menu screen.
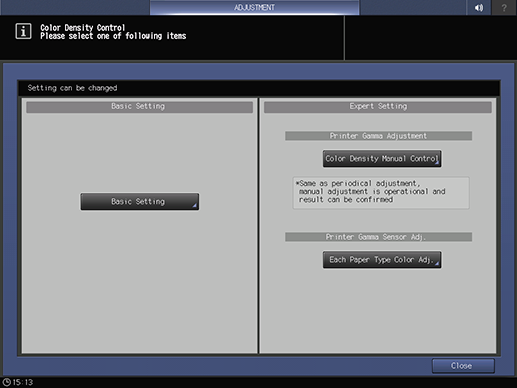
Press Quality Adjustment and Color Density Control in sequence.
The Color Density Control screen is displayed.
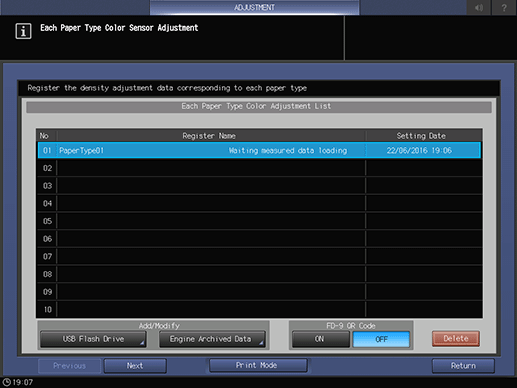
Press Each Paper Type Color Adj..
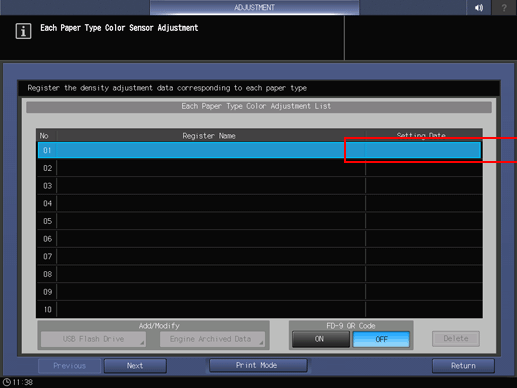
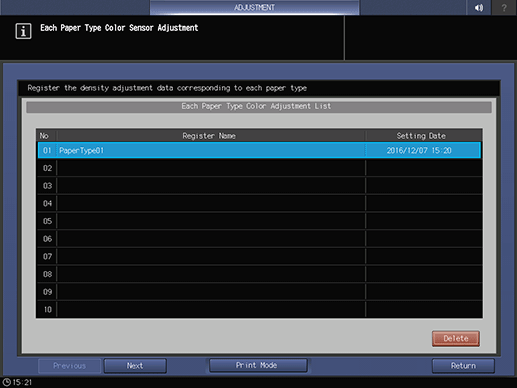
Select any row from Each Paper Type Color Adjustment List, and press Print Mode.
toWhen i1-iSisXL is used: Without QR code
toWhen FD-9 is used: With QR code
NOTICE
If the color sensor adjustment data for each paper type has already been registered, the register name and date are displayed. If a registered item is selected, the existing data is overwritten.
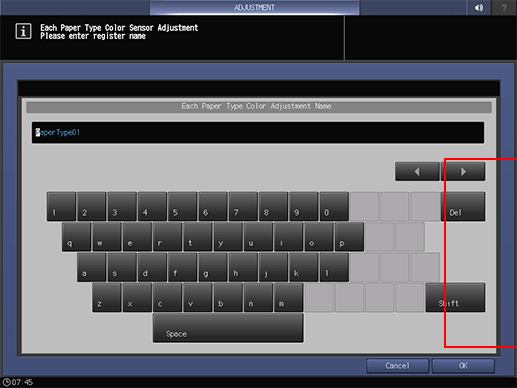
Enter a name for the Each Paper Type Color Adjustment, and then press OK.
Press Quality Adj..
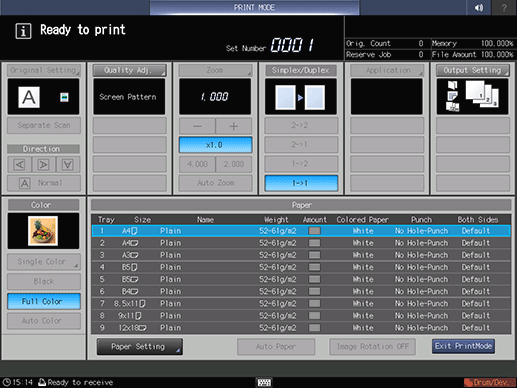
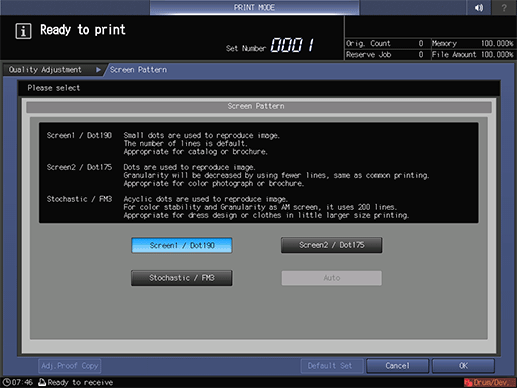
Press right on the right side of Screen Pattern to display the desired screen.

supplementary explanationAlso, you can select any desired screen after pressing Screen Pattern to display the Screen Pattern screen. Select a screen, and press OK.
supplementary explanationPress Close on the Quality Adjustment screen.
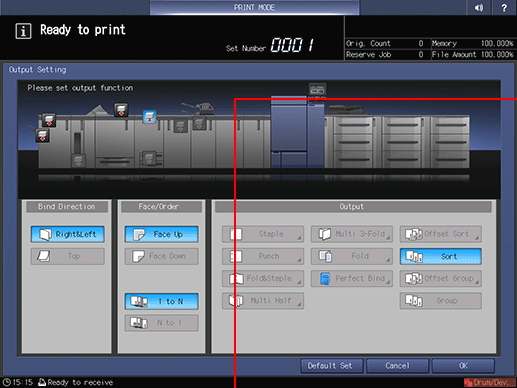
Select a tray to output the charts.
supplementary explanationPress Output Setting to display the Output Setting screen.
supplementary explanationSelect the desired output tray by pressing its key, and press OK.
Select the paper size.
supplementary explanationSelect the tray on the PRINT MODE screen.
Press Start on the control panel.
supplementary explanationThe machine prints the charts of the size selected in step 9.
Press Exit PrintMode.
supplementary explanationThe machine is in a busy state to load the colorimetric data with the name entered for the color sensor adjustment data for each paper type in step 5.
Registering Colorimetric Data Using a USB Flash Drive
Read two or more sheets of charts output in accordance with the procedure of Printing the Chart by using the spectrophotometer i1-iSisXL, i1-Pro or i1-Pro2, or FD-5 BT and then create colorimetric data.
Set the path /C6100/ADJUST_DATA to a USB flash drive, and save the colorimetric data in the lowest folder.
NOTICE
The measured data cannot be saved with any path other than that specified. Be sure to set the designated path to save the data. Also, be sure to save all the data created from multiple charts together.
Connect the USB flash drive, in which the colorimetric data is stored, to the USB port of the machine.
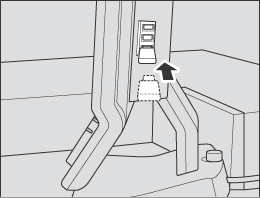
supplementary explanationThis port is available for low-power devices only. Please provide an external supply of power for devices that require a large amount of power.
NOTICE
USB flash drive formatted in FAT or FAT 32 file system can be detected on the machine. USB flash drive with the U3 platform or security feature cannot be used.
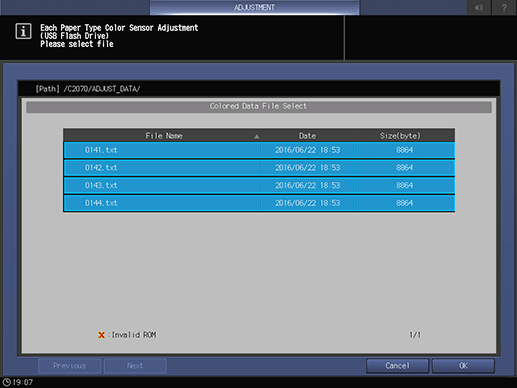
Press the USB Flash Drive on the Each Paper Type Color Adjustment List screen.
supplementary explanationThe multiple colorimetric data saved in the USB flash drive in step 2 is displayed on the Colored Data File Select screen.

Select one file.
The machine starts loading all the related files.
NOTICE
If the data cannot be loaded, check that the path is properly set to the USB flash drive. If you fail to save all the data created from the charts, an error screen is displayed. Check the files to recover.
Press OK on the Colored Data File Select screen.
The screen returns to the Each Paper Type Color Adjustment List screen.
Press Return.
The screen returns to the Color Density Control screen.
Registering Colorimetric Data via Web
To register colorimetric data in the machine via Web, configure a setting to access to Web Utilities from the computer connected to the machine via the network.
NOTICE
Do not turn the power off or on during this work.
Read two or more sheets of charts output in accordance with the procedure of Printing the Chart by using the spectrophotometer i1-iSisXL, i1-Pro or i1-Pro2, or FD-5 BT and then create colorimetric data.
Access to Web Utilities (URL shown below) from the computer connected to the machine via the network.
For Image Controller IC-604: http://a.b.c.d:30091/
For Image Controller IC-313: http://a.b.c.d/supplementary explanationEnter the IP address of the machine into a.b.c.d.
Click Machine Manager Setting, and enter the administrator ID and password.
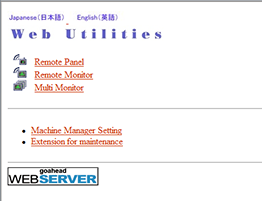
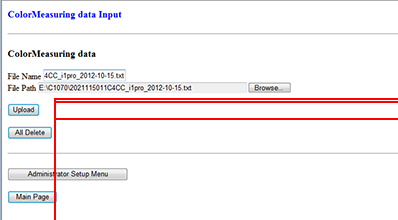
Click on ColorMeasuring data Input.

Enter the file name for colorimetric data into File Name, click Browse on the side of the file path, and select the colorimetric data saved in the computer.
supplementary explanationIf there are multiple colorimetric data items, repeat this procedure.
Click Upload.
Colorimetric data is saved in the machine.
Press Each Paper Type Color Adj. on the Color Density Control screen to display the Each Paper Type Color Adjustment List screen.
Press Engine Archived Data.
supplementary explanationMultiple sets of colorimetric data registered via Web is displayed on the Colored Data File Select screen.
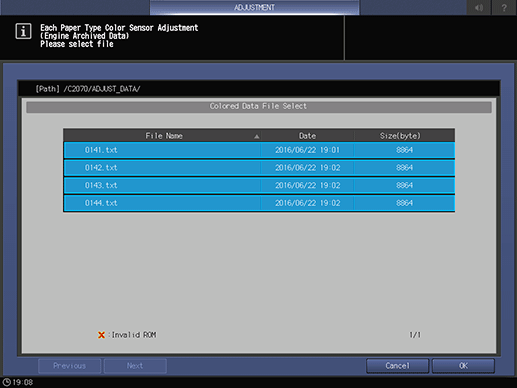
Select one file.
The machine starts loading all the related files.
NOTICE
If you fail to save all the data created from the charts, an error screen is displayed. Check the files to recover.
Press OK on the Colored Data File Select screen.

The screen returns to the Each Paper Type Color Adjustment List screen.
Press Return.
The screen returns to the Color Density Control screen.
Reference
If you are registering the colorimetric data via Web using FD-S2w, some procedures are different from the ones listed below (Steps 2 to 6).
For details, refer to the user's guide supplied with FD-S2w.
How to Delete Color Sensor Adjustment Data for Each Paper Type
Press Adjustment on the MACHINE screen to display the Adjustment Menu screen.
Press Color Density Control.
Press Each Paper Type Color Adj..
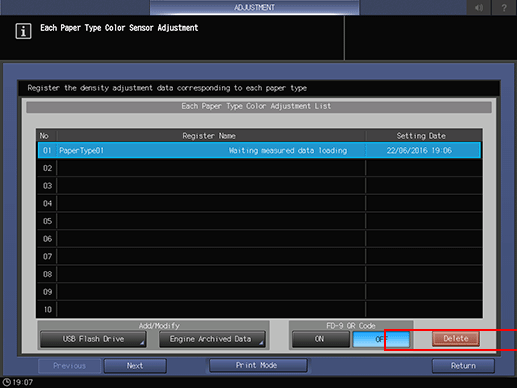
Select a row you wish to delete from Each Paper Type Color Adjustment List, and press Delete.

Press Yes.
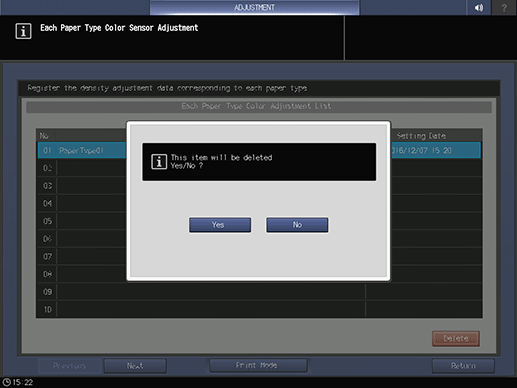
The selected color sensor adjustment data for each paper type is deleted.
NOTICE
Once you have deleted the color sensor adjustment data for each paper type, you cannot recover it. Please be careful in deletion.