
Changing the Screen
Overview
The reproducibility of an image is significantly dependent on the screen. Select a screen suitable for the required image quality.
• Meaning and Purpose of Screens
This machine draws images using screens (halftone dots), and therefore the expressions for images can change with the screen type.
If an image is difficult to reproduce using the current screen (or auto selection), it is important to select the appropriate screen. When printing, there are three screen types to choose from: Screen1/Screen2/Stochastic. However, the screen assigned to each screen type can only be set by the administrator from the Administrator Setting menu.
This section introduces how to assign a screen to a screen type and how to select a screen for printing.
Tips
There are three screen types: "line screen," "dot screen," and "stochastic screen," which are defined according to their shapes and expressions. Multiple screens with different dot/line count are available for each type.
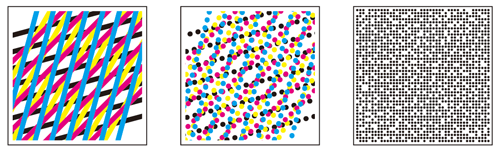
Screen Types and Their Characteristics:
Screen Type | Characteristics | Selection Group |
|---|---|---|
Line screen | Uses many halftone lines, like scanning lines of a television, and thus provides fine quality in reproducing the gradation in images. However, text originals may not be reproduced clearly in this method, being processed in the same way as photo originals. | Screen 1, Screen 2 |
Dot screen | Uses dots to reproduce an image. Commonly used in offset printers. | |
Stochastic | Reproduces images with fine non-periodic dot arrangement using the error diffusion method. This method is suitable for reproducing text originals sharply. | Stochastic |
• When to perform
When an image is difficult to reproduce using the current screen (or auto selection)
•Intended Environment
Operating system | Windows 7 |
Application | Adobe Acrobat XI Pro |
Image Controller | Image Controller IC-604 |
Printer driver | PS Plug-in driver |
* The sample screen may be different from the actual display depending on your system environment and application version/revision.
•Workflow
The screen can be changed via the machine's touch panel and the printer driver.
Assigning a Screen from the Machine (Custom Screen)
Changing the Screen from the Printer Driver
•Precautions
To reproduce stable colors, in addition to regular calibration, make other pre-output image quality adjustments as necessary, such as when changing screens or papers or when hue is important. For details, refer to Image quality adjustment using image controller.
Assigning a Screen from the Machine (Custom Screen)
Using the touch panel on the machine, assign screens from the Administrator Setting menu.
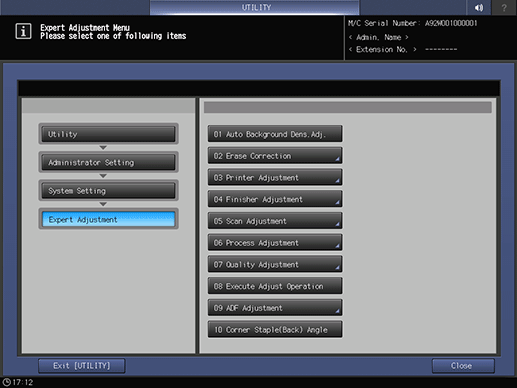
Press Utility/Counter on the machine's control panel.
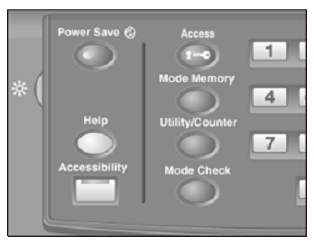
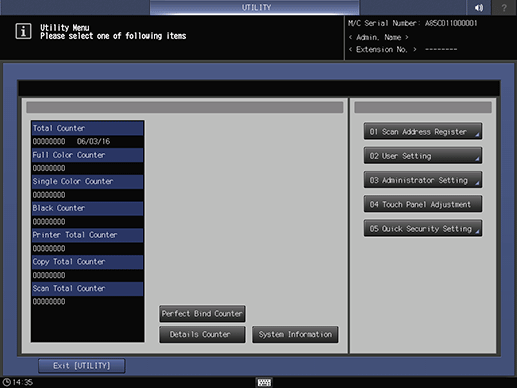
The Utility Menu is displayed.
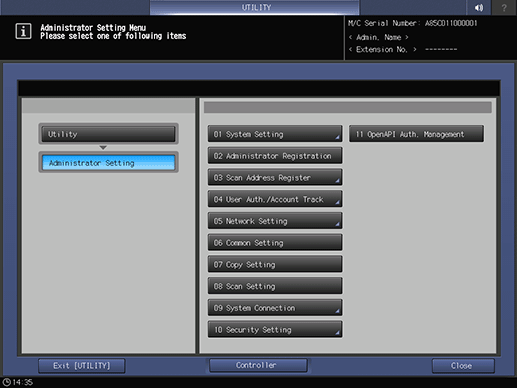
Press Administrator Setting.
Press System Setting.
Press Expert Adjustment.

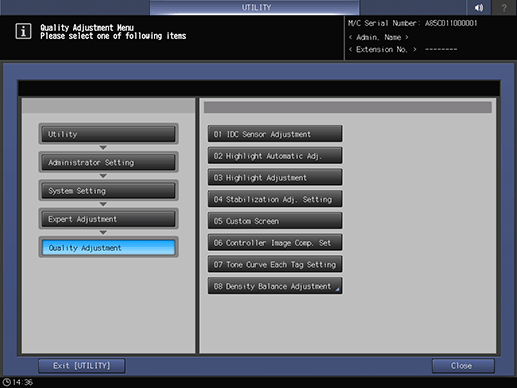
Press Quality Adjustment.
Press Custom Screen.
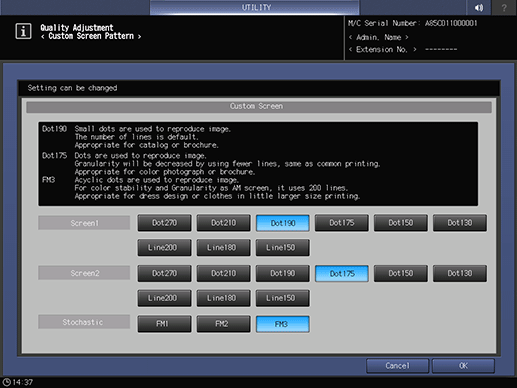
Press the screen to be assigned to each screen type: Screen1, Screen2, and Stochastic. After setting, press OK.
Changing the Screen from the Printer Driver
The user can change the screen via the printer driver when printing.
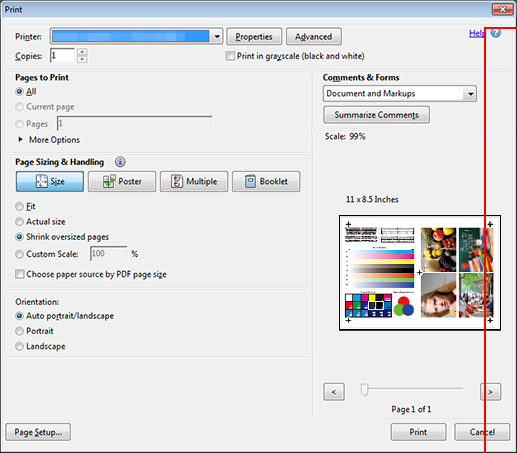
Open the original data with the application, and then click Print on the File menu.
The Print screen is displayed differently depending on the application used.
If there is no File menu, click the Print the file button.
Select the printer to use for printing and click Properties.
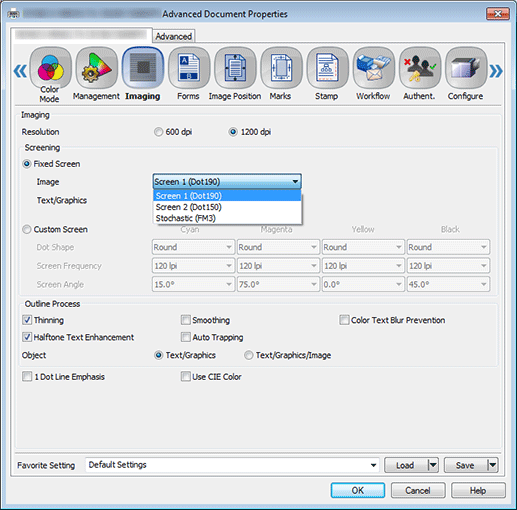
Click the Imaging tab and select the screen for Image under Fixed Screen.
Example: The following shows an example of a default screen. The selectable screen types can be changed by the administrator from the UTILITY menu. The available screen types may also vary depending on the image controller.
Screen 1 (Dot190): Uses fine dot arrangement. Suitable for printing catalogs and brochures.
Screen 2 (Dot150): Uses fewer lines for reduced granularity. Suitable for printing color photographs and leaflets.
Stochastic (FM3): Uses non-periodic dot arrangement. Dot size is fixed; intensity is expressed by changing the number and position of dots. Suitable for sharp reproduction of color photographs and text. Dot size is fixed; intensity is expressed by changing the number and position of dots. Suitable for sharp reproduction of color photographs and text.
supplementary explanationSelecting Custom Screen allows you to access advanced settings: dot shape, screen line count, and screen angle. (Refer to [Custom Screen].)
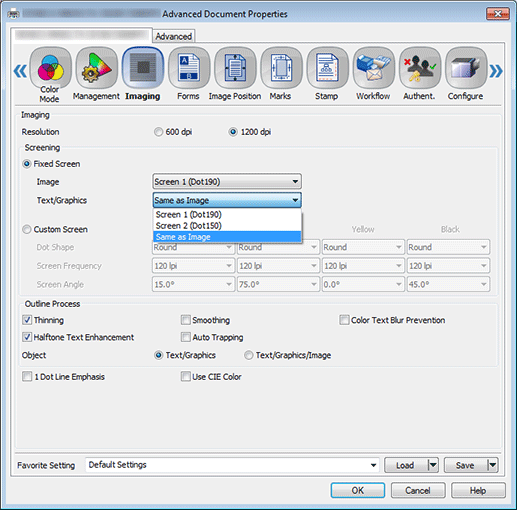
Select a screen for Text/Graphics, and click OK.
To use the same screen that is used for Image, select Same as Image.
Click Print on the Print screen.

The original is printed using the selected screen.