
Glue Start Position
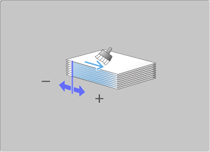
Adjust the position to start gluing on the body page and adjust the amount of the glue using Perfect Binder PB-503. The sizes referred to in this section are those of bodies corresponding to cover sizes.
Objects of Adjustment:
Ahead: Offset for All Size, A4 long edge feed B5 long edge feed, A5 long edge feed, 8.5 11 long edge feed, 16K long edge feed, A5 short edge feed, 5.5 8.5 short edge feed, Custom (220 to 379 mm), Custom (148 to 219 mm)
Back: Offset for All Size, A4 long edge feed, B5 long edge feed, A5 long edge feed, 8.5 11 long edge feed, 16K long edge feed, A5 short edge feed, 5.5 8.5 short edge feed, Custom (220 to 379 mm), Custom (148 to 219 mm)
NOTICE
If a numeric value is specified for Offset for All Size, it is applied to all paper sizes. With a specific paper size selected,the set value becomes the sum of the entered value and the value previously specified for Offset for All Size.
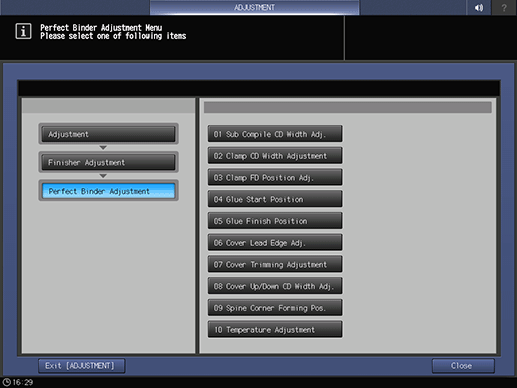
Press Adjustment on the MACHINE screen to display the Adjustment Menu screen.
Press Finisher Adjustment, Perfect Binder Adjustment, and Glue Start Position in sequence.
Load cover paper in either Perfect Binder Cover Tray or any other tray.
Load paper for body sets in the desired tray.
Select the size to be adjusted using down or up.
supplementary explanationThe size referred to here is that of perfect-bound books.
Press Print Mode.
Select the tray loaded with paper for body sets.
Press Start on the control panel.
A sample pattern of perfect-bound book is printed.
Check that the glue starts in proper position on both frontward and backward ends of the body set.
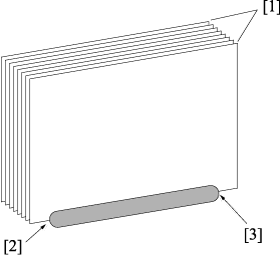
[1] Body pages [2] Start position of frontward gluing [3] Start position of backward gluing
If any adjustment is required, press Exit PrintMode to return to the Glue Start Position Adjustment screen.
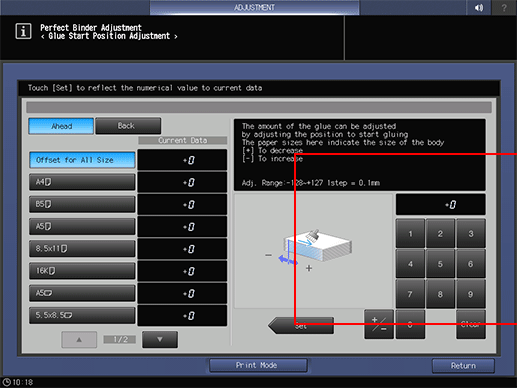
Select either Ahead or Back.
Use the touch panel keypad to enter the set value.
supplementary explanationUse +/- to specify the value to be positive or negative.
supplementary explanationPress Set to change the Current Value.
supplementary explanationAdjustment Range: -128 (To increase) to +127 (To decrease) (1 step = 0.1 mm)
Repeat steps 6 to 12 until the desired result is obtained.
Press Return.
The screen returns to the Perfect Binder Adjustment Menu screen.