
Printing the Chart
Press [Adjustment] on the [MACHINE] screen to display the [Adjustment Menu] screen.
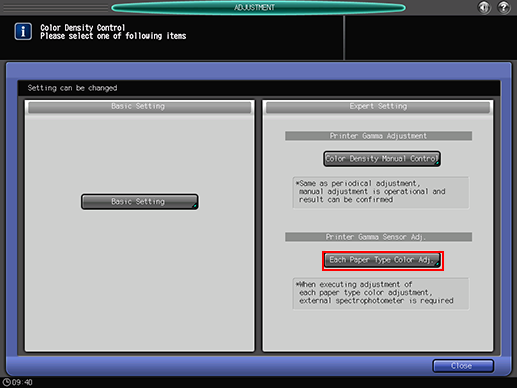
Press [Color Density Control].
The [Color Density Control] screen is displayed.
Press [Each Paper Type Color Adj.].
Select any row from [Each Paper Type Color Adjustment List], and press [Print Mode].
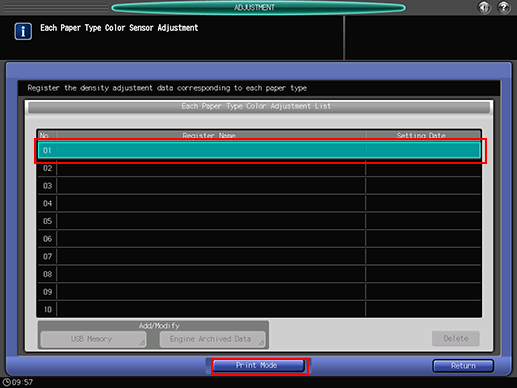

If the color sensor adjustment data for each paper type has already been registered, the register name and date are displayed. If a registered item is selected, the existing data is overwritten.
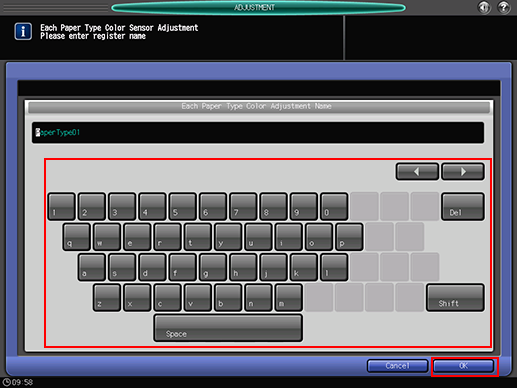
Enter a name for the Each Paper Type Color Adjustment, and then press [OK].
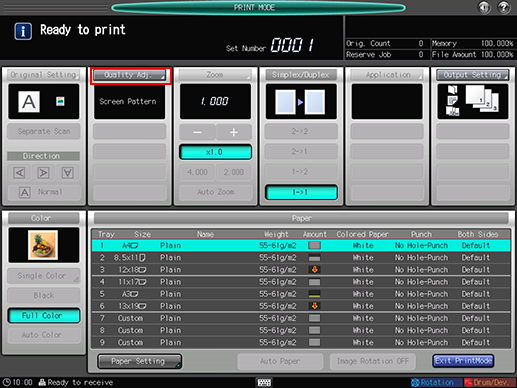
Press [Quality Adjustment].
Press [
 ] on the right side of [Screen Pattern] to display the desired screen.
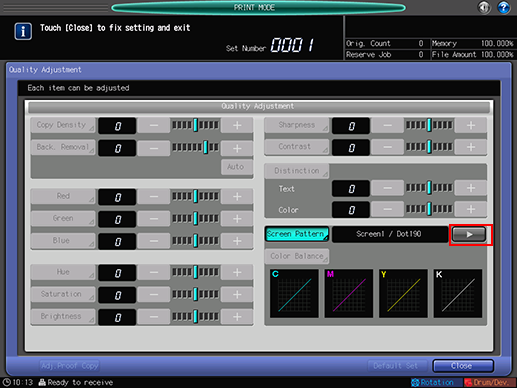
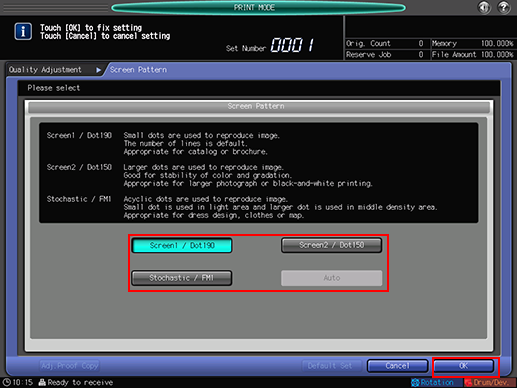
Also, you can select any desired screen after pressing [Screen Pattern] to display the [Screen Pattern] screen. Select a screen, and press [OK].
Press [Close] on the [Quality Adjustment] screen.
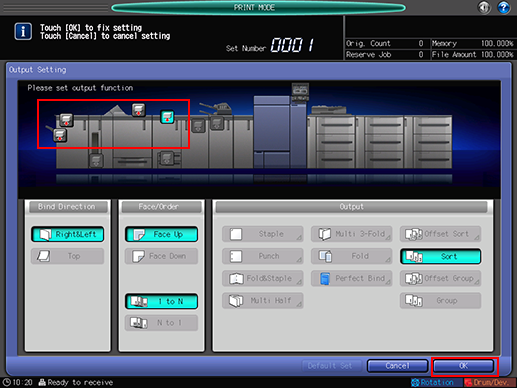
Select a tray to output the charts.
Press [Output Setting] to display the [Output Setting] screen.
Select the desired output tray by pressing its key, and press [OK].
Select the paper size.
Select the tray on the [PRINT MODE] screen.
Press Start on the control panel.
The machine prints the charts of the size selected in step 9.
Press [Exit PrintMode].
The machine is in a busy state to load the colorimetric data with the name entered for the color sensor adjustment data for each paper type in step 5.