
Restart Timing Adjustment: Adjusting the Position to Start Scanning Originals
Adjust the position to start scanning when using the original glass to scan the original.

Make this adjustment after completing [FD-Mag. Adjustment].
Press [Adjustment] on the [MACHINE] screen to display the [Adjustment Menu] screen.
Press [Machine Adjustment], [Scan Adjustment], and [Restart Timing Adjustment] in sequence.

Press [Print Mode].

Load A4
 paper in a tray, and select that tray.
Position the test chart on the original glass, then press Start on the control panel.
A sample pattern will be output.
Check the misalignment by comparing the original and the output.
Allowance: within 0 mm ± 1.5 mm
If any adjustment is required, press [Exit PrintMode] to return to the [Restart Timing Adjustment] screen.
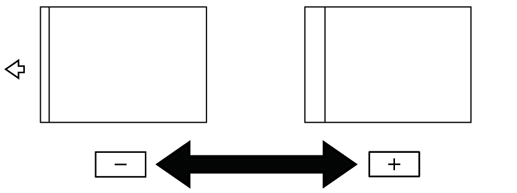
Use the touch panel keypad or the keypad on the control panel to enter the setting data.
Use [+/-] to specify the value to be positive or negative.
Press [Set] to change the current value.
Adjustment Range: -30 ([Image Fast]) to +30 ([Image Slow]) (1 step = 0.1 mm)
Repeat steps 3 to 8 until the desired result is obtained.
Press [Return].
The screen returns to the [Scan Adjustment Menu] screen.