
Copying a File to the Hot Folder for Printing
Examples Introduced in This Section
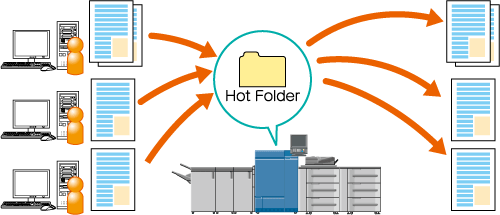
You can set a Hot Folder on the machine so that a file can be printed just by copying it to the Hot Folder.
You do not need to start an application or operate the printer driver.
To use the hot folder function, create a hot folder in Hot Folder Setting of this machine.
You can register print settings and output method to each Hot Folder according to the use applications (up to 100 folders).
The access permission can be set to each Hot Folder.
You can collectively copy multiple files (up to 1000 jobs).
•Intended Environment
Operating system | Windows 7 |
Image Controller | Image Controller IC-604 |
* The sample screen may be different from the actual display depending on your system environment.
•Workflow
Registering a User Setting
Creating Hot Folders
Registering Print Settings
Printing from a Hot Folder
•Precautions
The file formats usable in Hot Folder of the machine are PS, PDF, TIFF, JPEG, PPML, PCL (including Text), and EPS.
If the file format is PCL 5e or text, the setting change of Software Switch Setting No.107 is required. For details, refer to [Software Switch Setting].
When you access a Hot Folder after setting the folder or changing the settings, the error windows of the operation system may be displayed. Access a Hot Folder about 10 seconds after setting the folder or changing the settings.
Registering a User Setting
Register a user name and password for setting user authentication to Hot Folder. Delete unnecessary registered data.
Tips
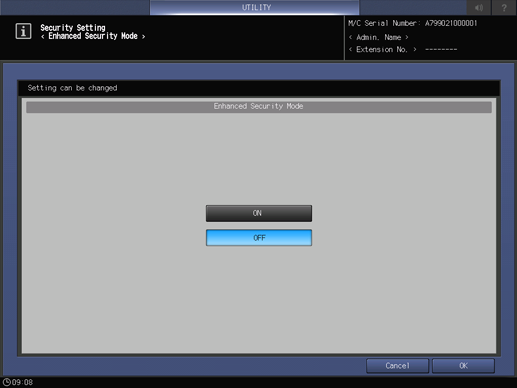
To use the Hot Folder function, set Enhanced Security Mode to OFF. For details about Enhanced Security Mode, refer to [Enhanced Security Mode].
Tips
The user setting (user name and password) of the Hot Folder can also be registered by using Web Connection. For details about Web Connection, refer to About [User Setting].
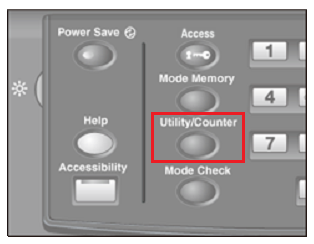
Press the Utility/Counter key.
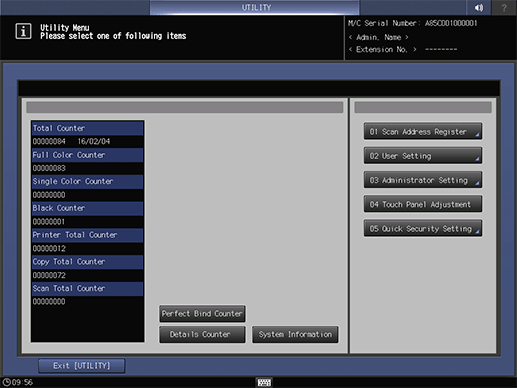
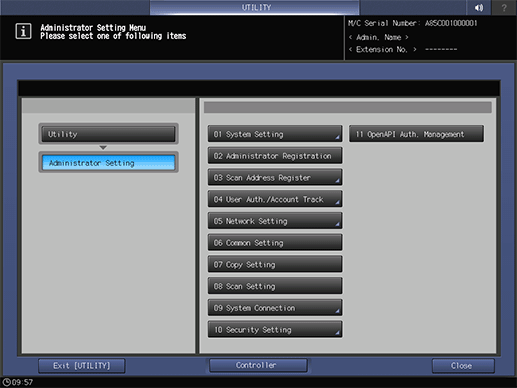
Press Administrator Setting.
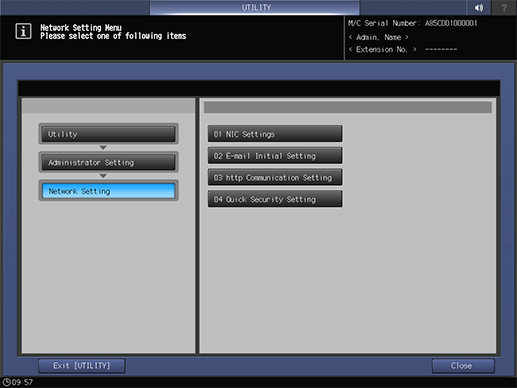
Press Network Setting.
Press NIC Settings.
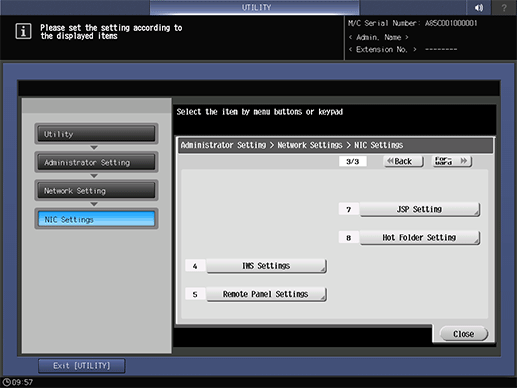
Press Hot Folder Setting.
supplementary explanationPress Back or Forward to display Hot Folder Setting.
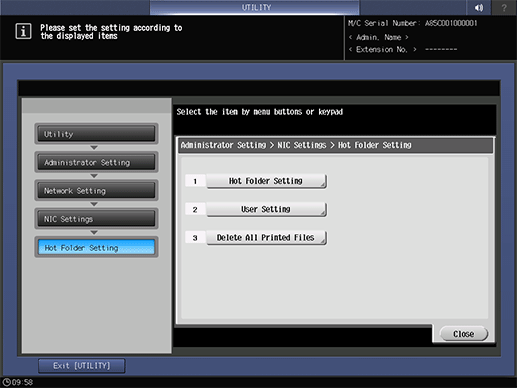
The Hot Folder Setting screen is displayed.
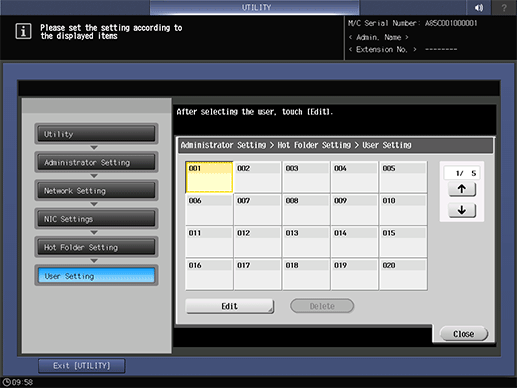
Press User Setting.
Select the unregistered user number, and press Edit.
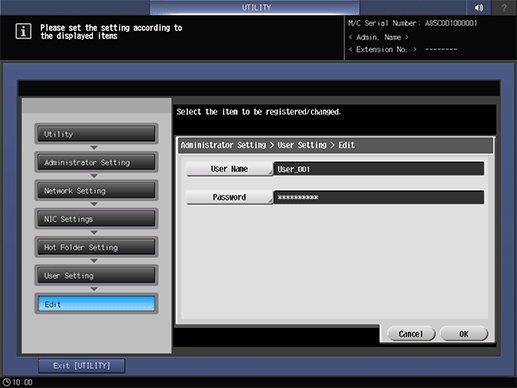
Press User Name.

Enter the user name, and then press OK.
Example: User_001 is entered as the user name.

In the same way, enter Password, then press OK.
supplementary explanationEnter a password.
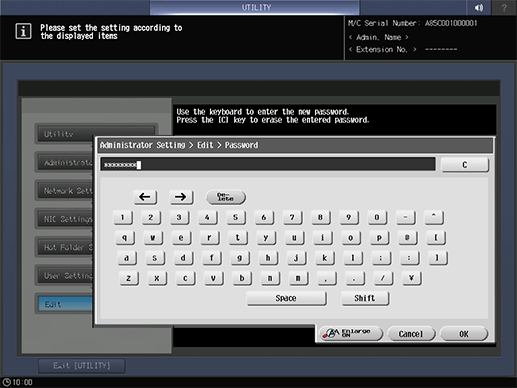
Press OK.
supplementary explanationThe user setting is registered.
Creating Hot Folders
Create a hot folder of this machine. To create a hot folder, access the user mode of Web Connection.
Example: This section describes an example of sharing a Hot Folder with multiple users and setting the user authentication to the folder.
Tips
To set the user authentication, you have to register the user setting (user name and password) in advance. For details, refer to Registering a User Setting.
To enter the administrator mode of Web Connection, you need to enter the administrator password. For details about the default administrator password, refer to Safety Information. If you cannot log in with the default password, contact the administrator.
For details about Web Connection, refer to About Web Connection.
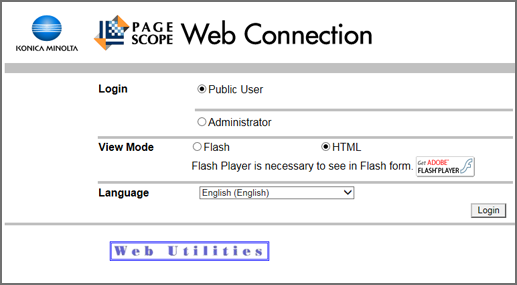
Access Web Connection to open the user mode page of Web Connection. For details, refer to How to Access.
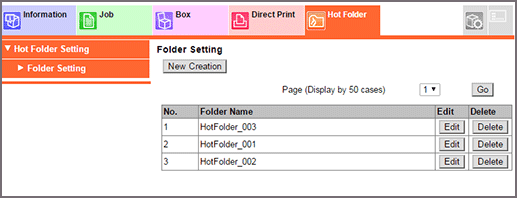
Click the Hot Folder tab.
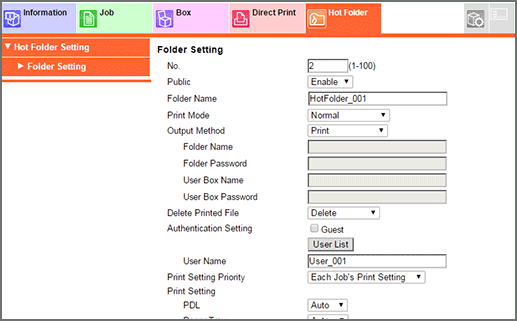
supplementary explanationThis displays the Folder Setting screen in Hot Folder Setting.
Click New Creation.
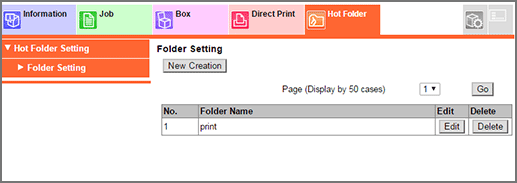
supplementary explanationMultiple Hot Folders can be created (up to 100 folders).
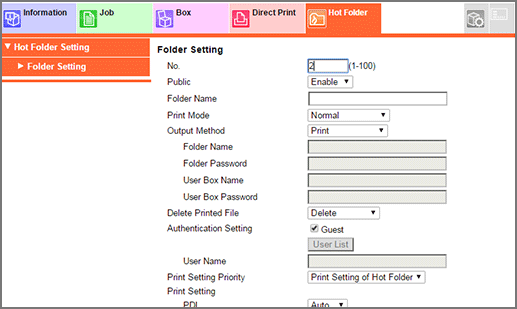
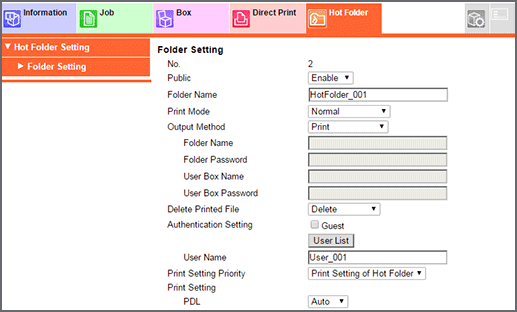
Enter a free No. in step 3.
Example: 2 is entered.

Select Enable for Public.
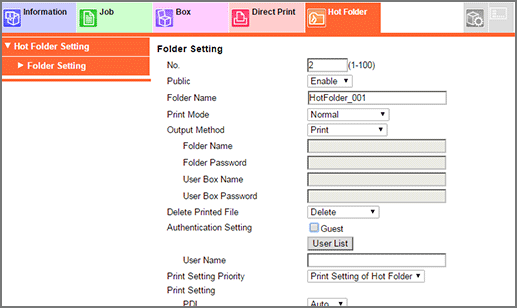
Enter a folder name.
Example: HotFolder_001 is entered.

Clear the Guest check box in Authentication Setting, then click User List.
supplementary explanationTo set the user authentication, you have to register the user setting (user name and password) in advance. For details, refer to Registering a User Setting.
Select a user setting to use for the Hot Folder access authentication, and then click OK.
Example: User_001 of No. 1 registered in Registering a User Setting is selected.
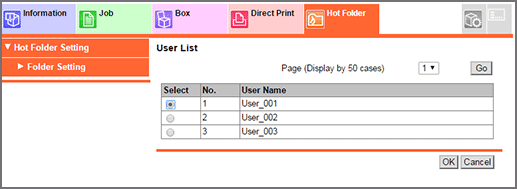
supplementary explanationOnly a single user setting can be assigned to a Hot Folder for access authentication.
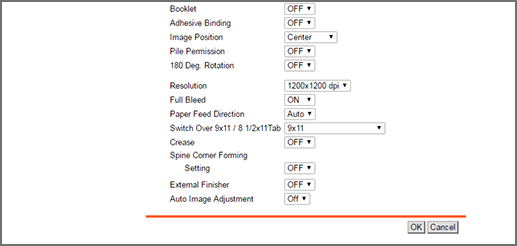
Set the following options, as necessary.
The settings in this case are as follows:
Item
Setting
Output Method
Print
Delete Printed File
Delete
Print Setting Priority
Each Job's Print Setting
Print Setting
For details, refer to Registering Print Setting in Hot Folder.
Set each item, and click OK.
Click OK on the setting complete screen.

supplementary explanationWhen the registration fails, retry from Step 3 and change the folder number without overlaps.
Click To Login Screen on the upper right of the screen, then click OK.
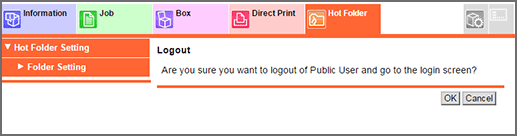
supplementary explanationThis returns to the login screen of Web Connection.
Access Web Connection to open the administrator mode page of Web Connection. For details, refer to How to Access.
Click Network tab - Hot Folder Setting - Hot Folder Setting in sequence.
The Hot Folder Setting screen is displayed.
Select the following items, then click OK.
Item
Setting
Hot Folder Function
Enable
ON(MFP)
Synchronize
It can be specified when ON (MFP) is selected for User Authentication in User Auth./Account Track. When Do Not Synchronize is selected for Synchronize User Authentication & Account Track, however, ON (MFP) of Hot Folder Setting cannot be specified. For details about the authentication method, refer to User Authentication and Account Track.
Print Order
File Copy Start Order
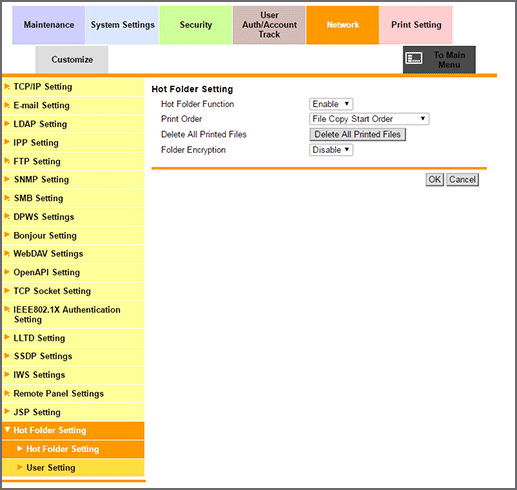
Click OK on the setting complete screen.
The target hot folder is then configured.
Registering Print Setting in Hot Folder
Register a print setting when printing to Hot Folder.
The example below creates a print setting that the original PDF file of 32 A4 pages is reduced and printed 2 in 1 on both sides of A4 paper.
In the example, the following settings are made.
Setting items:
Paper Tray Setting
Simplex/Duplex
Binding Position
Copies
Sort/Group
Paper Size (specifies an output paper size. )
Orientation
Combine Originals/Image Repeat
Tips
The setting items may differ depending on the printer type used and the configuration of options.
Each printer can contain multiple job settings.
Access Web Connection to open the user mode page of Web Connection. For details, refer to How to Access.
Click the Hot Folder tab.
This displays the Folder Setting screen in Hot Folder Setting.
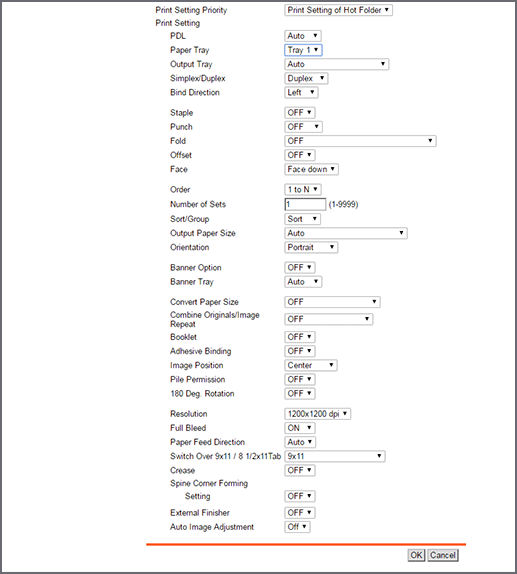
Click Edit for the hot folder you want to register print settings for.
In Print Setting Priority, select Print Setting of Hot Folder.
In Paper Tray setting, select Tray1.
supplementary explanationMake sure that A4 paper is loaded in Tray1.
Set the following items in the same manner.
Item
Setting
Simplex/Duplex
Duplex
Bind Direction
Top
Number of Sets
10
Sort/Group
Sort
Output Paper Size
A4
Orientation
Portrait
Combine Originals/Image Repeat
2-in-1
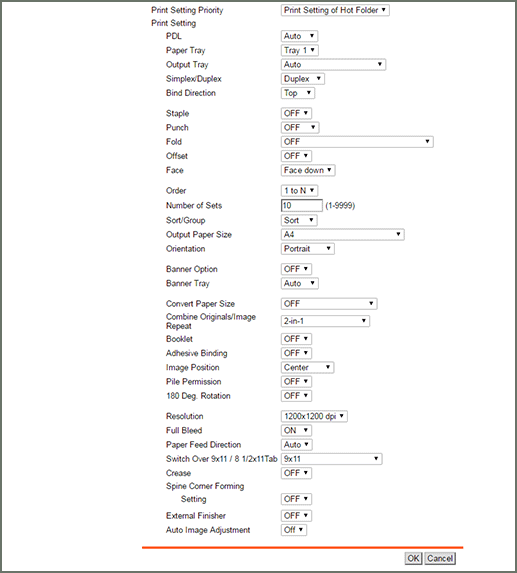
Set each item, and click OK.
Click OK on the setting complete screen.
supplementary explanationThe print setting is registered in the target hot folder.
Printing from a Hot Folder
Access the Hot Folder.
supplementary explanationWhen the access authentication is set to the Hot Folder, access the Hot Folder in the either way of following:
(1)
i. Click Start - Control Panel - User account - Manage Windows Credentials - Add a Windows Credential in sequence.
ii. Enter the address of the machine, user name, and password , and then click OK.
(2)
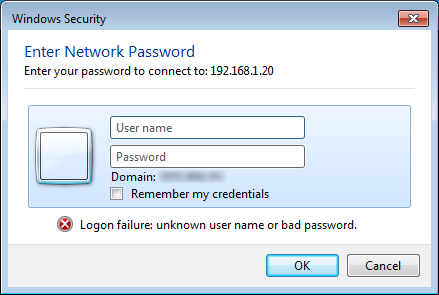
i. Click the Hot Folder to print. When the access error dialog appears after clicking, log off your computer and click the Hot Folder to print.
ii. When the Windows Security dialog appears, enter User Name and Password, and then click OK.
supplementary explanationIf access authentication is not set, go on to step 2.
Launch Explorer.
In the Address bar, enter the IP address of the machine as follows, then press the Enter key.
\\<IP address of the machine>
Example for the IP address of the machine 192.168.1.20:
\\192.168.1.20
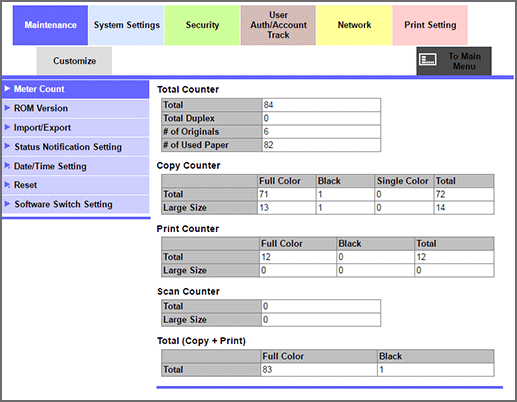
For details about how to check an IP address, refer to UTILITY screen -Administrator Setting-Network Setting-NIC Settings-TCP/IP Settings.

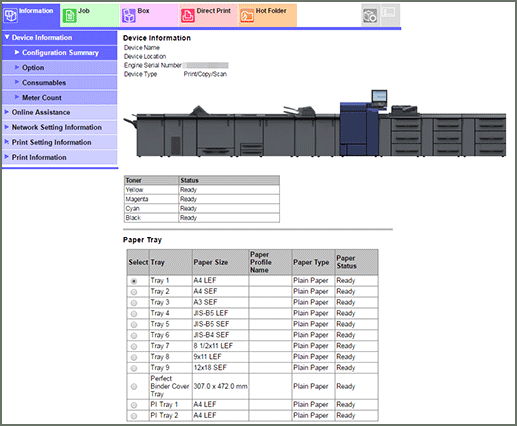
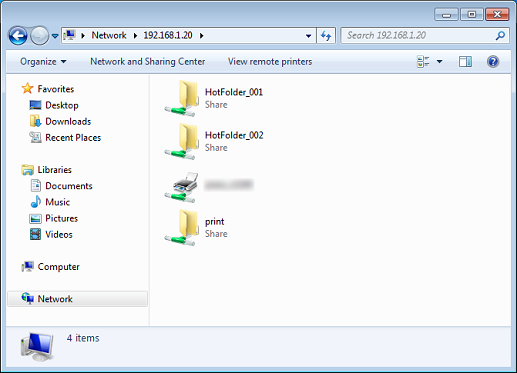
The list of Hot Folder is displayed.
If no hot folders are displayed, the hot folder function may be set to Invalid.
From the UTILITY screen, go to Administrator Setting - Network Setting - NIC Settings - Hot Folder Setting and check the setting.
Copy (drag and drop) the file to print to the Hot Folder.
Example: Copy (drag and drop) the file to HotFolder_001.
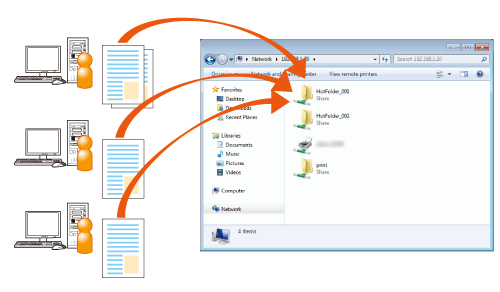
The print job is automatically printed.
supplementary explanationMultiple users can access the Hot Folder at the same time.
supplementary explanationUp to 1,000 print jobs (files) can be copied in Hot Folder.
supplementary explanationTo check the print job copied in Hot Folder or the sending condition of print job, press Hot Folder on the JOB LIST screen. For details, refer to [Spool] Screen.
supplementary explanationWhen Do Not Delete is selected for Delete Printed File on the Folder Setting screen and the print job is output, the copied files are moved to the Done subfolder in the Hot Folder.