Copying a File to the Hot Folder for Printing
Examples Introduced in This Section
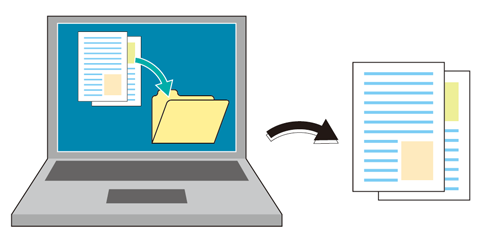
If you create a hot folder in Hot Folder, you can start printing just by copying a file to the hot folder.
You can start printing simply by copying a file (e.g., PDF/TIFF/PS) to the hot folder of Hot Folder.
You do not need to start the application or operate the printer driver.
To create a hot folder, add job setting (print setting) and link it with the folder.
You can register several job settings and hot folders and use them according to the use applications.
You can copy multiple files at once.
By setting a hot folder as a share folder, you can use it from a computer on the network.
Tips
Using a hot folder allows you to ensure the shared setting or printed file.
•Intended Environment
Operating system | Windows 7 |
Application | Hot Folder |
Image Controller | Image Controller IC-604 |
* The sample screen may be different from the actual display depending on your system environment and application version/revision.
•Workflow
Adding a Printer (this Machine) to Hot Folder
Adding a Job Setting
Creating Hot Folders
Printing from a Hot Folder
• Related Section
Reference
For details about the operating systems compatible with Hot Folder, refer to Specifications.
Adding a Printer (this Machine) to Hot Folder
If the PS Plug-in driver is not added to the computer, manually register this machine in Hot Folder.
Tips
We recommend that you to register the required printer in Add Printer on the control panel in advance. If the printer is registered using this method, it is automatically displayed in the Printers/Print Settings field. Therefore, steps 2 and 3 are unnecessary.
If the printer is not registered on the control panel, carry out this procedure.
In addition, if thare are same models compativle with the PS Plug-in driver on the network and you do not want to add those drivers in Printers and Faxes on the control panel, carry out this procedure.
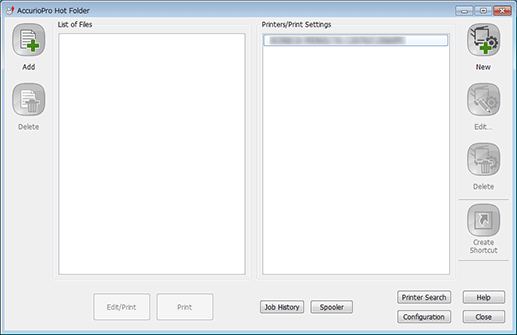
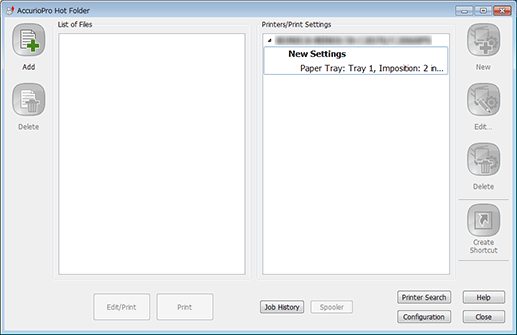
From the Start menu, click All Programs - MFP-Printer Utility - Hot Folder - Hot Folder.
Hot Folder is started.
Click Printer Search.
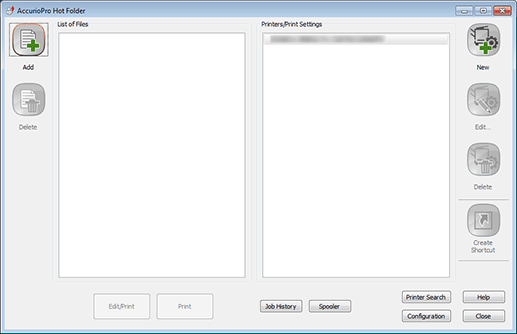
The Add Printer screen is displayed.
Select this machine, then click OK.
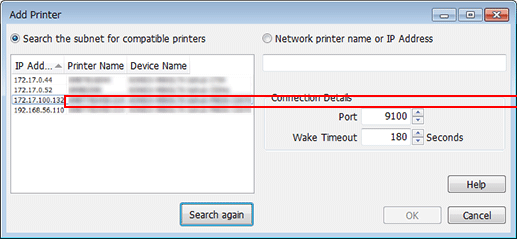
supplementary explanationIf no printer is displayed, specify Port and Wake Timeout in Connection Details, then click Search again
supplementary explanationTo manually add a printer without using the search function, select Network printer name or IP Address, enter the printer name or IP address, then click OK.
Check that this machine has been added.
Adding a Job Setting
Add job settings for printing in Hot Folder.
The example below creates a print setting that the original PDF file of 32 A4 pages is reduced and printed 2 in 1 on both sides of A4 paper.
In the example, the following settings are made.
Setting items:
Original Orientation
Paper Size
Paper Tray
Copies
Binding Position
Print Type
Imposition: 2 in 1
Tips
The setting items may differ depending on the printer type used and the configuration of options.
Each printer can contain multiple job settings.
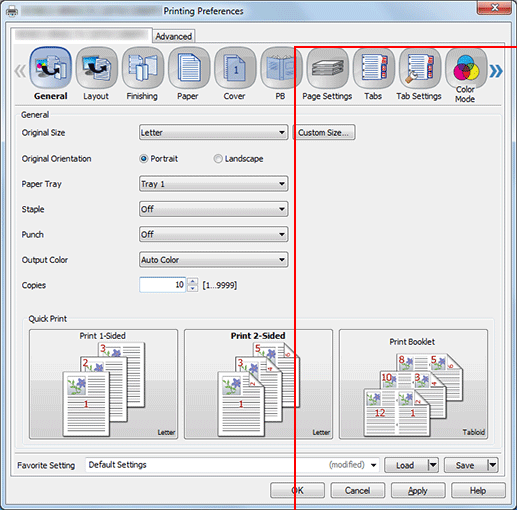
In the main screen, select the printer and click New.

The print setting screen is displayed.
In the General tab, configure each item.
Example:
Item
Setting
Original Orientation
Portrait
Paper Tray
Tray 1
Copies
10
Click the Layout tab, then configure each item. After setting, click OK.
Example:
Item
Setting
2-Sided
Check
Imposition
2 in 1 (Full Size)
Binding Position
Top Bind
Paper Size
A4

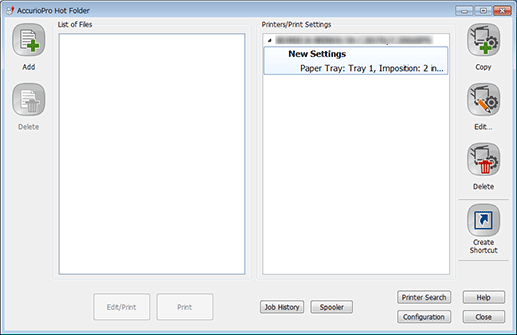
In New Settings, enter the print setting name.
Creating Hot Folders
On the main screen, click Configuration.
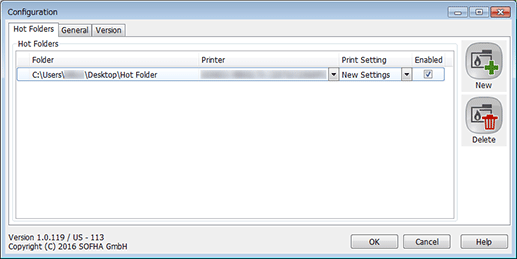
The Hot Folders tab of the Configuration screen is displayed.
Click New.

supplementary explanationIf there are the configured hot folders, they are displayed in Hot Folders.
Select the folder to set as a hot folder and click Select Folder.
Example: A folder named "Hot Folder" is selected.

The selected folder is registered in Hot Folders.
In Hot Folders, select the target hot folder. In Printer and Print Setting, select the printer required for the hot folder, then click OK.
On the main screen, click Close.
In the confirmation dialog box, click Minimize to tray.
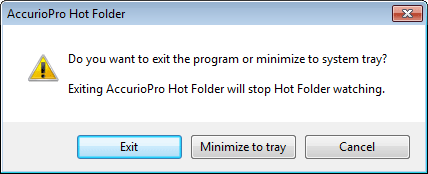
supplementary explanationExit: Hot Folder finishes. The hot folder function is not active.
Minimize to tray: The Hot Folder screen closes. This is resident on the task tray to monitor the hot folder.
Cancel: The dialog box closes, and the display returns to the main screen.
Printing from a Hot Folder
Copy the file to print to the hot folder.
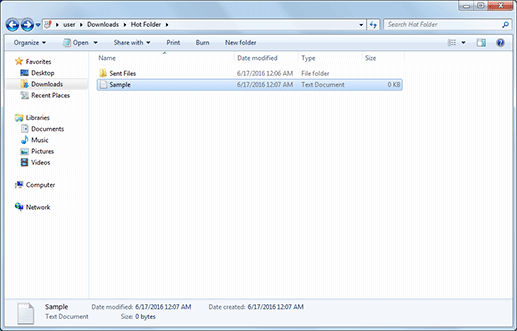
The print job is automatically sent to this machine, and executed.
supplementary explanationWhile a job is being processed using a hot folder, the icon display on the task tray changes accordingly. No message or screen is displayed at the time of printing.
supplementary explanationIf Move to Sub-Folder (default) is selected in the General tab on the Configuration screen of Hot Folder, the print job is sent to this machine, and moves to the Sent Files folder in the hot folder.
Setting a Hot Folder as a Share Folder (Windows)
By setting a hot folder as a share folder, you can use it from a computer on the network.
Right-click the hot folder you want to share, and click Properties.

In the Sharing tab, click Advanced Sharing.
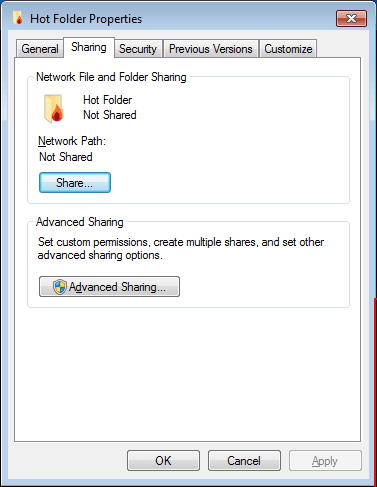
Select the Share this folder check box, and click Permissions.
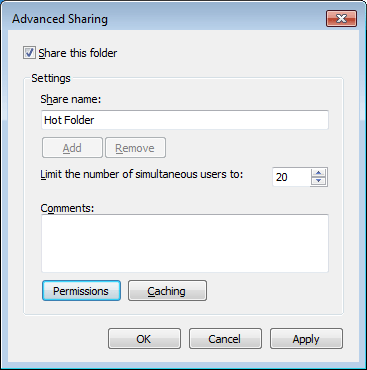
Select Everyone, select the Allow check box in Change, and click OK.

Click OK, and then click Close.
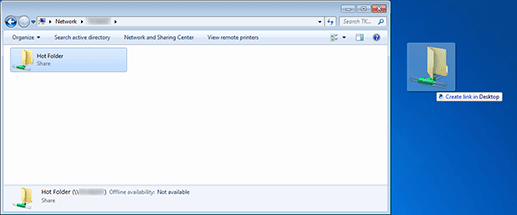
If necessary, access the hot folder shared with another computer, and copy it to any location.
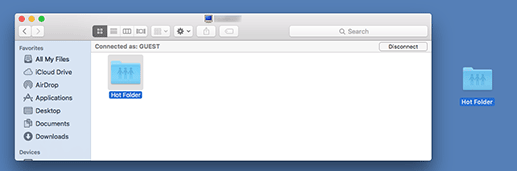
Setting a Hot Folder as a Share Folder (Macintosh)
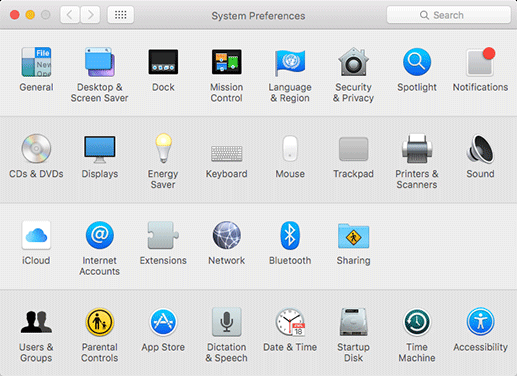
Double-click Sharing in System Preferences.
Select the File Sharing check box in Service, then close the window.
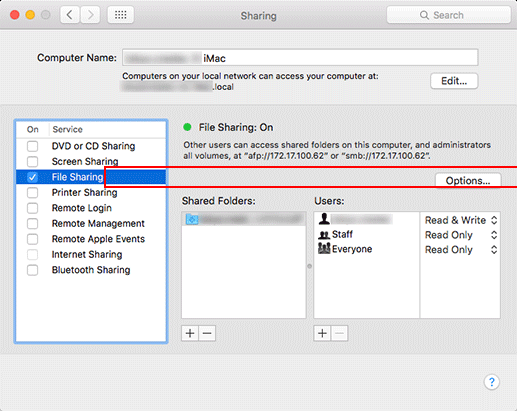
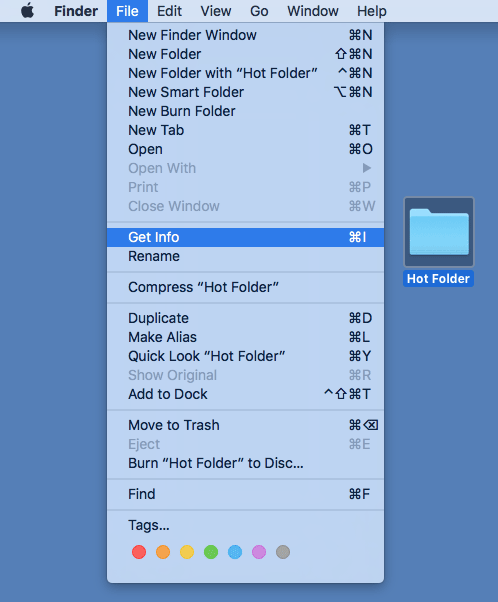
Select the hot folder you want to share, and click Get Info in File.
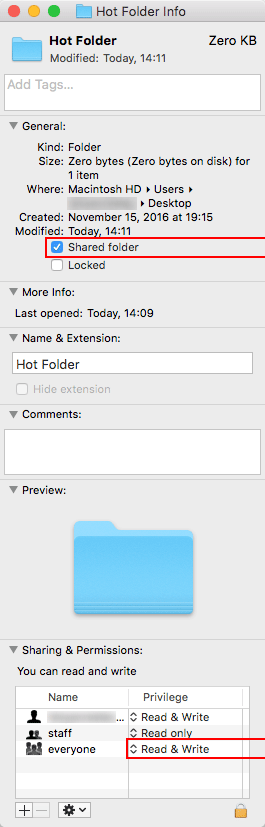
Select the Shared folder check box, and set everyone to Read & Write in Sharing & Permissions:.
Copy the share hot folder from the network to the desktop through the computer you want to access the hot folder on.