
Hot Folder Setting
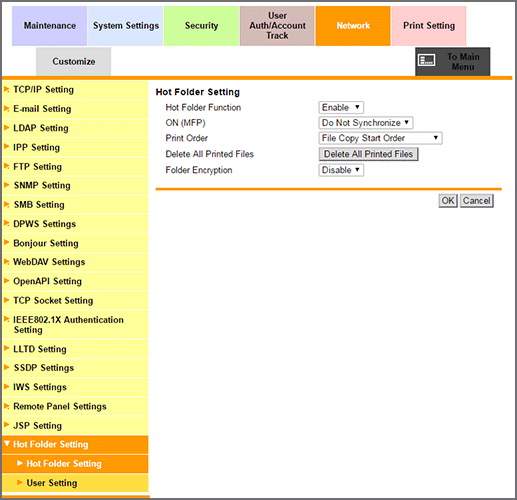
Click Hot Folder Setting - Hot Folder Setting on the menu of Network tab to display this screen.
The following work flow is given to set up a hot folder and perform printing jobs.
Work flow
Set up a hot folder (Hot Folder Setting)
Register new users assigned to the hot folder
Register the new hot folder (Folder Setting)
Print data by using the hot folder
For details about how to print from and use a hot folder, refer to Overview of Hot Folder of the Machine.
Set up a hot folder.
Select either Enable or Disable from the Hot Folder Function drop-down list.
Selecting Enable allows you to use the hot folder.
Select either Do Not Synchronize or Synchronize from the ON (MFP) drop-down list.
Select either File Copy Start Order or File Copy Completion Order from the Print Order drop-down list.
File Copy Start Order: Starts printing in the order of copying files to the hot folder.
File Copy Completion Order: Starts printing in the order of completion of copying files to the hot folder.
To delete all printed files, click Delete All Printed Files.
Select either Enable or Disable from the Folder Encryption drop-down list.
Click OK. Clicking Cancel cancels the setting.
Click OK on the setting complete screen.
Reference
The ON (MFP) drop-down list can be specified when ON (MFP) is selected for User Auth/Account Track - General Settings - User Authentication. When Do Not Synchronize is selected for Synchronize User Authentication & Account Track, however, ON (MFP) of Hot Folder Setting cannot be specified. For details about the authentication method, refer to User Authentication and Account Track.