
Dragging and Dropping to the Desktop Icon for Printing
Examples Introduced in This Section
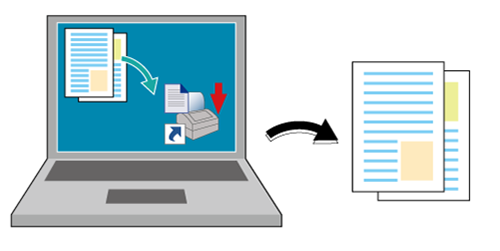
If you create a Hot Folder desktop icon (shortcut), you can drag and drop a file to it to start printing.
If you create a job setting desktop icon (shortcut) in Hot Folder, you can start printing just by dragging and dropping a PDF/TIFF/PS file to the icon.
You do not need to start an application or operate the printer driver.
You can create a desktop icon for each job setting (print setting of the job).
Tips
However, using the desktop icon does not allow you to ensure the shared setting or printed file.
•Intended Environment
Operating system | Windows 7 |
Application | Hot Folder |
Image Controller | Image Controller IC-604 |
* The sample screen may be different from the actual display depending on your system environment and application version/revision.
•Workflow
Creating a Job Setting Desktop Icon
Dragging and Dropping for Printing
• Related Section
Reference
For details about the operating systems compatible with Hot Folder, refer to Specifications.
Creating a Job Setting Desktop Icon
Start Hot Folder, then add this machine.
Refer to STEP 1 (Adding a Printer (this Machine) to Hot Folder) in (Copying a File to the Hot Folder for Printing).
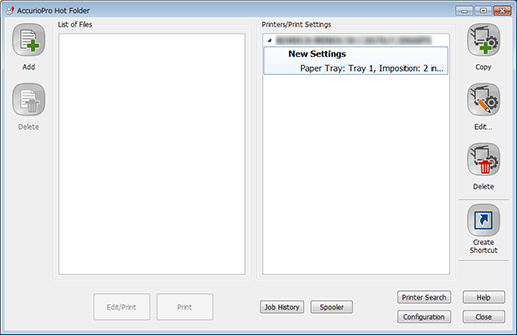
Add a job setting in Hot Folder. In the main screen, select the desired print setting, then click Create Shortcut.
For details about how to add a job setting, refer to step 2 (Adding a Job Setting) in (Copying a File to the Hot Folder for Printing).
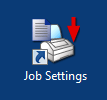
Enter the shortcut name, then click Save. Check that the shortcut icon has been created on the desktop.
In this example, specify "Job Settings" as the shortcut name.
You will find a shortcut icon as below.
Dragging and Dropping for Printing
Drag and drop the file to print to the job setting shortcut icon.
The print job is sent to this machine, and printed.