
Holding Job
Holding from COPY screen
The Hold Job screen allows you to output, delete, copy, edit, or combine hold jobs, and save them on the HDD.
Position the original.
Press COPY to display the COPY screen.
supplementary explanationMake copy selections, as desired.
Press Store Setting.
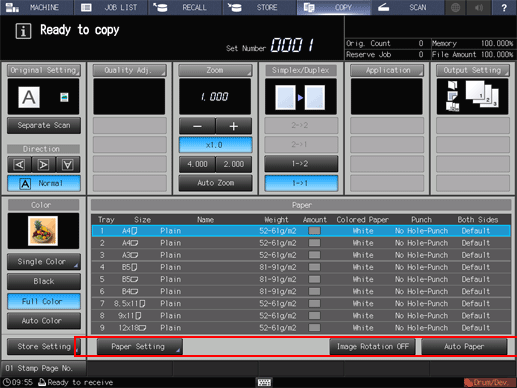
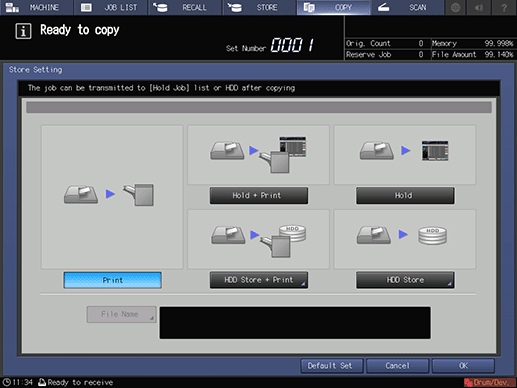
The Store Setting screen is displayed.
Select Hold.
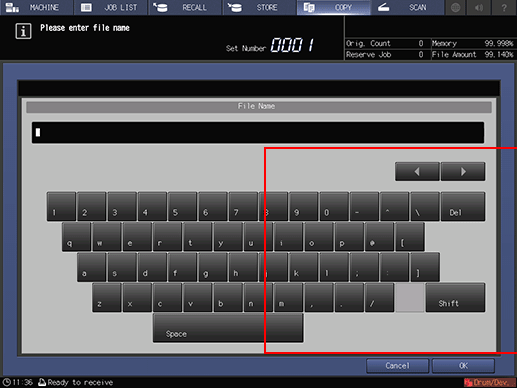
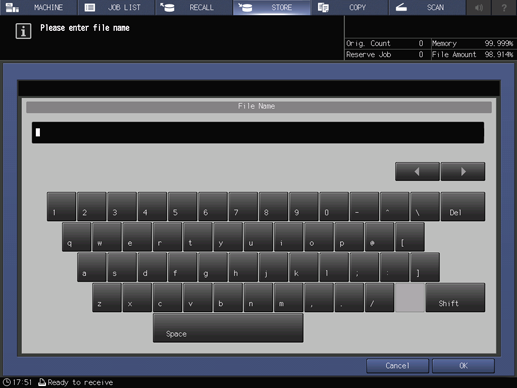
Specify the file name of a hold job.
Press File Name on the Store Setting screen to display the File Name dialog box, enter the file name, then press OK.
The entry of File Name can be omitted. In this case, this machine assigns the last 4 digits of the job ID to be created automatically.
supplementary explanationUp to 63 two-byte characters or 127 one-byte characters can be entered for the file name. A name can be shared by multiple files.
supplementary explanationFor details about how to input characters, refer to Inputting Characters.
The screen returns to the COPY screen. The message Press [Start] to scan originals is displayed in the message area.
Press Start on the control panel.

preconditionUp to 500 hold jobs can be saved. When hold jobs are saved to the upper limit, the next hold job cannot be saved and Hold job number exceed limit Job cannot be held any more is displayed. Delete unnecessary hold jobs, and then try again.
preconditionHold jobs cannot be deleted automatically by default. To set so that hold jobs are deleted automatically after a certain period of time, refer to [HDD Job Auto Delete Period].
preconditionThe number of hold jobs is displayed in the message area of the Hold Job screen. The display turns red when the Hold Job number exceeds 450.
preconditionUp to 100,000 pages of data can be saved as the sum of hold jobs, jobs saved on HDD, and jobs in operation. When the upper limit is exceeded, System memory is short of capacity Please delete unnecessary jobs is displayed. Delete unnecessary hold jobs, and then try again.
Holding from STORE screen
Position an original either in the ADF or on the original glass.
Press Store, and then press Store Setting.
Press Hold or HDD Store.

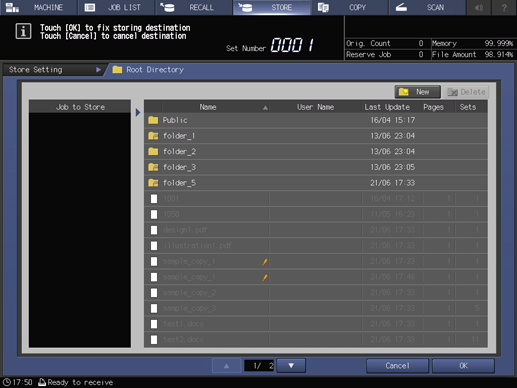
supplementary explanationPressing HDD Store displays the Root Directory screen. Select a destination, and then press OK.
Press File Name, enter the name, and then press OK.
If a name is not assigned manually, 4-digit number is assigned automatically as a name.
Press OK.
The display returns to the STORE screen.
Set the scan conditions.
supplementary explanationFor details, refer to [STORE] Screen.

Press Start on the control panel.