
Outputting a secure job
preconditionA secure job can be output using Job Centro. For details, refer to Create a New Secure Box.
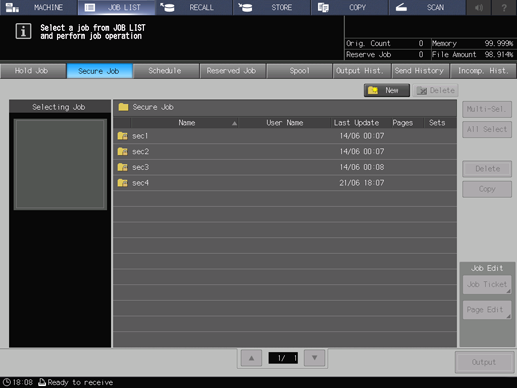
Press JOB LIST.
The JOB LIST screen is displayed.
Press Secure Job.
The Secure Job screen is displayed.
Select the secure box to which the print job was sent.
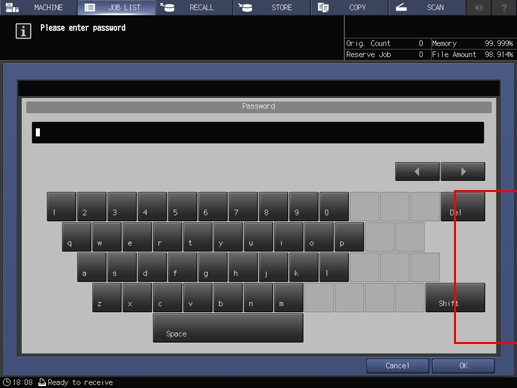
Enter the password of the selected secure box, then press OK.
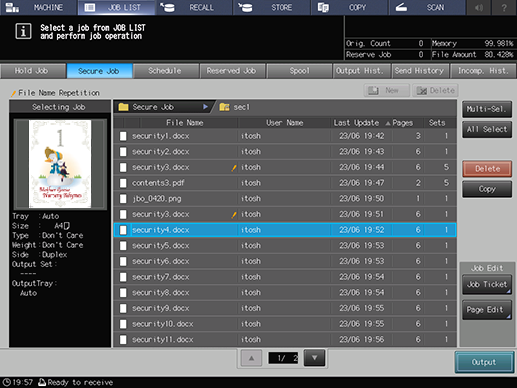
The print jobs in the secure box are displayed.
Select a print job.
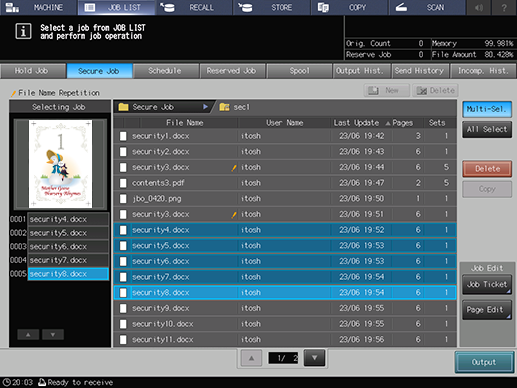
supplementary explanationPress Multi-Sel. first to select multiple jobs.
supplementary explanationPress All Select to select all jobs on the list. Pressing this key selects all jobs on the list, but Multi-Sel. appears highlighted instead.
Press Output.
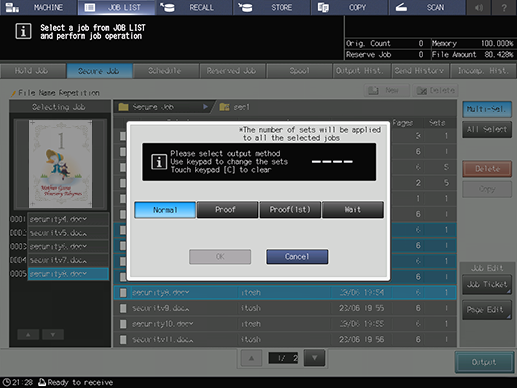
A dialog is displayed to select the output method and enter the number of copies.
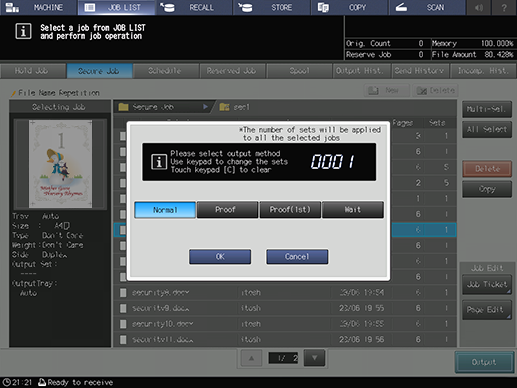
Specify the output method and the number of copies.
supplementary explanationSelect one output method from Normal, Proof, Proof(1st) and Wait.
supplementary explanationTo change the print quantity, enter the value from the keypad on the control panel. Available range is from 1 to 9,999.

supplementary explanationIf multiple jobs are selected, the number of copies is displayed as - - - -. You cannot output until you input the number of copies. Changed print quantity is applied to all the selected jobs. Enter the number of copies using the keypad on the control panel.
Press OK on the dialog.
Printing starts after the secure job data is sent to the Reserved Job screen.
Jobs are automatically deleted after printed.
supplementary explanationWhen [Wait] is selected, you can check the secure job on the Reserved Job screen. For details about the reserved job, refer to Reserved Job Operations.