
Storing Secure Job
Storing a Secure Job on the HDD using the PS Plug-in Driver
You can perform Secure Print for print jobs using the computer with the PS Plug-in driver installed.
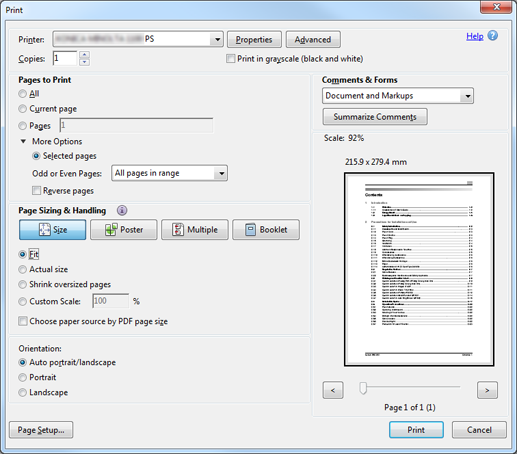
In the application, open the Secure Print data, and click Print in the File menu.
Select the printer (PS Plug-in driver) to print data, and click Properties.
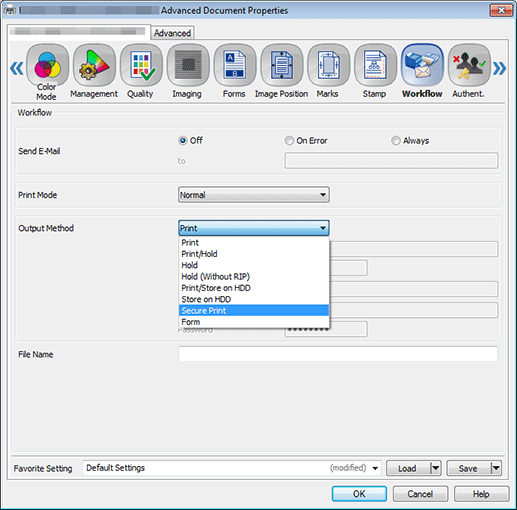
Click the Workflow tab, and then select Secure Print in the Output Method pull-down menu.
At this time, Normal is automatically selected for Print Mode.
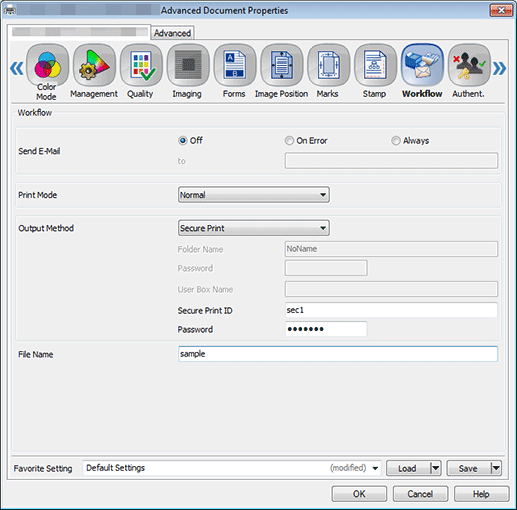
Enter the Secure Print ID and Password. When you enter the password in Password, Reenter is displayed. Then, enter the same password.
supplementary explanationThe ID and password can be specified using up to 8 one-byte characters

Enter a file name in the File Name field and click OK.
supplementary explanationIt is possible to skip entering a file name. If the file name is omitted, this machine assigns the last 4 digits of the job ID to be created automatically.
Click Print to send the job to the Secure Job User Box of this machine.
