
For Windows
Creating a user account for FTP site
Create a user account to use for accessing the FTP site.
This example shows the FTP server settings in the following environment.
The sample display may be different from the actual display depending on your system environment and application version/revision.
•Intended Environment
Network | The machine and the computer to set up an FTP site (Windows 7) are connected to the local area network. |
Operating System of the Computer to Set Up an FTP Site | Windows 7 Enterprise (Service Pack 1) |
Image Controller | Image Controller IC-604 |
In this document, it is assumed to use Scan to FTP in the local area network.
As for the security settings, ask the network administrator and perform appropriate settings.
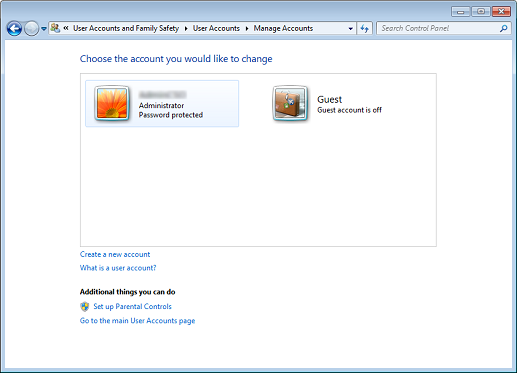
Click Start - Control Panel - Add or remove user accounts in sequence.
Click Create a new account.
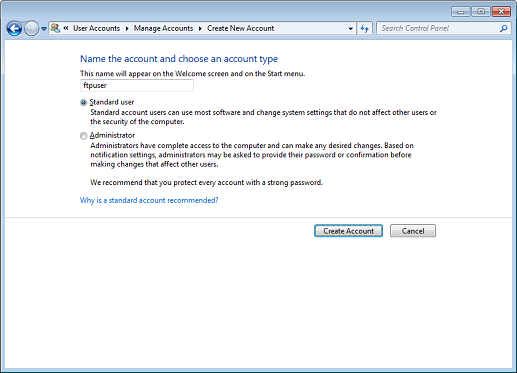
Enter an account name and make sure Standard user is selected, and then click Create Account.
Example: ftpuser is entered as the account name.
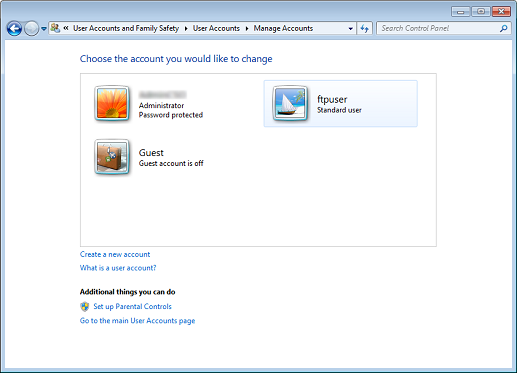
The created account is displayed.
Click the account to use for accessing the FTP site.
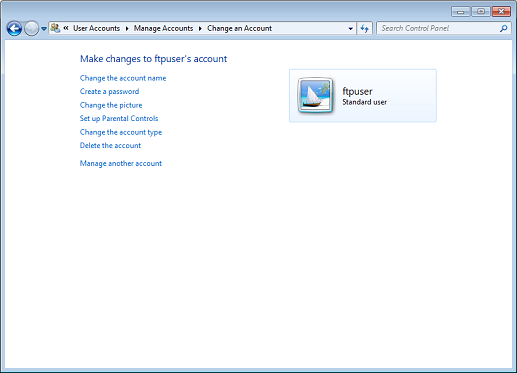
Click Create a password.
Enter a password and enter it again, and then click Create password.

The account name and password for accessing the FTP site is created.
Installing Microsoft FTP Service 7.5
Set up an FTP site on Windows 7 by using Microsoft FTP Service 7.5.
Click Start - Control Panel - Programs - Turn Windows features on or off in sequence.
Click Internet Information Services and FTP Service, and the click OK.
supplementary explanation Make sure that the items are selected as red frame.
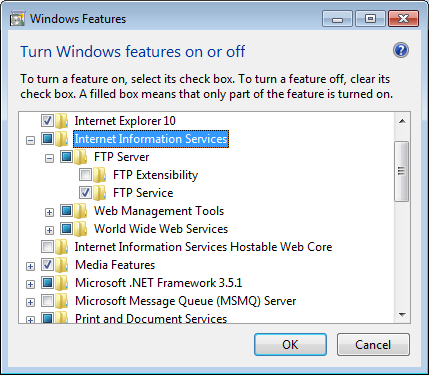
supplementary explanationIt might take several minutes to make changes to the features.
Setting up an FTP site
This section describes how to set up an FTP site on the local area network as an example.
Tips
By this setting, the active mode of the FTP server is disabled. Only the passive mode is enabled.
Click Start - Control Panel - System and Security - Administrative Tools in sequence.
Double-click Internet Information Services (IIS) Manager.
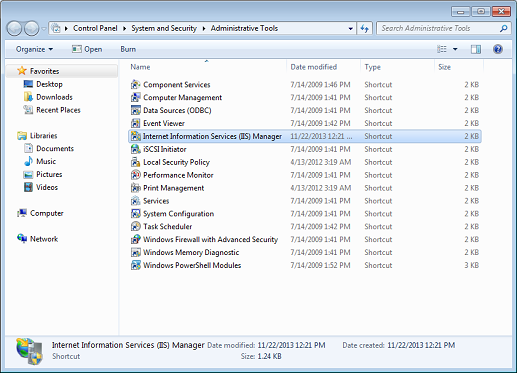
Internet Information Services (IIS) Manager is launched.
Right-click the server displayed in the connections list of the left area on the screen, and then click Add FTP Site.
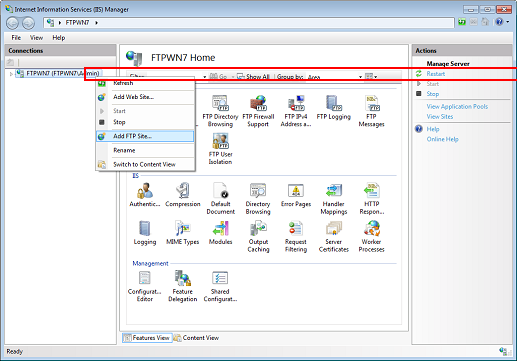
The Add FTP Site screen is displayed.
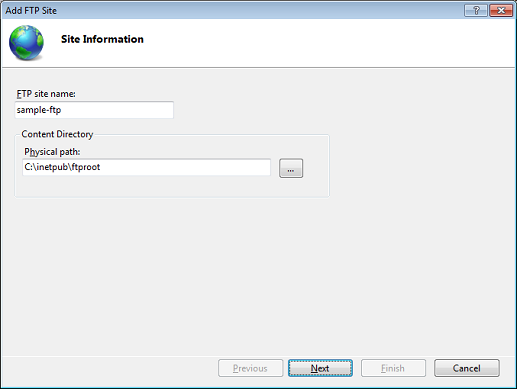
Enter an FTP site name and content directory, and then click Next.
The settings in this case are as follows:
Item
Setting
FTP site name
sample-ftp
Content Directory
C:\inetpub\ftproot
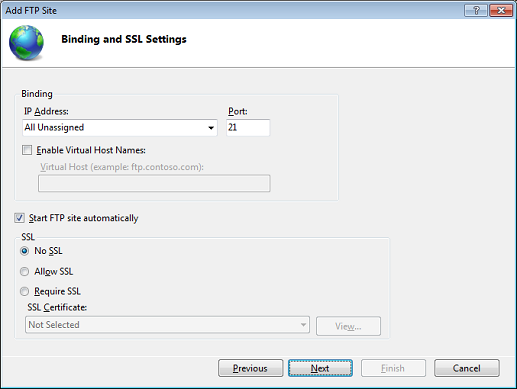
Select No SSL for SSL, and then click Next.
supplementary explanationAs for the SSL settings, ask the network administrator and perform appropriate settings.
Set the authentication and authorization information, and then click Finish.
The settings in this case are as follows:
Item
Setting
Authentication
Check Basic
Authorization
Select Specified users for Allow access to, and then enter a user name.
Permissions
Check Read and Write

supplementary explanationThe FTP site is set up.
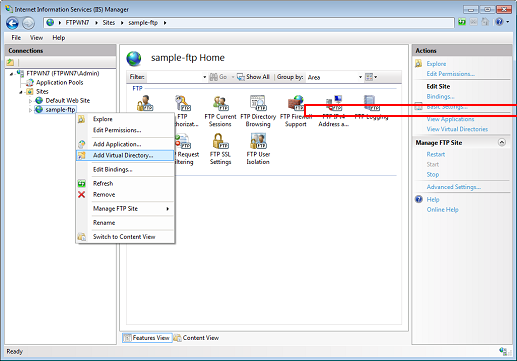
Open Sites in the connections list of the left area on the screen and right-click the FTP site created, and then click Add Virtual Directory.
supplementary explanationAdding virtual directory allows to manage the directory of the Web server on FTP.
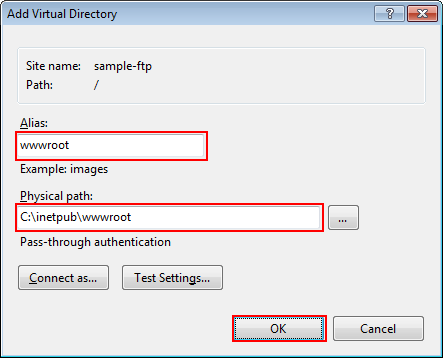
Enter each item, and then click OK.
The settings in this case are as follows:
Item
Setting
Alias
wwwroot
Physical path
C:\inetpub\wwwroot
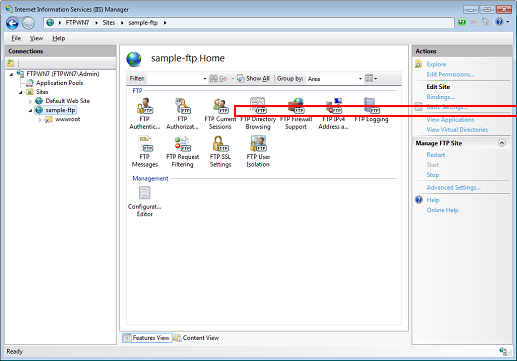
Select the FTP site, and then double-click FTP Directory Browsing.
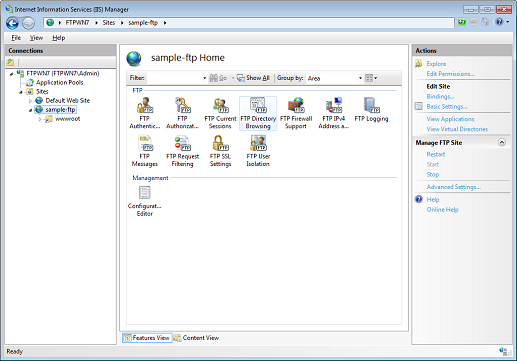
Check Virtual directories for Directory Listing Options, and then click Apply.
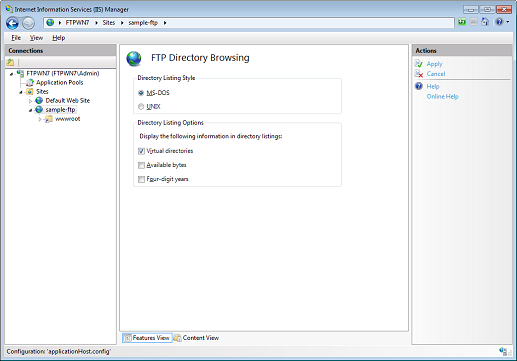
supplementary explanationThe virtual directory is displayed when using FTP client.
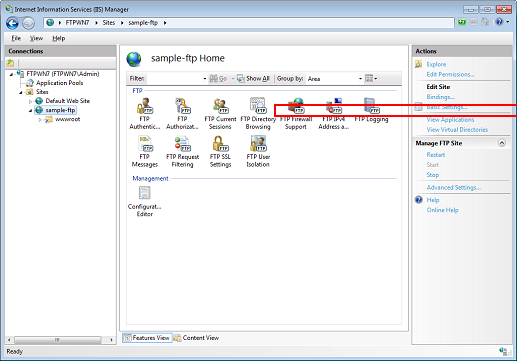
Select the FTP site, and then click Edit Permissions.
Click the Security tab and click Edit.
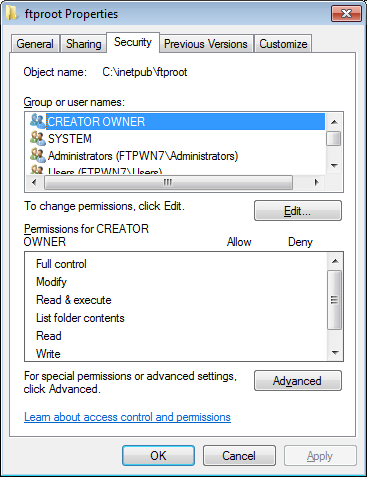
Click Add.
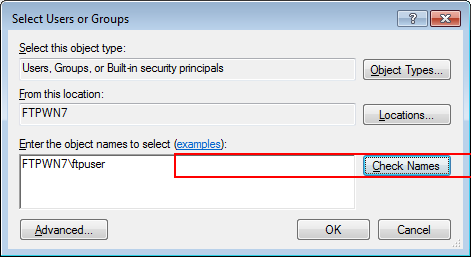
In the Enter the object names to select field, enter computer (or domain) name\user name and click Check Names.
supplementary explanationIf the computer name or domain name is displayed in From this location, the computer (or domain) name can be omitted.
Example: Access permission is given to FTPWN7\ftpuser.
Item
Setting
Enter the object names to select
FTPWN7\ftpuser
Computer (or Domain) name: FTPWN7
User name: ftpuser
supplementary explanationIf the computer name or domain name is unknown, check it in the following procedure.
(1) Right-click the Computer icon on the desktop and select Properties.
(2) Click Advanced system settings and the Computer Name tab.
(3) Click Change and check Computer Name.
supplementary explanationIf the user name is unknown or the account is not created, refer to Creating a user account for FTP site
When the user name is underlined, click OK.
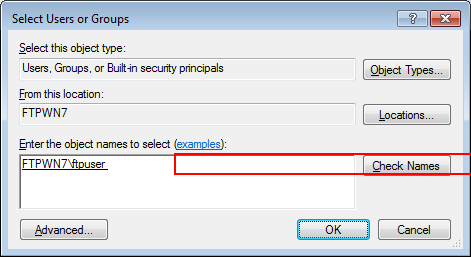
supplementary explanationIf computer (or domain) name\user name entered in step 14 is wrong, An object named ### cannot be found is displayed when you click Check Names. Enter the correct computer (or domain) name\user name.
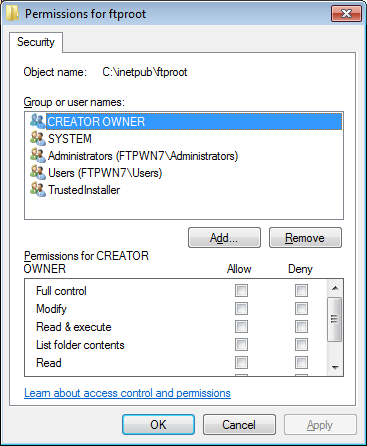
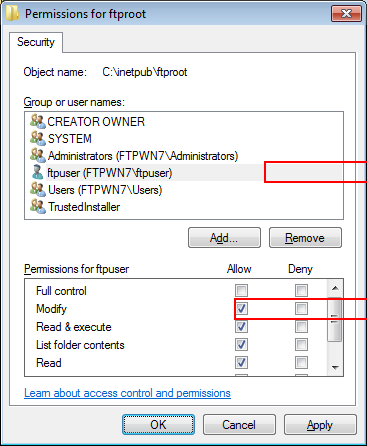
Select the user name entered in step 15 and add a check mark to Modify of Allow. Click OK.
Item
Setting
Permissions for ###
Add a check mark to Modify of Allow
Click OK.
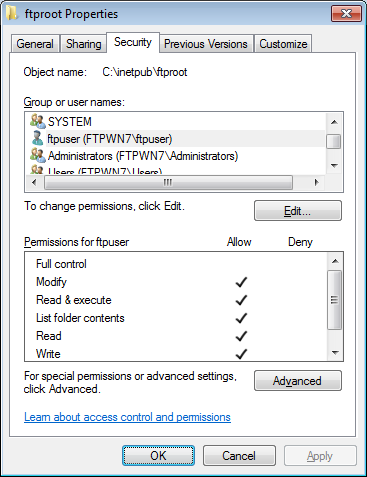
supplementary explanationYou can access the FTP site by using FTP client to create folders and upload files.
Select the FTP site, and then click Restart.
Launch the command prompt and check the FTP site is working properly.
(1) Enter ftp localhost and press the Enter key.
supplementary explanationIf the access to the FTP site fails, enter ftp 127.0.0.1.
(2) Enter the user name and press the Enter key.
(3) Enter the password and press the Enter key.
supplementary explanationTo launch the command prompt, click Start - All Programs - Accessories - Command Prompt in sequence.
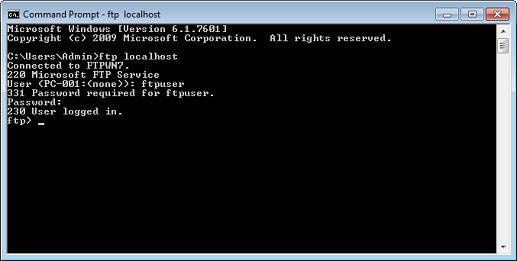
supplementary explanation230 User logged in is displayed when you are logged in.
supplementary explanationWhen the screen as shown above is displayed, the checking procedure is completed.
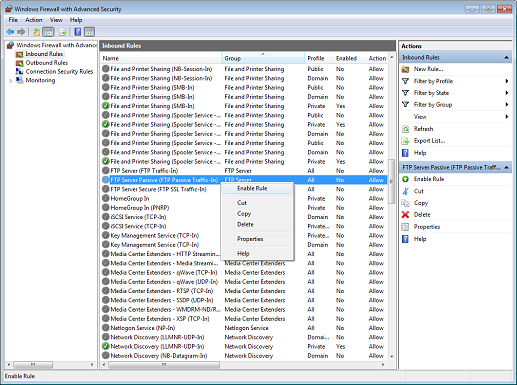
Click Start - Control Panel - System and Security - Windows Firewall - Advanced settings in sequence.
Select Inbound Rules and right-click FTP Server Passive (FTP Passive Traffic-In), and then click Enable Rule.
Right-click FTP Server (FTP Traffic-In) and click Enable Rule.
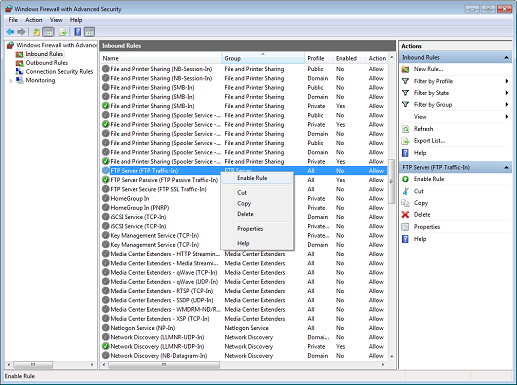
supplementary explanationThe FTP site setting procedure is completed.
Tips
If you cannot access the FTP site successfully, click Start - Control Panel - System and Security - Administrative Tools - Services in sequence, select Microsoft FTP Service and click Restart the service.
Using Windows Explorer as FTP client
Use Windows Explorer as the FTP client.
Tips
By this setting, the active mode of the FTP server is disabled. Only the passive mode is enabled.
Launch Explorer.
Right-click Computer and click Add a network location.
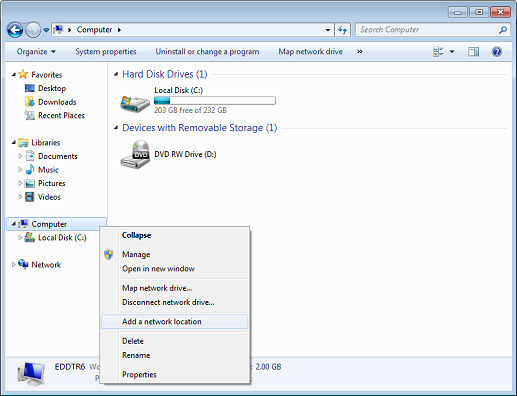
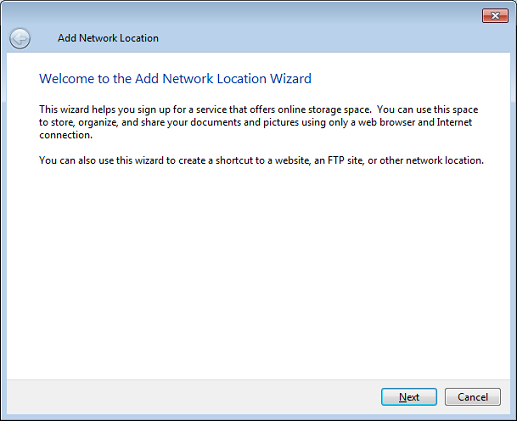
The Add Network Location screen is displayed.
Click Next.
Select Choose a custom network location and click Next.

Enter the address of the FTP site and click Next.
Enter the address as shown below.
- ftp:// <the IP address of the computer set up the FTP site>
- ftp://ftpuser@<the IP address of the computer set up the FTP site>
Example for the IP Address 192.168.1.20
- ftp://192.168.1.20
- ftp://ftpuser@192.168.1.20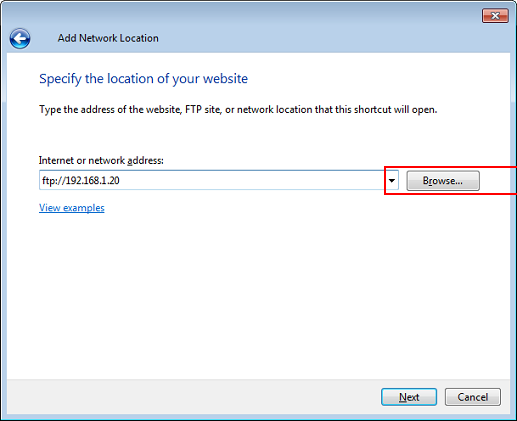
supplementary explanationYou can check an IP address of the computer set up the FTP site by the following procedure:
(1) Select Start - Control Panel - Network and Internet - Network and Sharing Center.
(2) Click Local Area Connection and click Properties.
(3) In the Network tab, click Internet protocol version 4 (TCP/IPv4) (or Internet protocol version 6 (TCP/IPv6)) and click Properties.
(4) Check the displayed IP address.
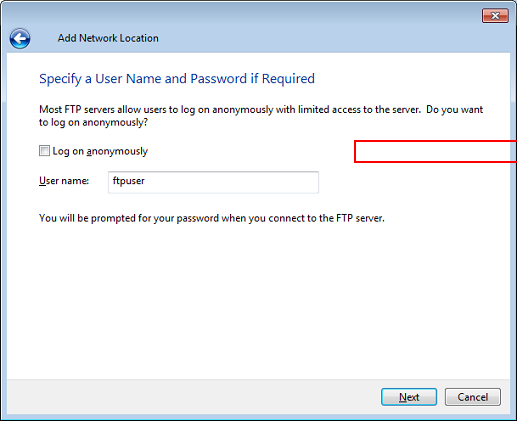
Remove the check from Log on anonymously and enter the user name, and then click Next.
Enter a name for the network location and click Next.
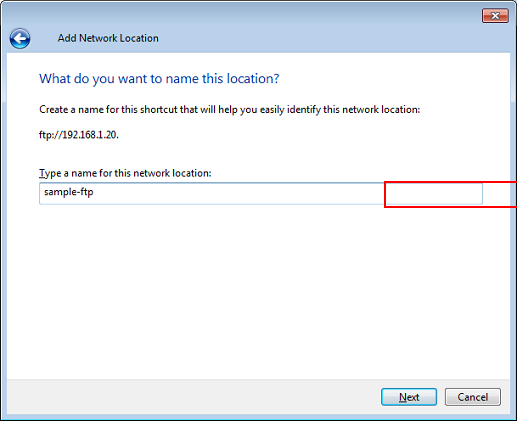
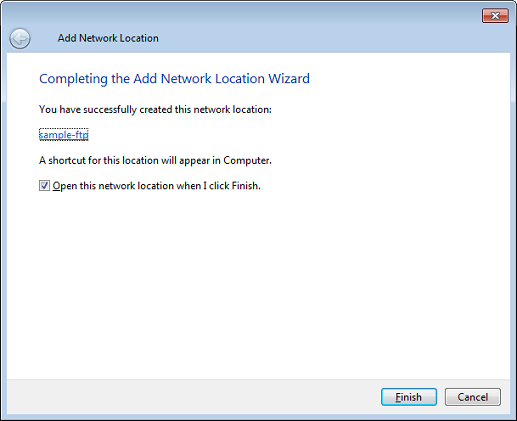
Click Finish.
Enter the password and click Log On.
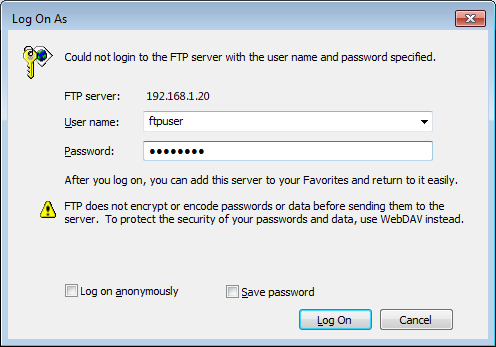
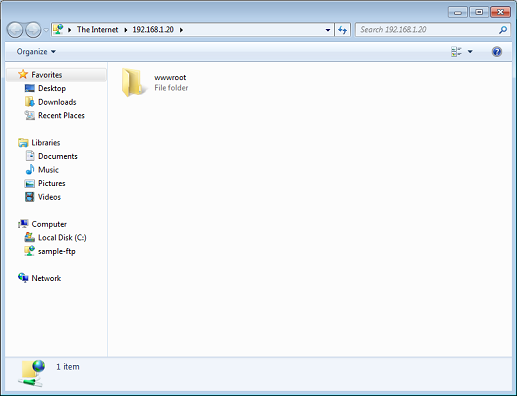
You can be logged in the FTP site.
Checking the FTP site setting
The following information is necessary to register the destination FTP site to the machine.
Ask the network administrator and write down the information.
Item | Description | Note |
|---|---|---|
Host Address | IP address of the computer set up the FTP site
| |
File Path | Specifies file path of the file folder in the destination FTP site.
| |
Login Name | Login user name of the FTP site
| |
Password | Login user password of the FTP site
|
Registering the FTP site to the machine
Register the destination FTP site to the machine on the touch panel of the main body.
On the touch panel of the main body, press SCAN.
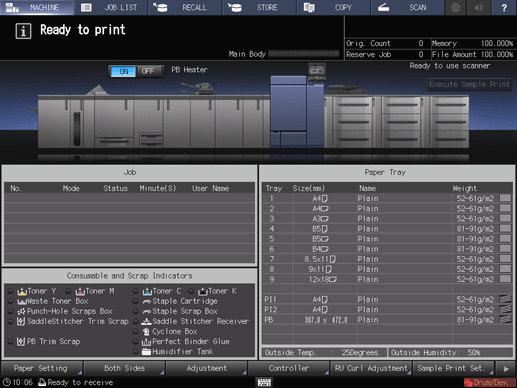
Press FTP and press Register/Edit.

Press Add.
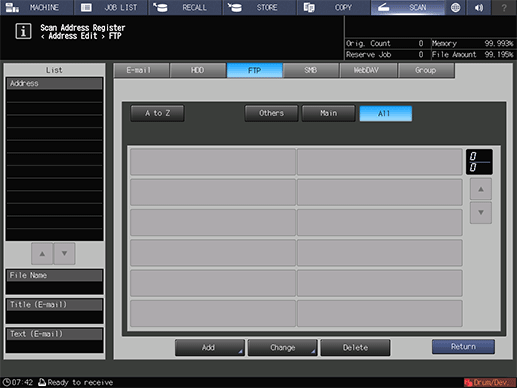
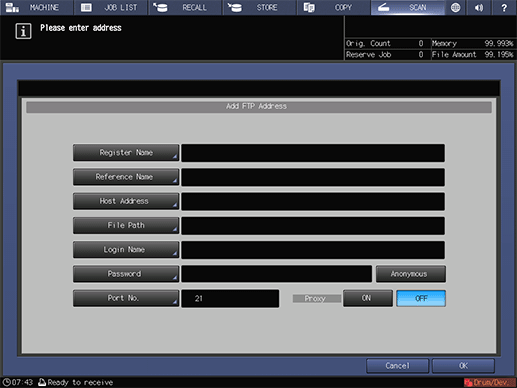
The Add FTP Address screen is displayed.
Press Register Name.
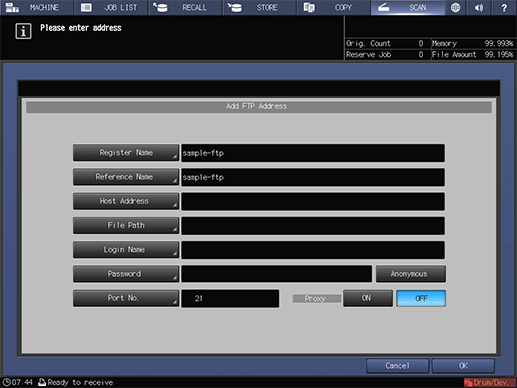
Enter the registration name and press OK.
supplementary explanationFor details about how to enter the file name, refer to Inputting Characters.
Example: sample-ftp is entered as the registration name.

Register Name and Reference Name are entered.
Press the Host Address, File Path, Login Name and Password items and enter the settings in the same manner.
Enter the information that you wrote down in "Checking the FTP server setting."
supplementary explanationThe items must be entered.
supplementary explanationThe port number is 21 (default). No configuration is required under the normal condition. Change this value only when the port is changed in the FTP server side.
supplementary explanationTo use a proxy server when sending to the FTP server, set Proxy to ON. In this case, configure a proxy server setting in UTILITY in advance. For details about Network Setting, refer to [NIC Settings].
supplementary explanationTo send the scan data to Anonymous FTP (FTP that enables unspecified multiple users to share files), press Anonymous. This sets the login name to anonymous.
After entering the items, press OK.

Check that the FTP site has been registered.
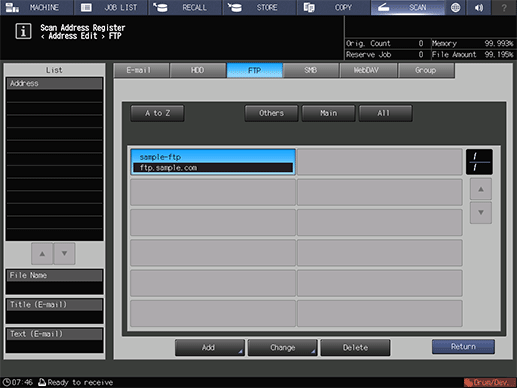
supplementary explanationPress Return.
Sending the scan data to the FTP server
Send the scan data to the FTP server from the machine.
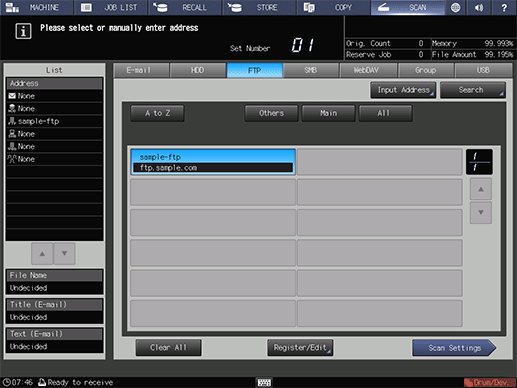
Select the FTP address you registered and press Scan Settings.
supplementary explanationAfter pressing SCAN, press FTP to display this screen.
Set the image quality, resolution and other items.
supplementary explanationFor details about each item on the screen, refer to Scan Settings Screen.

Set an original, and then press Start on the control panel.

The original is scanned and sent to the FTP server.
Tips
If you cannot access the FTP site successfully:
Click Start - Control Panel - System and Security - Administrative Tools - Services in sequence, select Microsoft FTP Service and click Restart the service.