
Setting by Bonjour Connection
Bonjour setting
Enable Bonjour in Bonjour Setting for this machine, and then enter the Bonjour name.
Reference
Bonjour Setting on this machine can be viewed by selecting Utility/Counter - Administrator Setting - Network Setting - NIC Setting - Bonjour Setting on the control panel.
Adding a printer
Click the Apple mark, and then select System Preferences from the Apple Menu.
Click the Printers & Scanners icon.
Click +.
When the menu is displayed, click Add (Other) Printer or Scanner.
Click Default.
Connected printers are detected.
supplementary explanationIf no printer is detected, turn this machine off, then on again.
In this case, turn off this machine, and then wait approximately 10 seconds before turning it on again. If you turn this machine on immediately after turning it off, it may not function correctly.
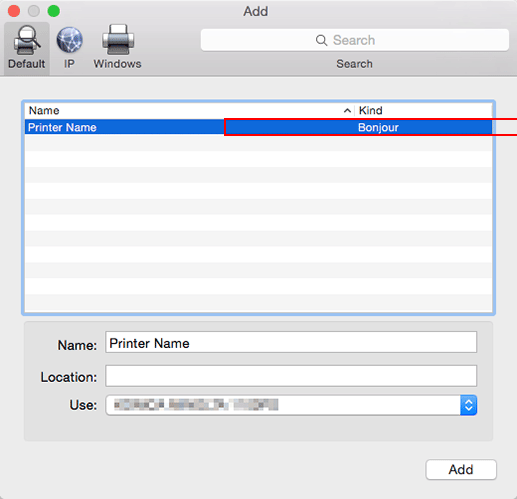
From the Printer Name list, select the desired Bonjour-connected model name.
The printer driver corresponding to the selected printer name is automatically selected.
supplementary explanationTo check the printer name, select Administrator Setting - Network Setting - NIC Settings - Bonjour Setting of this machine. In the default setting, the contents enclosed in parentheses ( ) suffixed in Bonjour Name correspond to the low-order three bytes of the MAC address. The following window shows an example where the printer name is changed to ''Printer Name''.
supplementary explanationAfter the printer driver is selected, go to Step 7.
supplementary explanationIf an incorrect printer driver is selected, go to Step 6.
Select the desired printer driver manually. Select Select (Printer) Software from Use(Print Using), and then select the printer driver of the desired model name from the list that is displayed in the separate window.
Click Add.
When the selected printer is registered in the Printers & Scanners, the setting procedure is completed.