
Installing the printer driver
Installing the PS Plug-in driver
Insert the Driver CD-ROM into the CD-ROM drive.
supplementary explanationIf the User Account Control window appears, click Allow, Continue, or Yes.
supplementary explanationMake sure that the CD menu is displayed, and then go to Step 2.
supplementary explanationIf CD menu is not displayed, double-click Autorun.exe in the CD-ROM, and then go to Step 4.
Select Printer Install and select PS.
Click PS Plugin Driver, then EN.
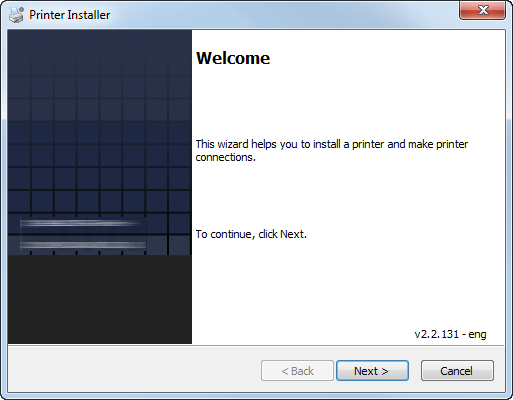
The printer driver installer starts.
Click Next.
Enter the printer name or IP address and click Next.
supplementary explanationIf selecting Network printer name or IP Address, click Next to go to Step 6.
supplementary explanationIf you want to connect to the other printer, select Other Connection and click Next.
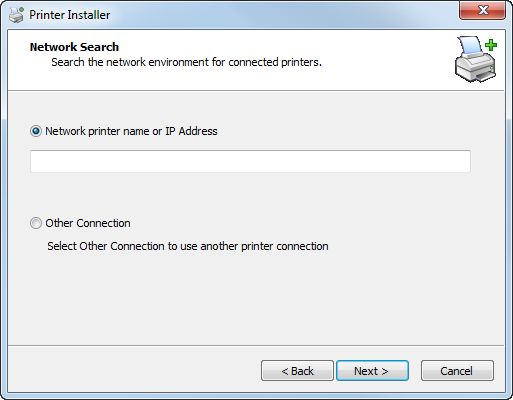
supplementary explanationNetwork printer name or IP Address:
This machine is set as a Windows printer.
The printer is created with the Ipr port used (e.g.: myprinter:print.).
supplementary explanationOther Connection:
You can specify the other printer connection (NetBIOS or port 9100).
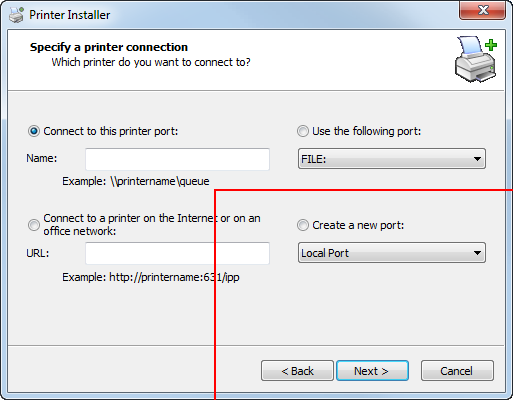
When selecting Other Connection, select the printer connection and click Next.
supplementary explanationIf you use DNS in the network, the administrator has to check whether the network name specified to this machine is matched with the network name stored in the DNS.
Select the printer model and click Next.
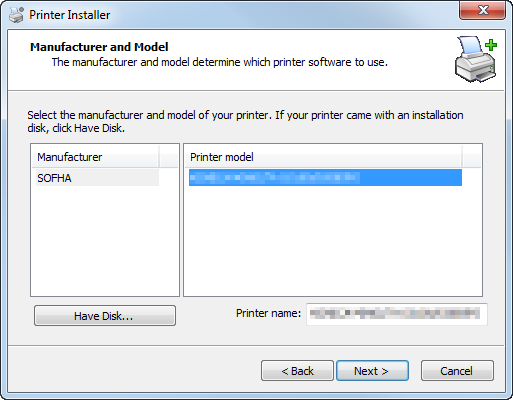
supplementary explanationThe list of printer model displays all printers that you can install. If there is no desired printer name, click Have Disk and select the Setup.inf file.
Click Next.
Click Finish.
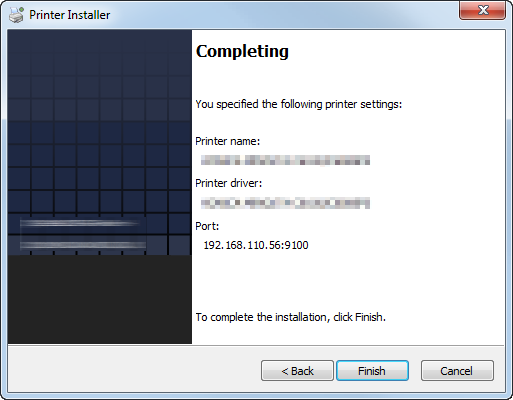
The installation is complete.
supplementary explanationOnce the printer is installed, you can select the printer in the application's print screen.