
Register a Color Configuration
You can create a color configuration with Color Centro and register existing profile sets to activate the color configuration.
The explanation in this section is given based on the premise that profile sets for all necessary paper types have already been created.
As an example, the procedure for creating and registering a color configuration with the following conditions is introduced here.
•There is a job that uses coated GL and colored paper.
•Two types of profile sets: "Sample-coat-GL" for coated GL and "Sample_ColorPaper" for colored paper, are prepared.
•The above two profile sets are registered in a color configuration that is created with the name "Sample_Config."
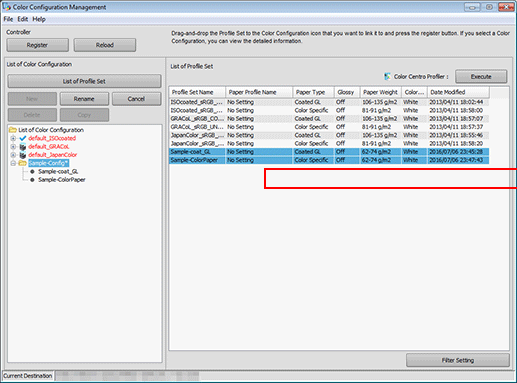
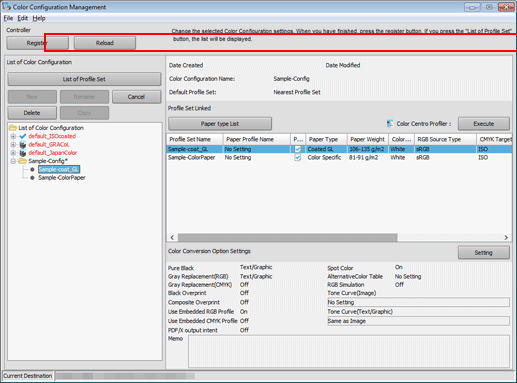
Start Color Centro, and click Color Configuration Management on the top screen. (Refer to Start Color Centro.)
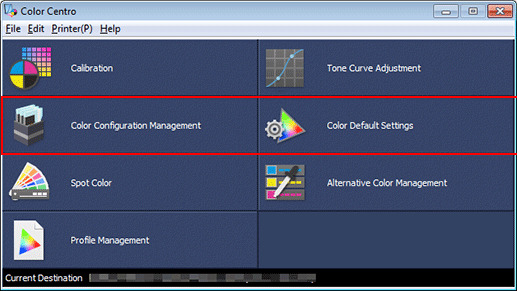
The Color Configuration Management screen is displayed.
Click New.
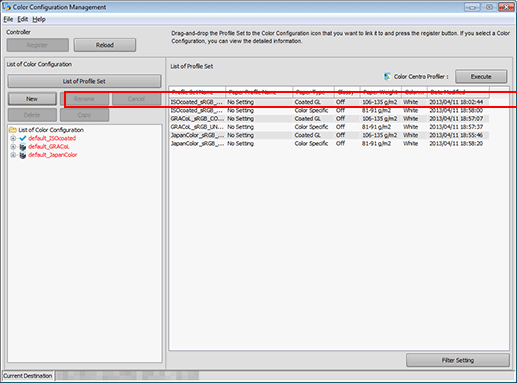
A new color configuration is added to the bottom of the tree with a temporary name new*, waiting for a name change.
Delete the temporary name new* and enter a color configuration name to be registered.
Example: "Sample_Config" is entered as the color configuration name.
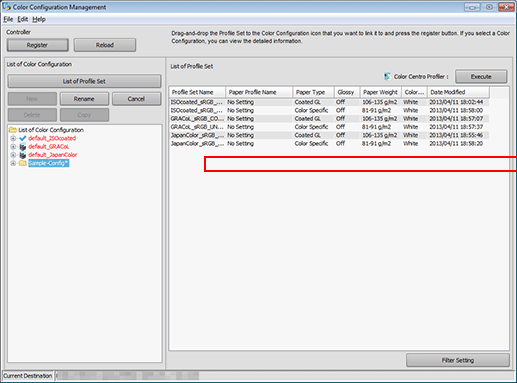
From the profile set list on the right, select the profile set to be registered, and drag to the color configuration added to the tree.
Example: Two profile sets: "Sample-coat-GL" for coated GL and "Sample_ColorPaper" for colored paper, are being registered.
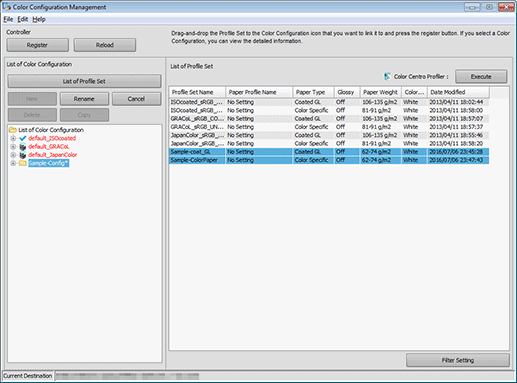
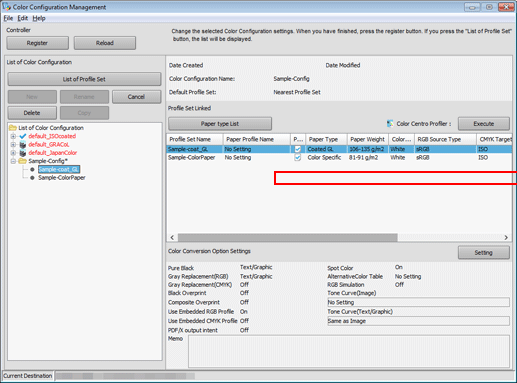
Check that the profile sets are added under the created color configuration.
Select the added profile sets and check the settings shown on the right side of the screen.
The correspondence of paper types and profiles, color conversion settings, and other information are displayed.
supplementary explanationIf paper type and/or weight are different, "Use approximate profile set" is set as the default. With this option, the most approximate profile set is automatically used.
supplementary explanationRegistered color configurations can be edited. (Refer to Editing and Registering a Color Configuration.)
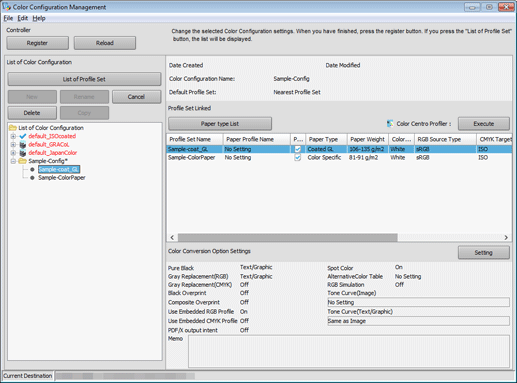
Click Setting in Color Conversion Option Settings.
Color Conversion Setttings screen is displayed.
After setting the default color conversion option, click OK.
Change the settings on this screen to set the default color conversion option.
supplementary explanationFor details, refer to Changing the Color Conversion Setting.
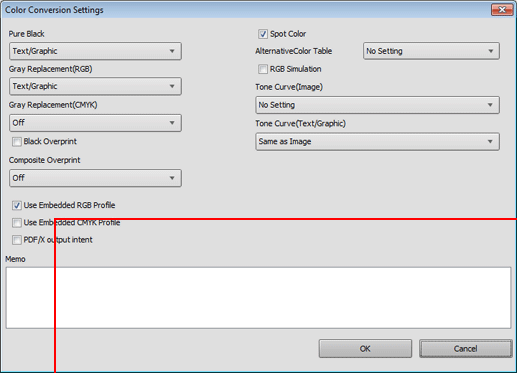
supplementary explanationTo use spot colors, select Spot Color.
supplementary explanationTo use alternative colors, select a table in AlternativeColor Table.
supplementary explanationTo adjust the tone curve, set the Tone Curve(Image) and Tone Curve(Text/Graphic) to any option other than No Setting.
Click Register.
The color configuration is registered.