
Executing the Exact Color Calibration Wizard
By following the wizard, you can create a correction table with the Exact Color function and apply the correction table as feedback to the controller for enhanced color reproduction accuracy.
On the [Calibration Manager] screen, click [Execute Wizard of Exact Color] under [3. Exact Color].

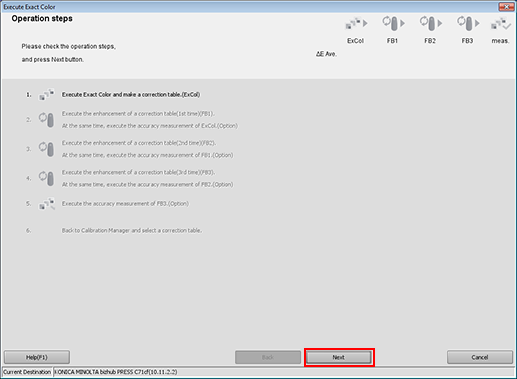
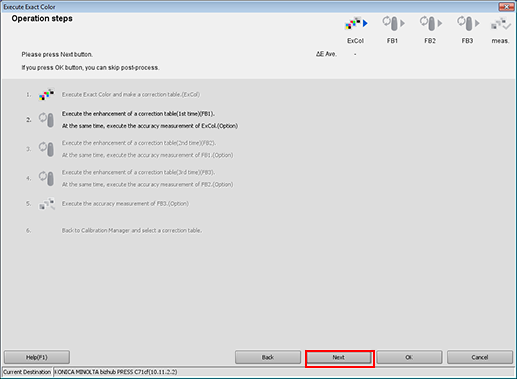
The wizard for executing the Exact Color function starts and displays the [Operation steps] screen.
On the [Operation steps] screen, click [Next].
The [1. Create of current table (ExCol)] screen is displayed.
Click [Print].
Print the color chart that is to be measured using the instrument.
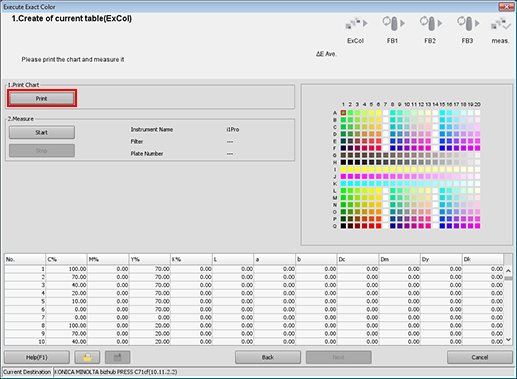
A test chart is printed.

If the winding motor is stopped, refer to Prepare the Machine and start it.
Cut out a printed test chart from the media core of Roll Winder RW-201.
When cut out the printed chart, refer to Cutting the output paper and be careful not to injure your hands or fingers.
Click [Start].
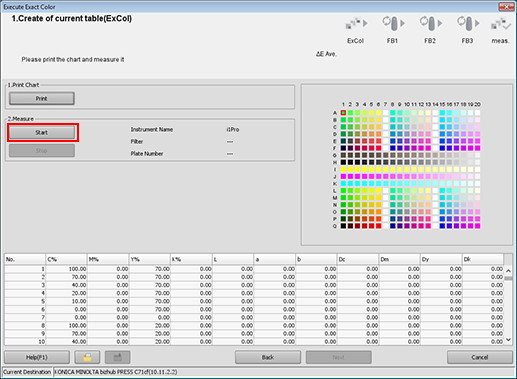
Measure the chart using the instrument. After you finish the chart measurement, click [Next].
Example: Measurement is performed using i1Pro.
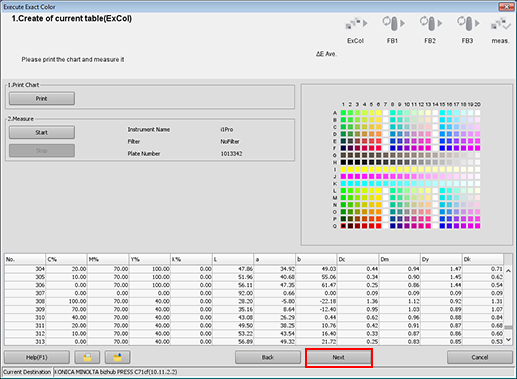
After the message, [Calculating] is displayed, the [Operation steps] screen is displayed.
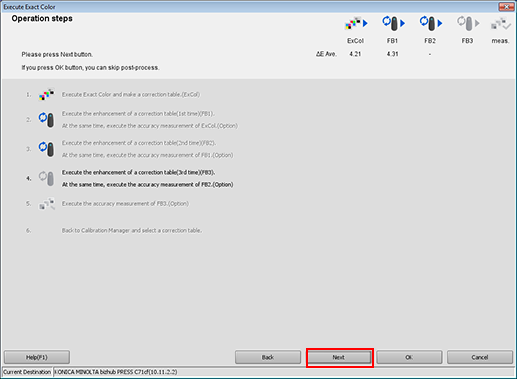
On the [Operation steps] screen, click [Next].
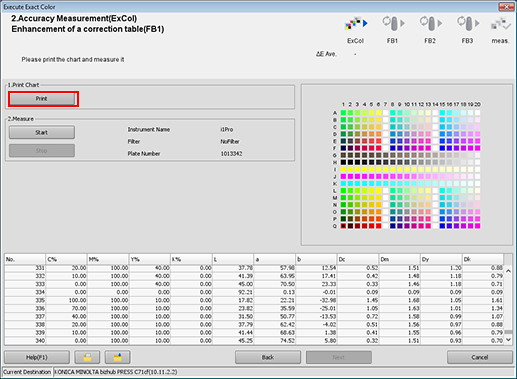
The [2. Accuracy Measurement(ExCol) Enhancement of a correction table(FB1)] screen is displayed.
Click [Print].
Print the color chart that is to be measured using the instrument.
A test chart is printed.
Cut out a printed test chart from the media core of Roll Winder RW-201.
When cut out the printed chart, refer to Cutting the output paper and be careful not to injure your hands or fingers.
Click [Start].
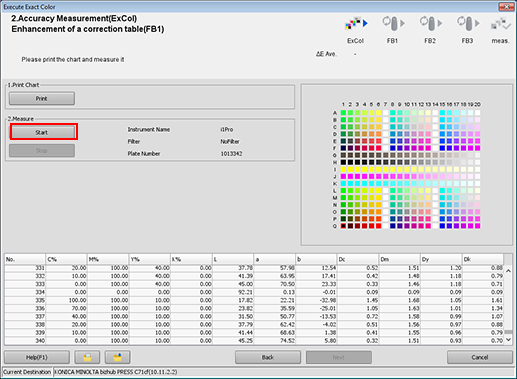
Measure the chart using the instrument. After you finish the chart measurement, click [Next].
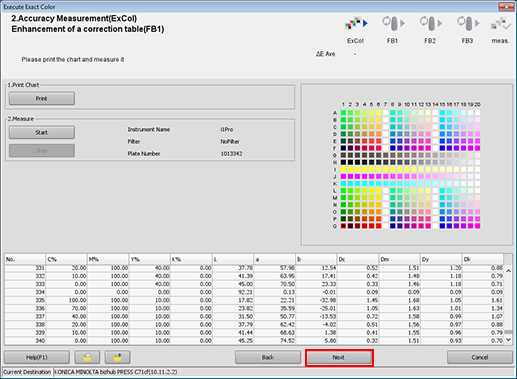
The [Operation steps] screen is displayed.
Click [Next] and perform the rest of the measurement (FB2, FB3) by following the instructions on the screen.
Measurements are performed with the same procedure for [3. Accuracy Measurement(ExCol) Enhancement of a correction table (FB2)], [4. Accuracy Measurement(ExCol) Enhancement of a correction table (FB3)], and [5. Accuracy Measurement (FB3)] in sequence.
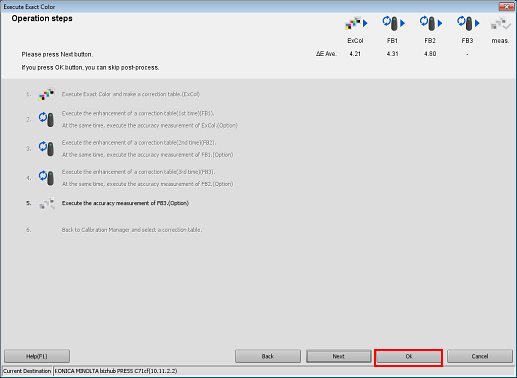
After the measurement for [5. Accuracy Measurement(FB3)], click [OK] on the [Operation steps] screen.
On the [Calibration Manager] screen, select the measurement data and check the graphs. After selecting the data to be registered, click [Register the selected result.].

By registering the acquired calibration data in the image controller, this data can be applied when printing.
Click [Yes] on the [Information] screen.
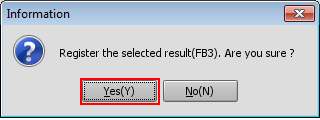
The calibration table is registered in the image controller.