Executing the G7 Calibration
By executing the G7 calibration, you can apply the correction to the controller for enhanced color reproduction accuracy.
On the [Calibration Manager] screen, click [Start G7 Calibration] under [3. G7 Calibration].
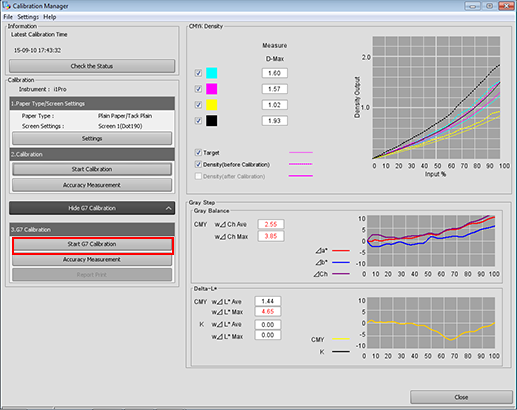
The [Start G7 Calibration] screen is displayed.
Click [Print].
Print the color chart that is to be measured using the instrument.
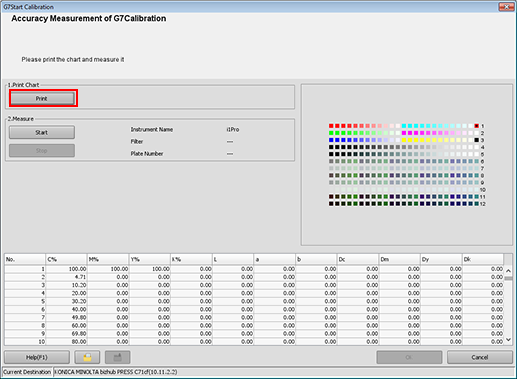
A test chart is printed.

If the winding motor is stopped, refer to Prepare the Machine and start it.
Cut out a printed test chart from the media core of Roll Winder RW-201.
When cut out the printed chart, refer to Cutting the output paper and be careful not to injure your hands or fingers.
Click [Start].
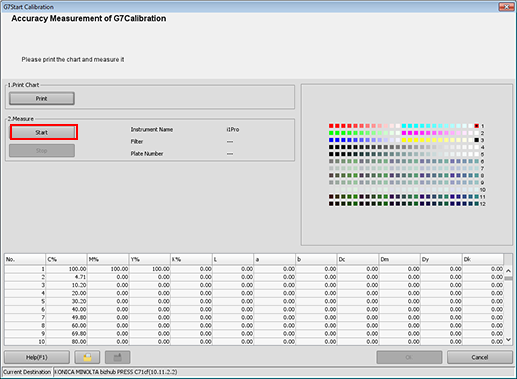
Measure the chart using the instrument. After you finish the chart measurement, click [Register].
Example: Measurement is performed using i1Pro.
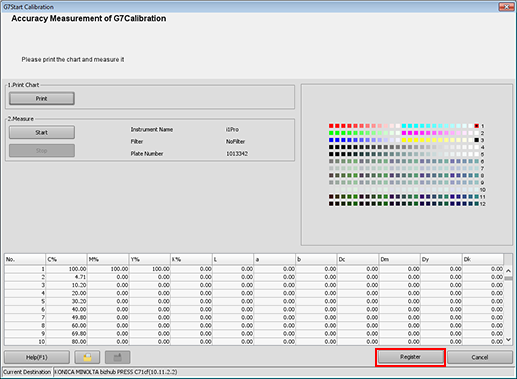
By registering the acquired calibration data in the image controller, this data can be applied when printing.
Click [OK] on the [Information] screen.
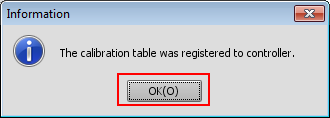
The calibration table is registered in the image controller.
On the [Calibration Manager] screen, click [Accuracy Measurement] under [3. G7 Calibration].
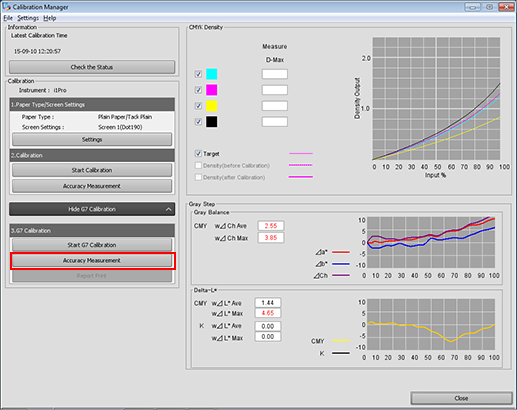
The [Accuracy Measurement of G7Calibration] screen is displayed.
Click [Print].
Print the color chart that is to be measured using the instrument.
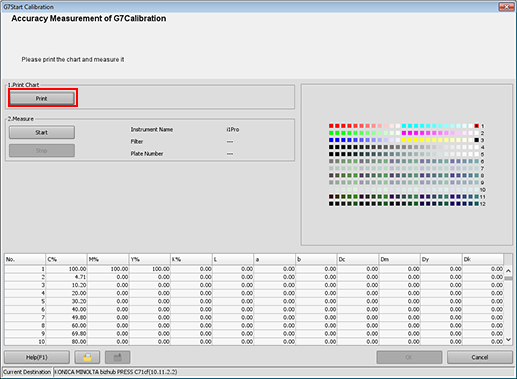
A test chart is printed.

If the winding motor is stopped, refer to Prepare the Machine and start it.
Cut out a printed test chart from the media core of Roll Winder RW-201.
When cut out the printed chart, refer to Cutting the output paper and be careful not to injure your hands or fingers.
Click [Start].

Measure the chart using the instrument. After you finish the chart measurement, click [OK].
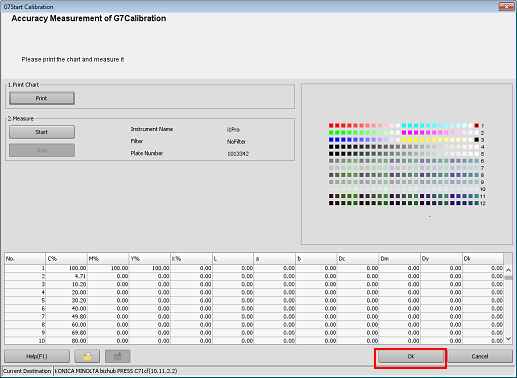
When the values of ΔCh and ΔE* are not standard as the result of the accuracy check, the dialogue is displayed. You can choose to recalculate and register the calibration table to fit in the target range or register as is in the dialogue. When you recalculate, you can print the report about the current correction data before executing.
When you recalculate, you are recommended to return to Step 6 to measure the accuracy after executing.
Check the measurement results (CMYK density and Gray Step) on the [Calibration Manager] screen.
When the calibration accuracy measurement is completed, the measurement results for CMYK density and Gray Step (gray balance) are displayed.
 [CMYK Density]:
Check whether the [D-Max] (maximum density) under [Measure] is in its appropriate range. Check whether the [Target] and [Density (after Calibration)] in the graph are close. [Gray Step]:
Based on the [Gray Balance], [Delta-L*], [Δa*], [Δb*], and [ΔCh] values, check the gray reproducibility.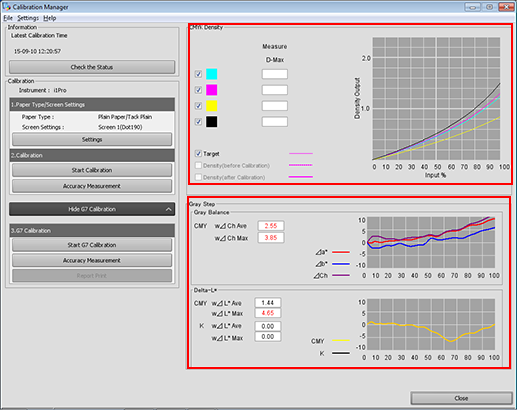
When [Report Print] is clicked, the measurement results for G7 calibration is printed.
