
Work flow
This section describes the work flow of the daily operation after the required preparations to use the printer functions of this machine.

For details about presetting and how to use, refer to Prepare and Adjust Printer Functions.
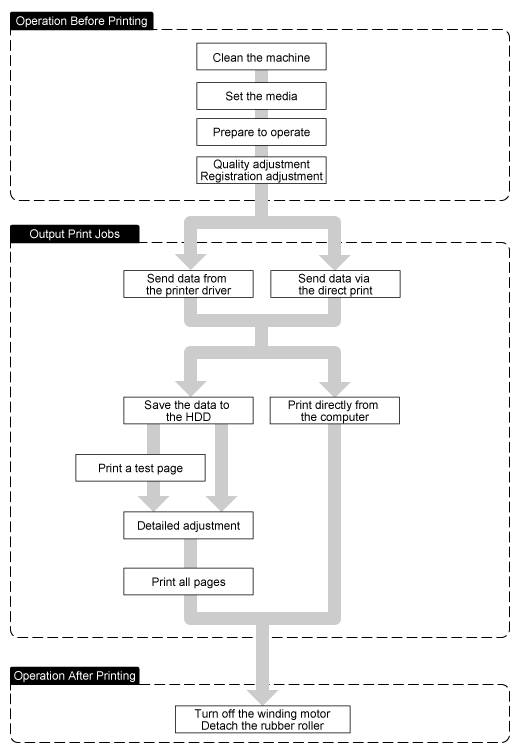
STEP 1: Clean the Machine
Be sure to clean the machine before starting operation.
For details, refer to Cleaning.
STEP 2: Turn On the Machine
Turn on the main body and Roll Winder RW-101/Roll Winder RW-201.
For details, refer to Power Switches of the Machine.
STEP 3: Set/Change the media
Set or change the media.
For details, refer to Setting media, Changing the media.
STEP 4: Prepare the machine
Prepare the machine to print.
For details, refer to Prepare the Machine.
STEP 5: Registration Adjustment
Adjust the image registration before printing.
For details, refer to Pre-output Image Position Adjustment.
STEP 6: Quality Adjustment
Adjust the image quality before printing.
For details, refer to Items to Adjust and When to Perform.
STEP 7: Prepare Print Jobs
Create a print job and send it to the machine.
For details, refer to Create Print Data, Save a Job.
STEP 8: Print a Test Page
Print a test page before printing a job.
For details, refer to Print a Test Page.
Adjust the image registration and image quality if necessary.
For details, refer to Adjustments after Test Print.
STEP 9: Print All Pages
Print all pages of the job.
For details, refer to Print All Pages.
STEP 10: Operation After Printing
When you end printing or do not continue printing another job
For details, refer to Operation After Printing.