
Print a Test Page
Print test pages from the [Hold Job] screen.
The procedure for stopping the printed image near the delivering section and checking the image immediately.

If you want to combine several jobs to print test pages, insert or copy on the [Call Insert Job] screen of the [Image Page Edit] screen and delete unnecessary pages to edit pages for the test print. For details about [Image Page Edit] screen, refer to Job List Display and Basic Job Management, Using HDD to Manage Jobs.
If you are not particular about the accuracy of a print position, you can shorten the distance to cut back on the consumption. For details, refer to Print Start Distance Setting: Specify the Print Start Distance.
Prepare the machine to print beforehand. For details, refer to Prepare the Machine.
Press [ Stop Immediately] for [Print Stop Change Setting] on the [MACHINE] screen on the touch panel of the main body.
If [Stop Immediately] is selected, printed image stops near the delivering section.
If [Stop Normally] is selected, printed image is wound on Roll Winder RW-201 and stops.
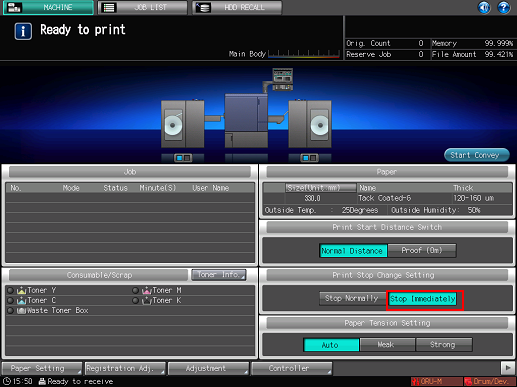

[Print Stop Change Setting] is back to [Stop Normally] when the sub power switch of the main body is turned OFF.
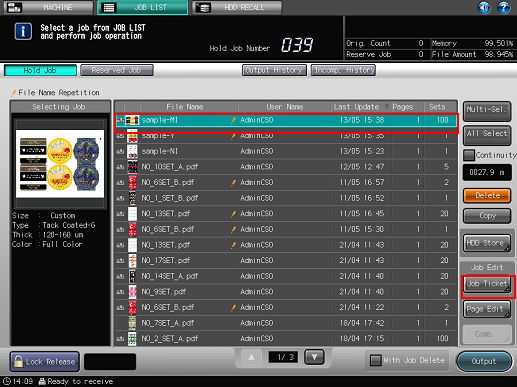
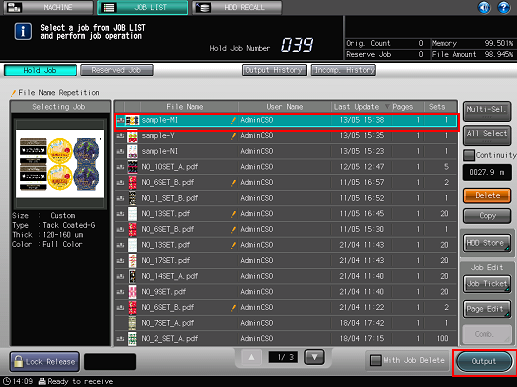
Press the [JOB LIST] tab to display the [Hold Job] screen.
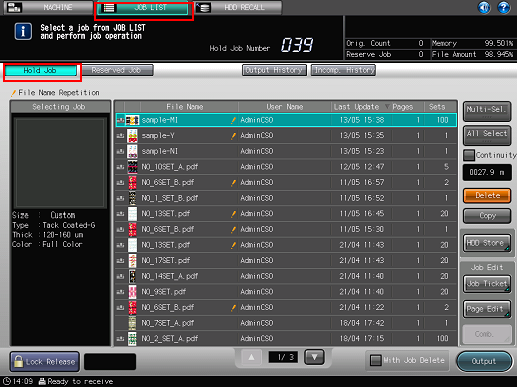
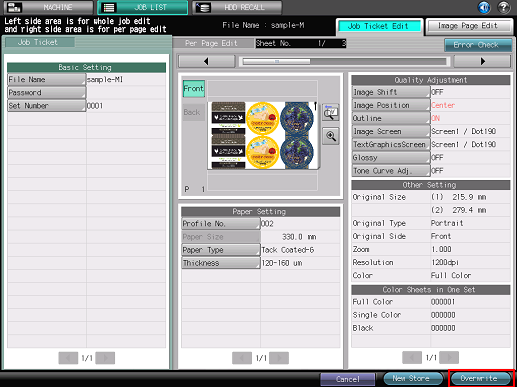
Select a job that you want to print its test, then press [Job Ticket].
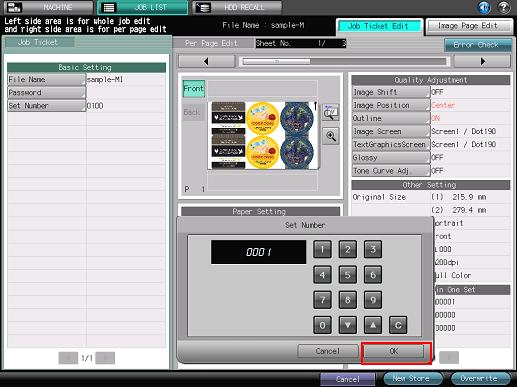
Press [Set Number].
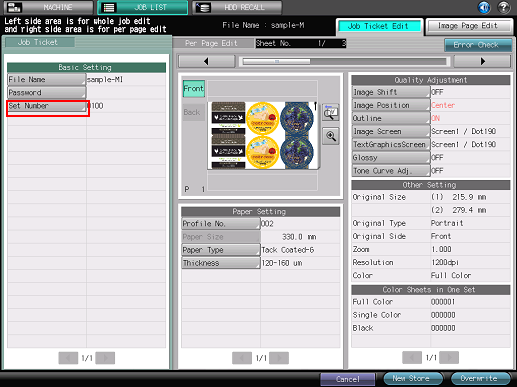
Enter the number you want to print for a test, press [OK].
Press [Overwrite].
Press [Output].
The printed job stops at the position specified for [Stop Immediately].
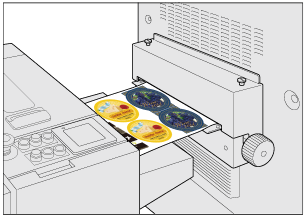
Check the test pages visually.
If the image registration and image quality adjustment are necessary, go to Adjustments after Test Print.
If no adjustment is necessary, go to Print All Pages.
When you are ready to print all the pages of a job, be sure to set [Stop Normally] for [Print Stop Change Setting] before printing all the pages.
Adjust the timing for the Stop Immediately mode in order to reduce the damage of paper or improve the performance of conveyance. For details, refer to Stop Immediately Timing Adjustment: Adjust the timing for Stop Immediately.
Depending on the media, using the [Stop Immediately] mode may result in the media deforming or the glue running out. In such cases, print test pages in the [Stop Normally]mode. Contact the manufacturers about the specifications of media.