
Applying the Printer Profile
Using Color Centro, you can set a paper type link to a saved printer profile and register it as the default printer profile.
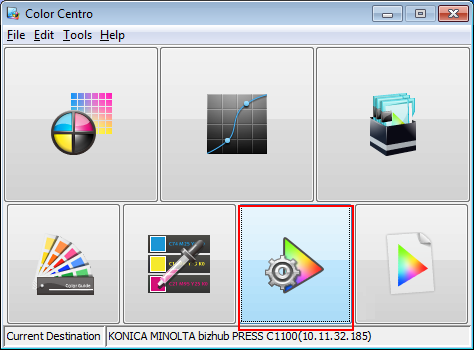
Click [Profile Management] on the Color Centro launcher screen. (Refer to Launcher Screen.)

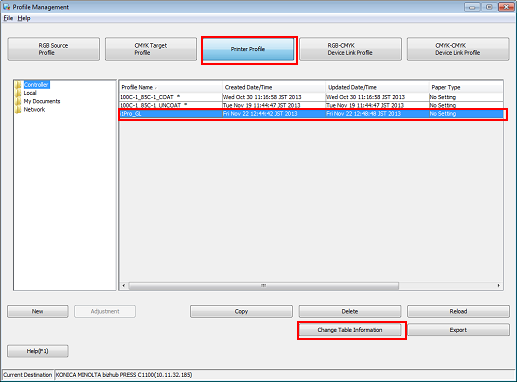
The [Profile Management] screen is displayed.
Click [Printer Profile]. Click to select the profile name of the profile you want to apply, and click [Change Table Information].
The [Change Table Information] screen is displayed.
Profiles marked with an asterisk (*) are not available for table information change.
Select the paper type for [Paper Type Link] and click [OK].
Example: [Coated GL] is selected for [Paper Type Link].

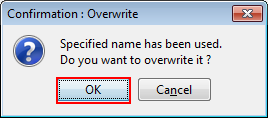
Click [OK] in the [Confirmation: Overwrite] screen.
Click [Color Default Settings] on the Color Centro launcher screen.
Set the saved printer profile as the default color setting for the image controller.
The [Color Default Settings] screen is displayed.
Click [Printer Profile] and select the profile name of the profile you want to use. Click [Register].
Check that [Paper Type Link] is selected.
