Booklet: Adjusting the Staple Pitch
You can adjust the staple pitch.
As an example, how to adjust the staple pitch to widen the finished staple width by 4 mm is explained below.
• Meaning and Purpose of Staple Pitch Position Adjustment
When the staple pitch of saddle stitch is too narrow or too wide, this function allows you to adjust the pitch by specifying the desired value.
Negative values make the staple pitch narrower.
Positive values make the staple pitch wider.

• When to perform
When the staple pitch of saddle stitch is too narrow or too wide
• Intended Environment
Image Controller | Image Controller IC-602 |
Mounted finisher | Saddle Stitcher SD-506 |
* The sample screen may be different from the actual display depending on your system environment.
Check the current staple width 'a' using a ruler.
The standard positions for staple width are predefined for each paper size.
For [A3] Horizontal, the staple width is 148.5 mm (Vertical length 297 mm divided by 2).

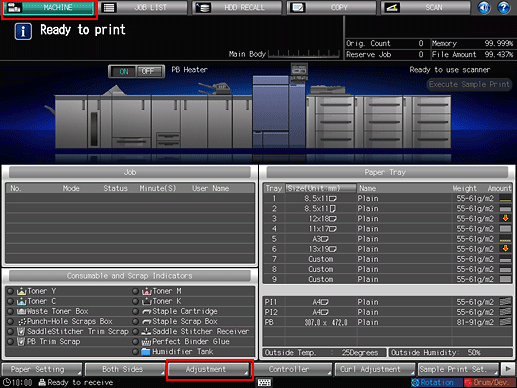
On the touch panel of the main body, press [Adjustment] on the [MACHINE] screen.

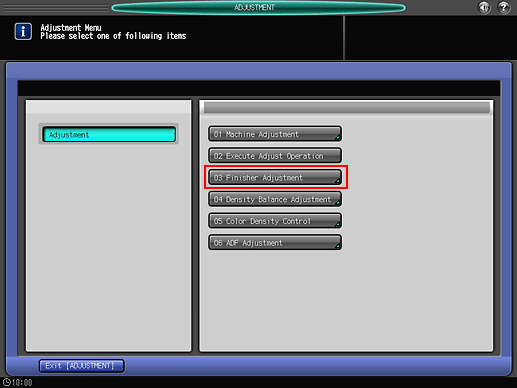
Press [Finisher Adjustment] on the [Adjustment Menu] screen.

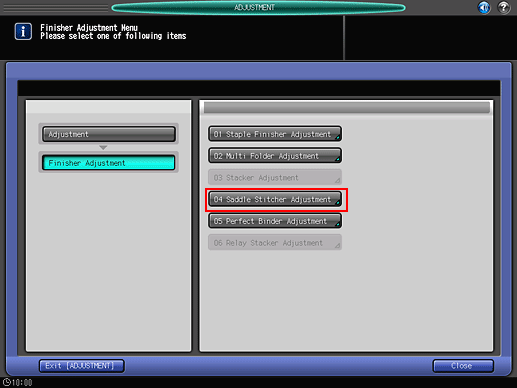
Press [Saddle Stitcher Adjustment] on the [Finisher Adjustment] menu.

Press [Staple Pitch Adjustment] on the [Saddle Stitcher Adjustment] menu.

Press the paper size to adjust. Enter the adjustment value and press [Set].
Example: Make the staple pitch 4 mm wider for [A3] Horizontal.
Item
Setting
[A3] Horizontal
+4 mm (+4)
Press [4] and [Set] to enter the value [+4]. This makes the staple pitch 4 mm wider.

Press the keypad on the screen to set the value.
Use [+/-] to specify the value to be positive or negative.
With a specific paper size selected, the set value becomes the sum of the entered value and the value previously specified for [Offset for All Size].
Pressing [Print Mode] switches the mode to print mode, which allows you to print the original.
Print the original again and check the staple pitch.
Repeat the above steps until the desired staple positions are obtained.

