
Creating a New Hot Folder
You can create a new hot folder.
On the Hot Folder screen, select an empty folder list, then select Hot Folder - New Creation from the Hot Folder Operations menu.
supplementary explanationYou can also select New Creation from the right-click menu.
supplementary explanationIf necessary, you can also click the New Creation icon
 .
.
supplementary explanationYou can also drag an empty folder list to the New Creation icon
.
supplementary explanationYou can also double-click an empty folder list.
The New - Hot Folder Settings screen is displayed.
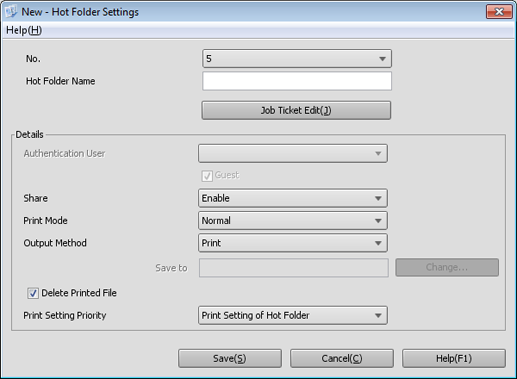
Specify the registration name and name of the hot folder.
supplementary explanationThe hot folder name can be specified using up to 80 characters.
All characters can be used except symbols ", \, |, :, *, <, >, /, ?, and periods (.) at the top and end.
Click Job Ticket Edit.
The Job Ticket Settings screen is displayed.
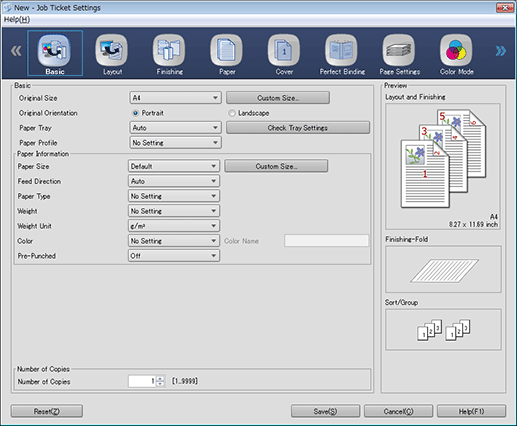
Configure a job ticket for a hot folder.
supplementary explanationIf you close the screen without pressing Save on the Hot Folder Setting screen after pressing Save in the Job Ticket Settings screen, the setting is not saved.
In the Details setting, specify Authentication User, Share, Print Mode, Output Method, and Print Setting Priority.
The users registered using Web Connection or touch panel of the main body are displayed in the Authentication User list.
supplementary explanationIf no user is registered, the guest check box cannot be cleared.
supplementary explanationSelecting Guest disables user selection.
supplementary explanationTo delete the original imported to the hot folder after processing has been completed, select the Delete Printed File check box.
supplementary explanationIn Print Setting Priority, specify whether to give priority to the job settings assigned to the original or the print settings of the hot folder. However, even when Print Setting of Each Job is selected, Print Mode and Output Method are determined based on the print settings of the hot folder.
When the settings are completed, click Save.