Dragging and Dropping Files Onto the Desktop Icon and Printing
Overview
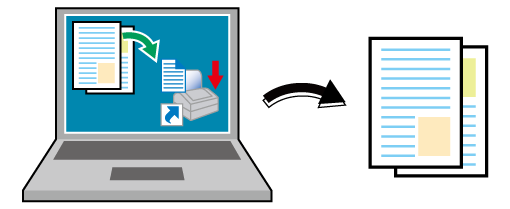
Create a desktop icon (shortcut) using Hot Folder to enable you to print by simply dragging and dropping files onto the created icon.
Configure the settings in the order shown below to use this function.
1. Add a Printer (System) to Hot Folder
2. Add job settings
3. Create the Desktop Icon
4. Print From the Desktop Icon

The following is recommended
This function includes the following features.
No need to launch the application or use the printer driver.
As you can register printer and job settings in advance, a file can be printed by simply dragging and dropping the file on the shortcut icon.
You can create copies of shortcut icons for different job settings, and use them separately for specific types of tasks.
- For details about operating systems that support Hot Folder, refer to Operating Environment.
Target Jobs
Print jobs
Assumed Operating Environment
Item Name | Contents |
|---|---|
OS | Windows 10 |
- The actual screen displayed may differ depending on the application version or revision, and the environment you are using.
Adding Printers (System) and Job Settings to Hot Folder
Create the Desktop Icon

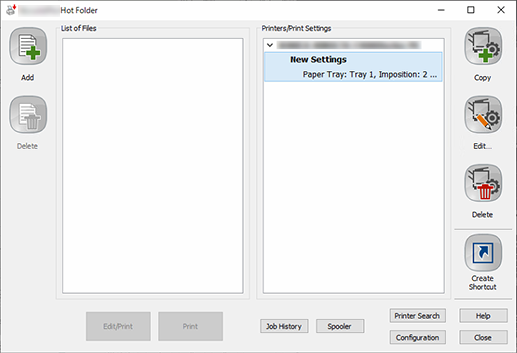
Select the print setting for which you want to create a shortcut, and click [Create ShortCut].

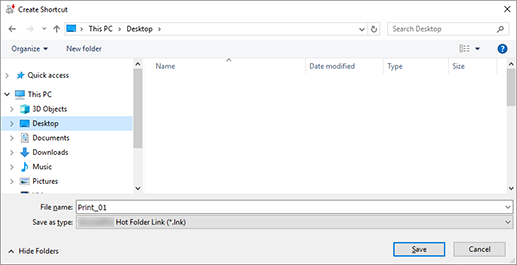
Select the destination for creating the shortcut, enter the shortcut name, and then click [Save].
Here, Print_01 has been specified as an example.
The print setting desktop icon is created on the desktop.
Print From the Desktop Icon

Drag and drop the file you want to print into the desktop icon.
The print job is sent to the system and printed.


 in the upper-right of a page, it turns into
  and is registered as a bookmark.