Registering Spot Color Information with Color Centro
Start Color Centro, and create and save a spot color.
Start Color Centro and log in to the machine. (Refer to Start Color Centro.)
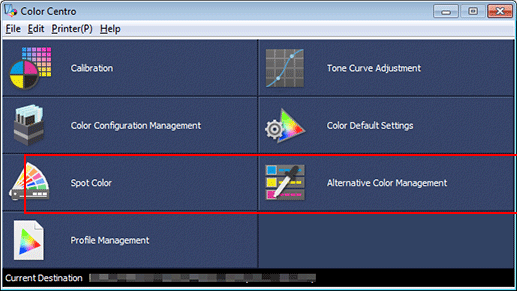
The Color Centro top screen is displayed.
Click Spot Color on the top screen.
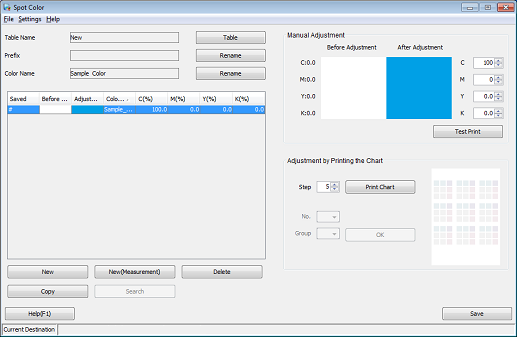
The Spot Color screen is displayed.
Select New Table from the File menu, and then click New.
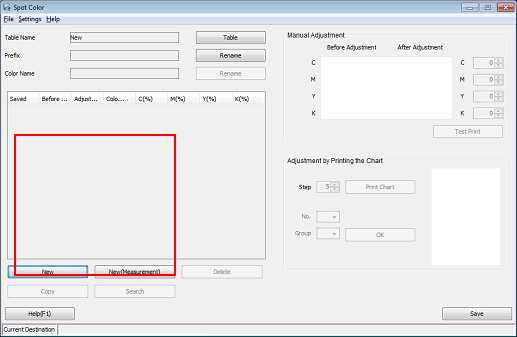
The new creation screen is displayed.
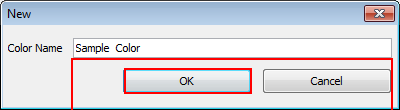
Enter the name of the spot color you want to create, and click OK.
Example: The spot color is named "Sample Color."
The added spot color name is displayed on the Spot Color screen.
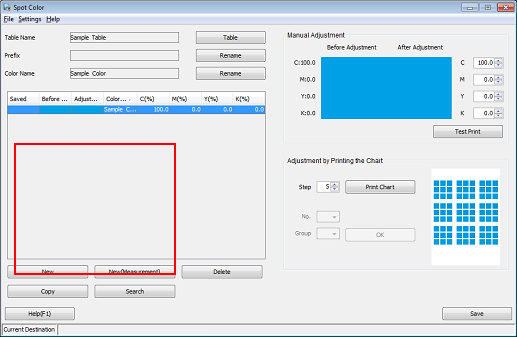
Set the spot color's CMYK value and click Save.
The colors being adjusted are displayed in the After Adjustment column.
Example: The spot color's CMYK value is set to "C100%."
Item
Setting
C
[100]
MYK
[0.0]
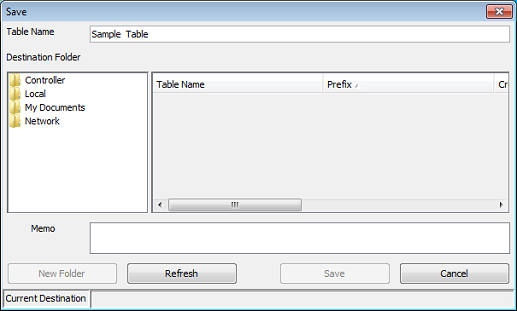
The Spot Color Table Save screen is displayed.
Enter the name of the spot color table in which you want to save the spot color.
Example: The name of the spot color table is "Sample Table."
supplementary explanationThe default spot color table has an asterisk (*) at the end of its name.
supplementary explanationIf you edit and save the default spot color table, it is saved with a name without the asterisk.
supplementary explanationYou can save multiple spot color tables with the same name.
supplementary explanationWhen printing, the spot color tables are searched from the top of the table on the Spot Color screen. If the same spot color is saved in more than one spot color table, the first spot color found is applied.
Select Controller as the Destination Folder and click Save.
Selecting Controller saves the spot color to the image controller.

After checking that the spot color is saved, close the screen by selecting Close from the File menu.