
Operation from Machine
Edit print settings of a secure job using the Secure Job screen.
On the touch panel of the main body, press JOB LIST.
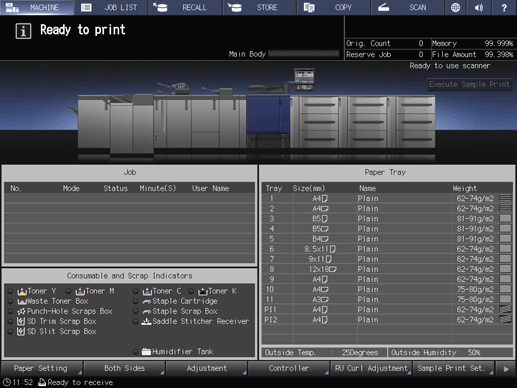
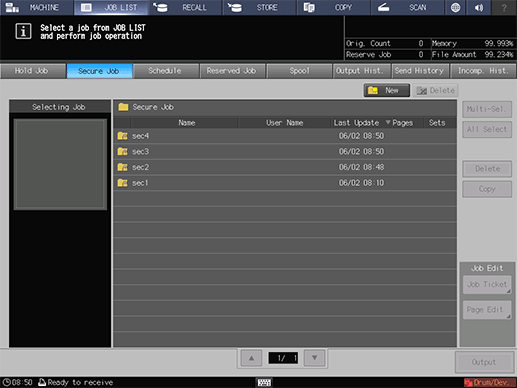
Press Secure Job.
The Secure Job screen is displayed.
Select the Secure Job User Box to which the print job was sent.
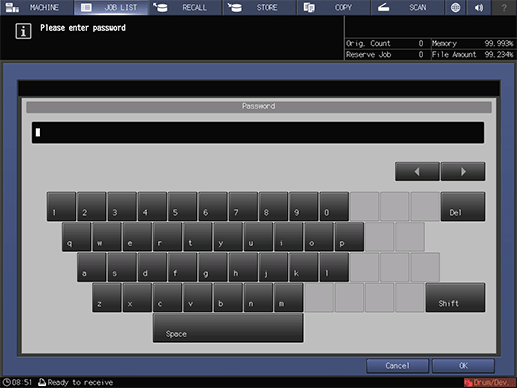
Enter the password of the selected Secure Job User Box, then press OK.
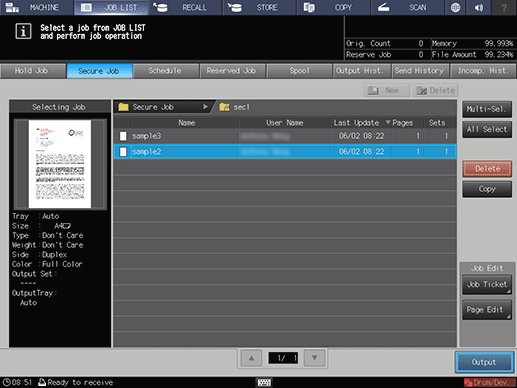
The print jobs in the secure job user box are displayed.
Select one print job to edit a job ticket for.
supplementary explanationIf the desired job is not found on the list, press up or down to display that job.
supplementary explanationPressing each title in the title row will sort the list in selected order.
supplementary explanationMultiple jobs can be selected, but only the last selected job is targeted for editing.
supplementary explanationFor details about the icons displayed in the list, refer to Hold Job Screen.

Press Job Ticket in the Job Edit field.
The specified job is called and the Job Ticket Edit screen is displayed.
Click the button of the item to edit and change the setting.
A dialog is displayed to select the output method and enter the number of copies.
supplementary explanationYou can check the status of imposition with the preview image in the middle of the screen.
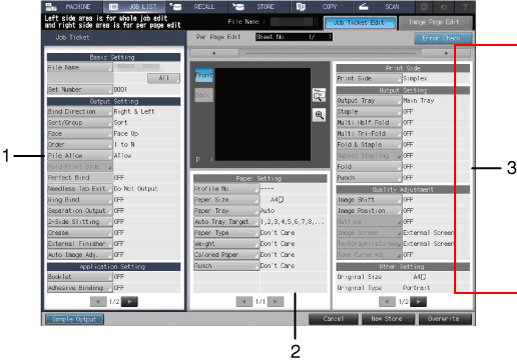
The following settings are available on the Job Ticket Edit screen.
Item
Setting
1. Left pane of the screen
Basic Setting
Set File NameSet Number.
Output Setting
Set Bind DirectionSort/GroupFaceOrderFold Print SideNeedless Tab Exit, etc.
Application Setting
Set BookletAdhesive BindingCombineImage RepeatPage MarginRegister Crop Mark180 Deg. RotationImage CenteringStamp, etc.
Other Setting
Check the H-Precision Attach setting in Application in addition to the above.
2. Center pane of the screen
Preview image display
Displays the preview image of the selected file. You can preview the front and back side image of a 2-sided original, and check the rotate view image or the output direction of the image. On the enlarged preview screen, you can set the crop mark, image position, or image shift function.
Paper Setting
Set Profile No.Paper SizePaper TrayAuto Tray TargetPaper TypeWeightColored PaperPunch.
3. Right pane of the screen
Print Side
Set Simplex and Duplex.
Output Setting
Set Output TrayStapleMulti Half FoldMulti Tri-FoldFold & StapleFoldPunch, etc.
Quality Adjustment
Set Image ShiftImage PositionOutlineImage ScreenTextGraphicsScreenTone Curve Adj., etc.
Other Setting
Check Original Size, Original Type, Original Side, Zoom, and Resolution, etc.
Color Sheets in One Set
You can check the number of pages for Full Color, Single Color, or Black included in the job.
supplementary explanationPressing Error Check in the upper right of the screen starts checking for inconsistency of the settings. If any of the settings obstructs output, the cause is displayed.
supplementary explanationTo check the output image with the current settings, press Sample Output. Only one set, the sheet being previewed, or the specified sheet is output so that you can check the actual result.
supplementary explanationTo display the Image Page Edit screen, press the Image Page Edit tab.
To return to the Job Ticket Edit screen, press the Job Ticket Edit tab. For details, refer to Secure Job: Overview of Page Editing.
After editing, press New Store or Overwrite.
supplementary explanationNew Store: The data is saved as new data keeping the original data as is.
supplementary explanationOverwrite: The original data is overwritten by the edited data.

supplementary explanationSecure jobs are always deleted after they are printed. The edited print job is not saved.