
Overlay: Creating a composite image (PCL Driver)
About Form
The master data you already registered is referred to as "Form (Overlay)".
This machine enables you to recall the desired form and print document data over the form (overlay).
In this section, Form (Overlay) is referred to as Overlay.
The workflow for using the form function is as follows.
Step 1: Registering an overlay
Step 2: Superimposing an overlay for printing or superimposing an overlay on a page basis for printing
Storing an overlay file
Create an image to print an original over it (Superimposition), then register it in the computer or a shared folder using Overlay.
Tips
To enable Create Shared Overlay File, select the Use Shared Folder (Overlay Printing) check box in the Settings tab in advance, then register a shared folder to save an overlay in. For details on the Settings tab, refer to Settings Screen.
Create a document to be registered as an overlay using the application software.
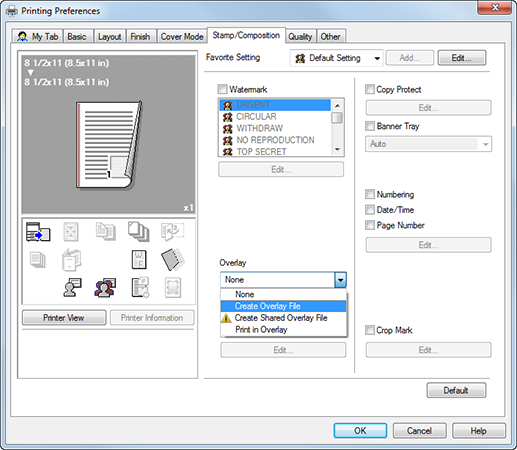
Click the Stamp/Composition tab.
In Overlay, select Create Overlay File or Create Shared Overlay File.
Click OK to start printing.
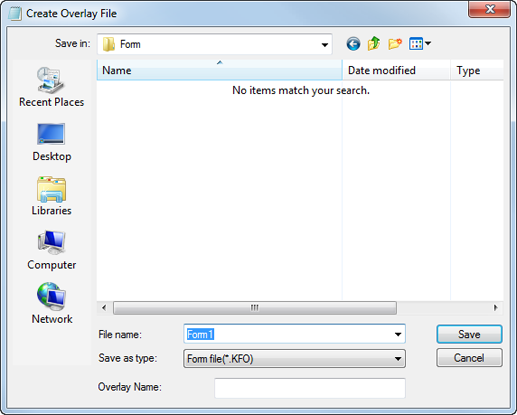
This displays the screen for saving the overlay file.
Enter the file name, then click Save.
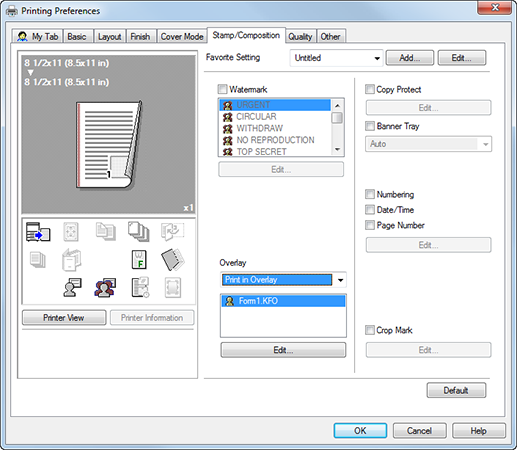
Select Overlay of the Stamp/Composition tab, then check that the file name is displayed.

Superimposing an overlay for printing
Click the Stamp/Composition tab.
In Overlay, select Print in Overlay, then select the overlay to be superimposed on a document for printing, from the list.
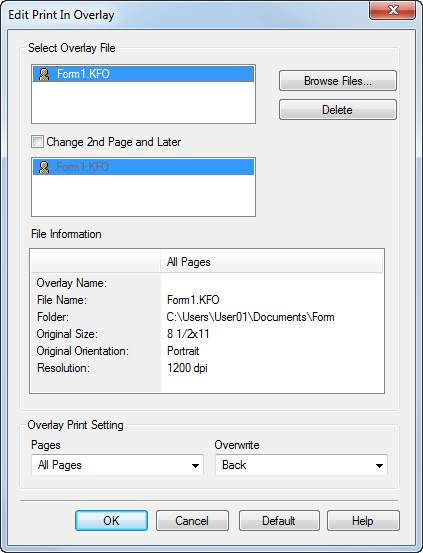
If necessary, click Edit, and change the method to superimpose an overlay.
supplementary explanationChange 2nd Page and Later: Changes the overlay to be superimposed on the second page and subsequent pages of the document.
supplementary explanationOverlay Printing Setting: Changes the method to superimpose an overlay.
supplementary explanationThis screen also allows you to add or delete an overlay.
Click OK to start printing.