
FD-Mag. Adjustment: Adjusting the Magnification in Paper Feed Direction in the Printer
Adjust the magnification in paper feed direction in the printer engine.
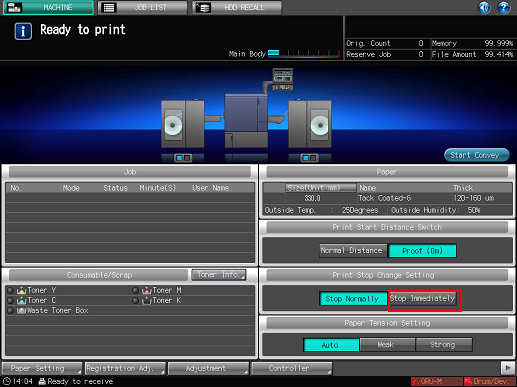
Select [Stop Immediately] for [Print Stop Change Setting] on the [MACHINE] screen.
This setting enables to stop the printed image at the output exit and check the condition.
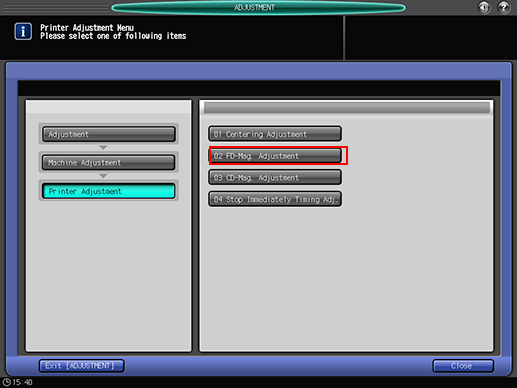
Press [Adjustment] on the [MACHINE] screen to display the [Adjustment Menu] screen.
Press [Machine Adjustment], [Printer Adjustment], and [FD-Mag. Adjustment] in sequence.
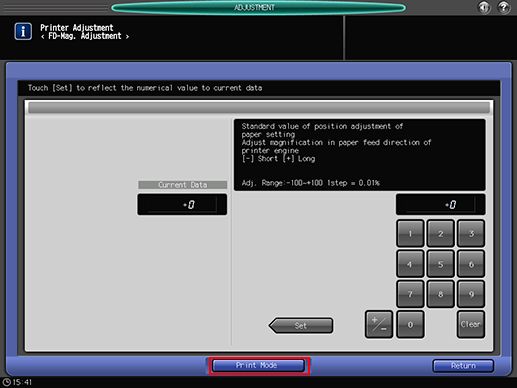
Press [Print Mode].
Check the paper settings.
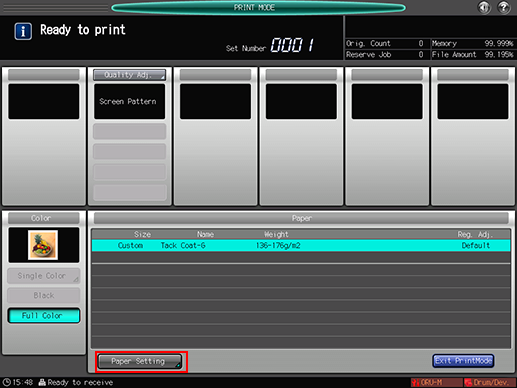
If the settings differ from the specifications of the media currently set, press [Paper Setting] then press [Recall] or [Change Set] to change the paper settings.
Press Start on the control panel.
A sample pattern will be output.
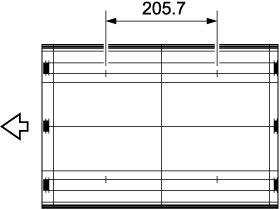
Measure the resultant magnification in the paper feed direction.
Allowance: ± 0.5% or less (full size)
Within 205.7 mm ± 1 mm
If any adjustment is required, press [Exit PrintMode] to return to the [FD-Mag. Adjustment] screen.
Use the touch panel keypad or the keypad on the control panel to enter the setting data.
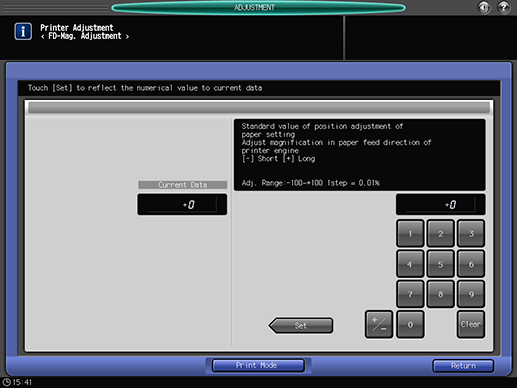
Use [+/-] to specify the value to be positive or negative.
Press [Set] to change the current value.
Adjustment Range: -100 ([Short]) to +100 ([Long]) (1 step = 0.01%)
Repeat steps 4 to 9 until the desired result is obtained.
Press [Return].
The screen returns to the [Printer Adjustment Menu] screen.
When you finish the adjustment, select [Stop Normally] for [Print Stop Change Setting ] on the [MACHINE] screen.