


What Is [Printer Adjustment]?
Overview
Adjust the lead-edge position, centering, and magnification of an image when printing.
An image can be printed at the correct position by outputting a chart and setting values.
Setting Items
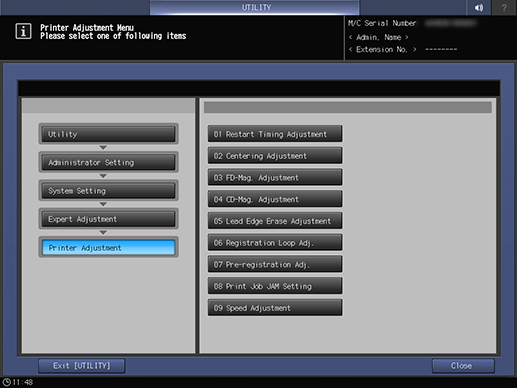
Screen access
Control panel - Utility/Counter - [Administrator Setting] - [System Setting] - [Expert Adjustment] - [Printer Adjustment]
Setting item | Description |
|---|---|
Adjust the image lead-edge position (image writing position) in the paper feed direction when printing. | |
Adjust the image centering in the crosswise direction when printing. | |
Adjust the printing magnification in the paper feed direction when printing. | |
Adjust the printing magnification in the crosswise direction when printing. | |
Adjust the amount of the image loss on a lead edge (amount of the blank area in the original) when printing. | |
Adjust the amount of paper loop of the registration roller. | |
Adjust the amount of paper loop for pre-registered rollers such as paper trays. | |
Adjust the amount of paper loop for pre-registered rollers of [Tray1] to [Tray9] and [Bypass]. | |
Set the various operations to be performed when an error occurs during printing, such as a mis-centering detection or the machine stopping. |
 in the upper-right of a page, it turns into
  and is registered as a bookmark.