
Installing Print Driver
Start the Macintosh computer.
Exit all running applications, if any.
Open the folder that contains the printer driver.
If you do not have the printer driver, contact your service representative.
Specify the printer driver folder according to your OS version.
OS versions can be found in folder names.
Example: [109_1010_1011] indicates that the printer driver supports OS X 10.9/10.10/10.11.
Double click a file (pkg file) in the [WW_A4] or [WW_Letter]folder*.
The installer starts.
To cancel installation, click [Cancel].
Click [Continue] following the instructions on the windows that follow until the [Install] window is displayed.
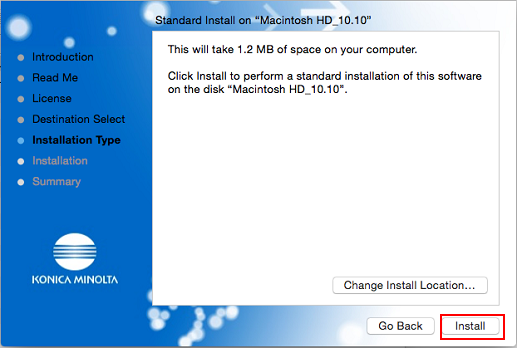
Click [Install] on the [Installation Type] window.
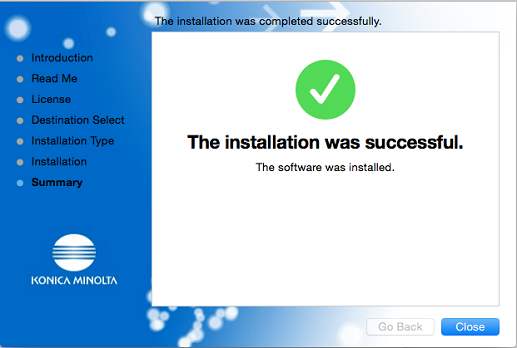
The printer driver is installed in the computer. When the installation is completed, a message is displayed.
When you are prompted to enter the user name and password during the procedure, enter the user name and password.
Click [Close].
This completes the printer driver installation.

*The difference between [WW_A4] and [WW_Letter] is that paper size output in the following conditions is whether A4 or Letter. Whichever you select, you can use the same functions.
When a PS error has occurred, this size of paper will be output.
When an out-of-range custom paper size is selected, the paper size will automatically be changed into this size to be output.
When the hyphenation alert message is displayed by the OS, this size of paper will be output.
Next, select a printer. -> Adding a Printer by Selecting a Connection Method