Setting printer driver
Menu item
Set the following items in the printer driver.
Menu item
2-Sided
Original Size
Original Orientation
Paper Size
Gate
Folding Direction
Paper Tray
Also, set the following on the Print window of Application.
Copies
Tips
When setting in the printer driver, make sure that there are no previous settings left in each item in the tabs Layout, Finishing, Cover, etc.
Setting the Properties Window
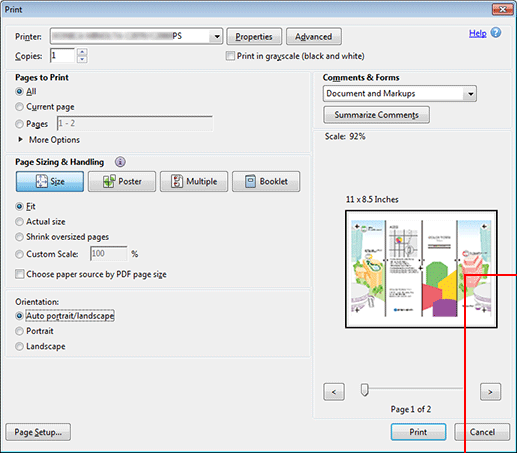
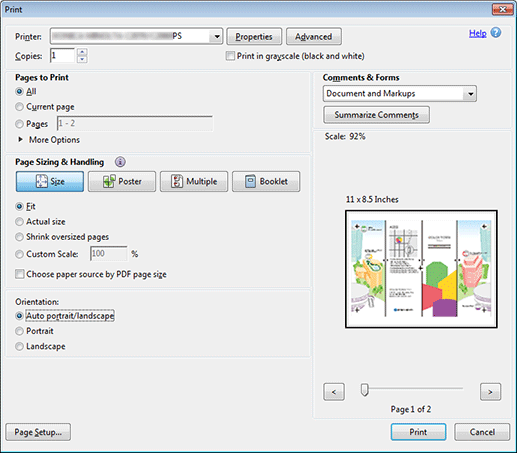
Open the original data with the application, and then click Print on the File menu.
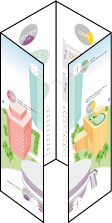
Sample C (C_sample.pdf) is used in this example.
Select the printer to use for printing and click Properties.
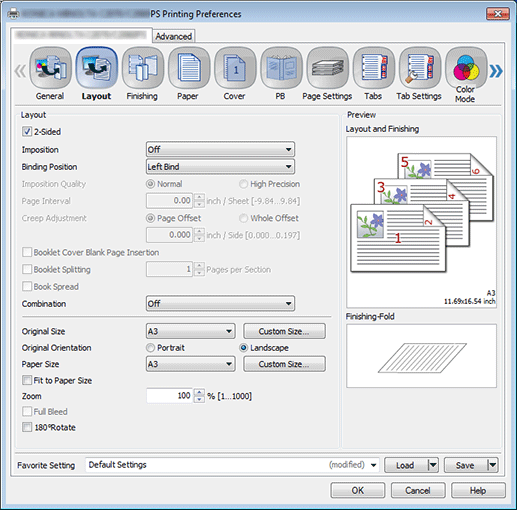
Click the Layout tab, and then set the following items.
Example:
Item
Setting
2-Sided
Checked
Original Size
A3
Original Orientation
Landscape
Paper Size
A3
supplementary explanationIf the specified settings are not displayed on the preview, click Acquire Device Information on the Configure tab to obtain the device information.
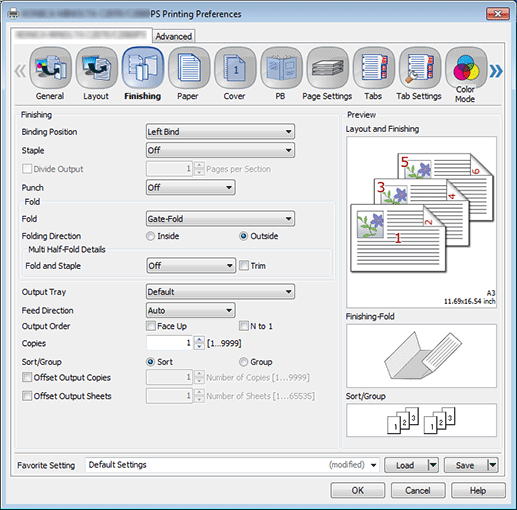
Click the Finishing tab, and then set Fold and Folding Direction.
Example:
Item
Setting
Fold
Gate-Fold
Folding Direction
Outside
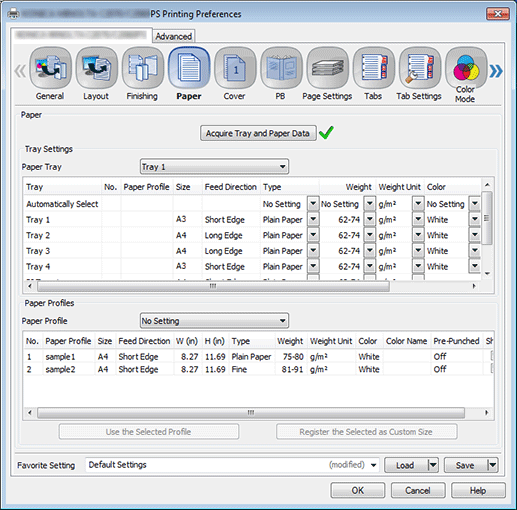
Click the Paper tab, and then click Acquire Tray and Paper Data.
When the tray and paper data is acquired, a green checkmark
 is displayed.
supplementary explanationIf the tray and paper data could not be acquired, a red x checkmark
 is displayed. Check if the paper tray for Option is correctly mounted.
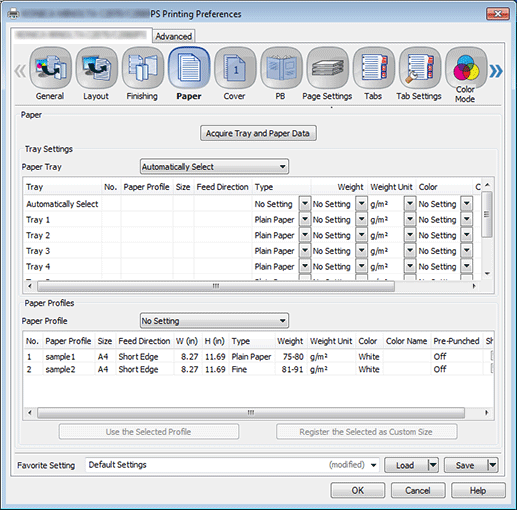
Select a tray in Paper Tray, and then click OK.
Example: Here, the explanation assumes that papers (A3: Short Edge) have been set in Tray 1.
Output
On the Print screen, enter the Copies and click Print.
Printing starts. When the printing is completed, go toChecking the finishing, and check the finishing of the printed document.