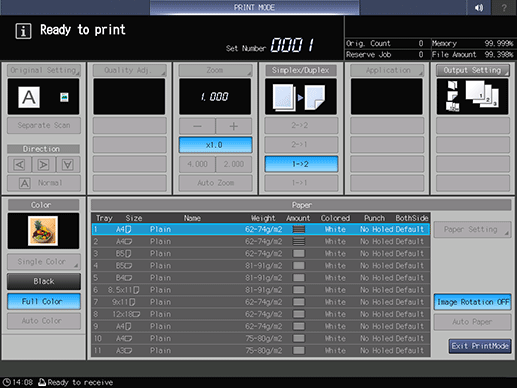
Gap Adjustment
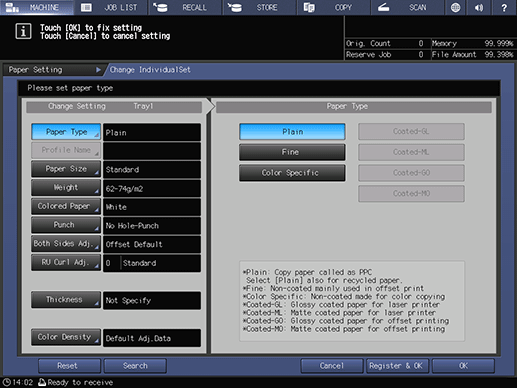
Press Paper Setting on the MACHINE screen.
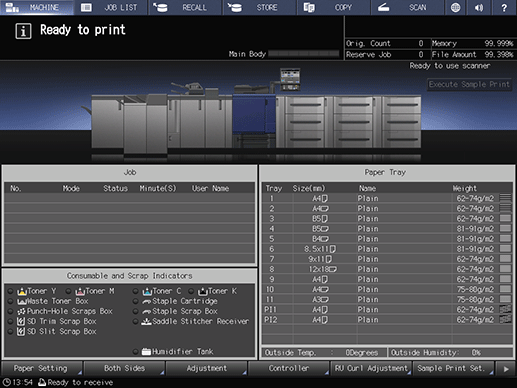
Press the tray you performed Front adjustment for.
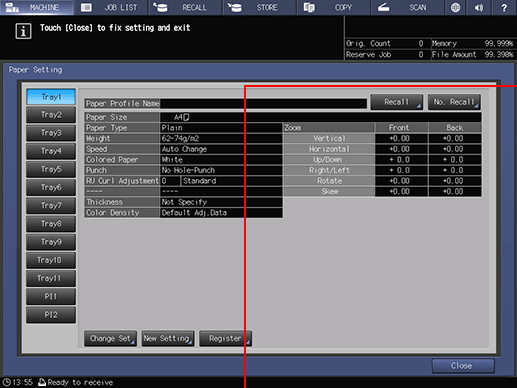
Press Change Set.
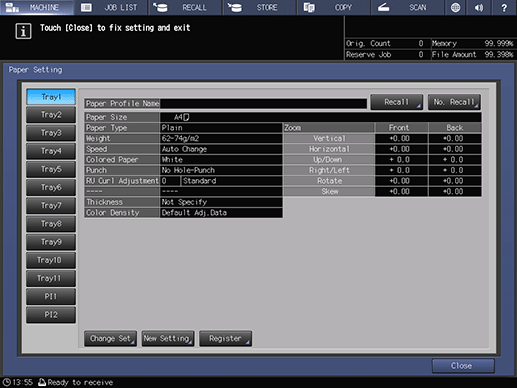
Press Both Sides Adj..
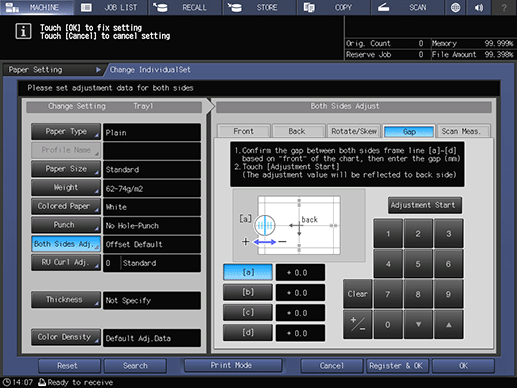
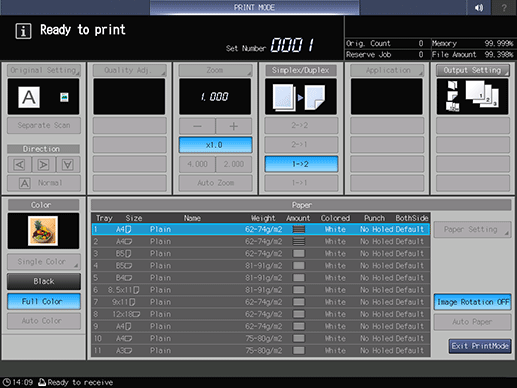
Press Gap, then press Print Mode.
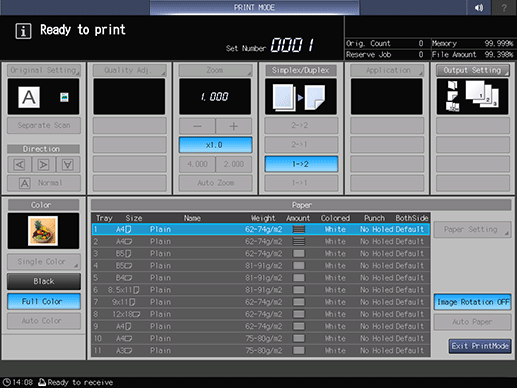
When the PRINT MODE screen is displayed, press Start on the control panel.
A test chart is printed. Print approximately three sheets for a test chart.
Press Exit PrintMode.
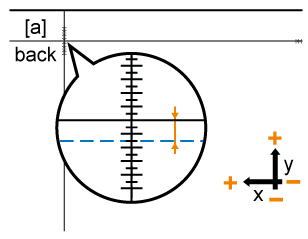
Measure the gap between the front and back sides at each point of [a] to [d] on the [back] side (Back) on the second and third output charts.
The scale resolution is 0.5mm.
The black line in the figure indicates the back side and the blue dash line indicates the opposite (front) side.
You can enter a value in 0.1mm increments.
For example, when the black line on the back side is misaligned to the plus side by 1.5 mm from the blue dash line on the front side as shown in the figure, type "-1.5" for correction to move the black line on the back side to the minus side by 1.5 mm.
Be sure to make note of the measurement values.
Press a to d of each point, and use the touch panel keypad or down / up to enter the measured value.
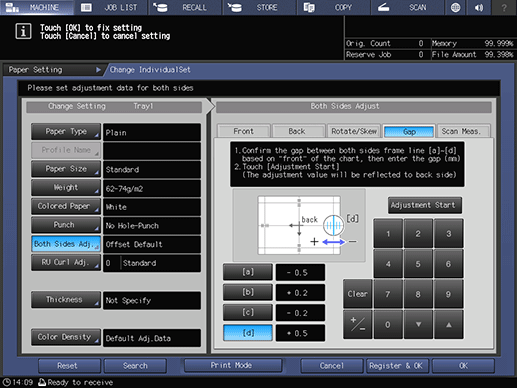
When the entry is completed, press Adjustment Start.
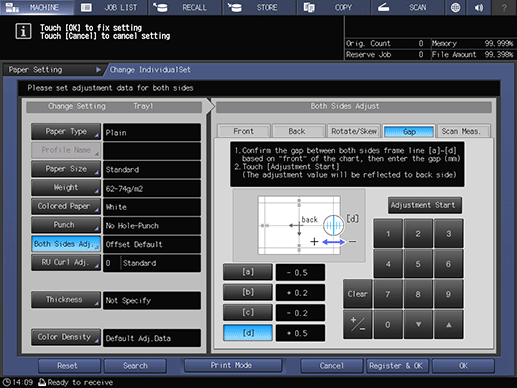
The adjustment values you entered are applied to Zoom and Image Shift on the Back screen.
Press Start on the control panel.
A test chart is printed. Print approximately three sheets for a test chart.
Check the misalignment of print position using the second and third output charts.
Repeat Step 10 to 13 until the front and back are aligned.
Press Exit PrintMode.
Press OK to finish the adjustment.
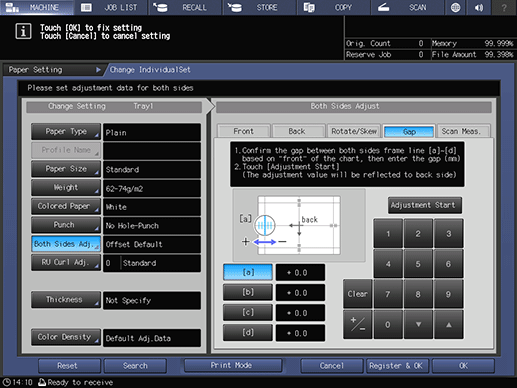
When the gap adjustment is performed for paper of a new brand, weight, or size, press Register & OK, then proceed to the step of Registering Paper Profile.
