


[Quality]
Overview
Configure settings to optimize the printout quality.
This function maintains the print quality by setting at the appropriate timing.
PS Plug-in Driver
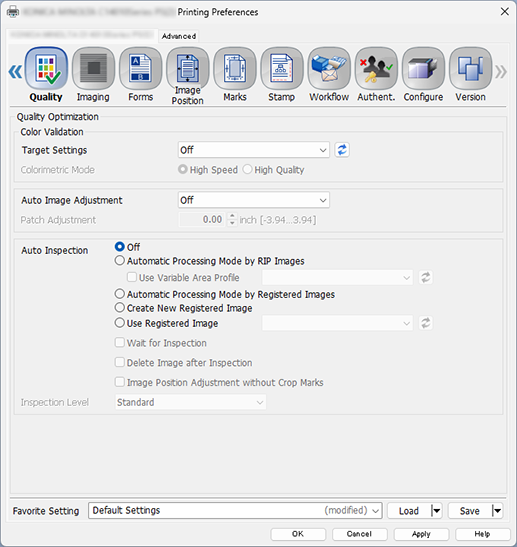
AccurioPro Print Manager
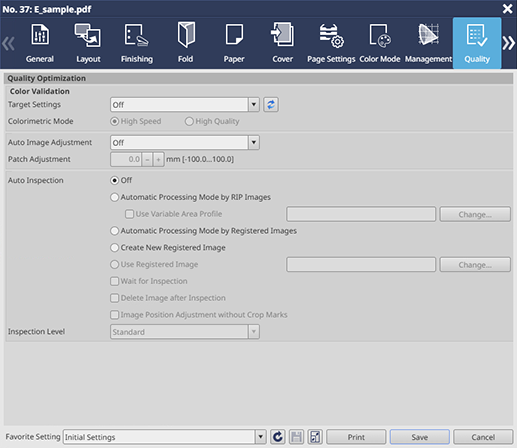
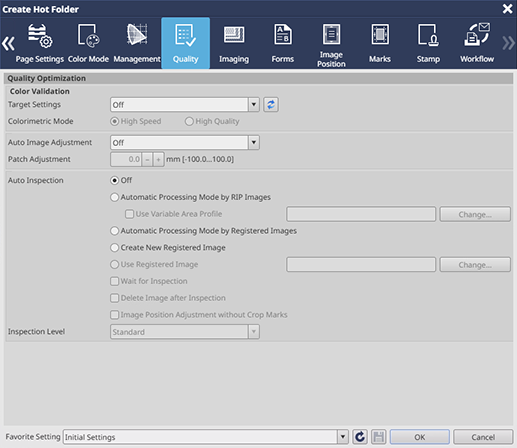
AccurioPro Print Manager (Hot Folder Setting)

NOTICE
All the following optional devices are required to perform the automatic inspection.
- Intelligent Quality Optimizer IQ-601
- Auto Inspection Unit AI-101
- Option with waste paper output tray (compatible finisher or Relay Unit RU-702)
- Video Interface Kit VI-514
- Video Interface Kit VI-515
Setting Items
Setting item | Description | |
|---|---|---|
[Target Settings]*1 | Select the target setting used for color validation. | |
[Colorimetric Mode]*2 | [High Speed] | When performing color verification, set whether to prioritize the speed or image quality. |
[High Quality] | ||
[Auto Image Adjustment]*3 | [Off] | Does not perform automatic image adjustment. |
[Position/Gradation] | Performs auto image adjustment for the position and gradation. Prints crop marks for position correction and patches for gradation correction on the margins of the paper, and makes corrections in real time.
| |
[Position] | Performs auto image adjustment for the position. Prints crop marks for position correction on the margins of the paper, and makes corrections in real time.
| |
[Patch Adjustment]*4 | Adjust the position of the patch printed on the trim margin.
| |
[Auto Inspection] | [Off] | Does not perform the automatic inspection. |
[Automatic Processing Mode by RIP Images]*5 | Automatically inspects a job using the RIP data as the reference image. If you select the [Use Variable Area Profile] check box, you can set a profile in the variable area. | |
[Automatic Processing Mode by Registered Images] | Performs the reference image creation and the automatic inspection all at once by setting the number of copies for the job to 2 or more.
| |
[Create New Registered Image] | Registers a new reference image. | |
[Use Registered Image] | Select a registered reference image from the menu list to perform the automatic inspection. | |
[Wait for Inspection] | Waits to start the inspection until you press Start on the Control panel of this system. Before starting job inspection, you can change the following settings on the Touch panel of this system.
| |
[Delete Image after Inspection] | Deletes the reference image used for inspection. | |
[Image Position Adjustment without Crop Marks] | Corrects the image position in real time without printing crop marks for auto image adjustment. The correction value for misalignment is calculated from the reference image and inspection image used for automatic inspection.
| |
[Inspection Level] | [Essential] | Set the inspection level to automatically inspect printouts. |
[Standard] | ||
[Premium] | ||
*1: The following preparation is required to use this function.
Set [Target Settings] in [Color Management] of [Controller].
For details about the target setting, refer to [Target Settings].
*2: The following setting is required to use this function.
Set [Target Settings] to a setting other than [Off].
*3: The following preparation is required to use this function.
Perform [Color Density Control] to suit the paper color, and adjust the halftones for each color.
For details about the [Color Density Control], refer to [Color Density Control].
Also, for details about auto image adjustment, refer to To Perform Auto Image Adjustment.
*4: The following setting is required to use this function.
Set [Auto Image Adjustment] to [Position/Gradation]
*5: The following setting is required to use this function.
Set [Special Toner] to [Off] with [Special].
For details about [Special Toner], refer to [Special].
 in the upper-right of a page, it turns into
  and is registered as a bookmark.