
Checking the finish before copying
Checking the preview image before copying
You can check the finishing image of a copy in the Touch Panel before copying.
By checking whether any incorrect setting is specified with the finishing image, you can prevent a number of copy errors.
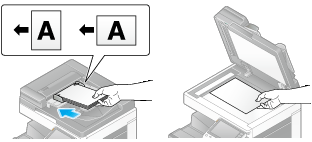
Load the original.
Tap [Copy].
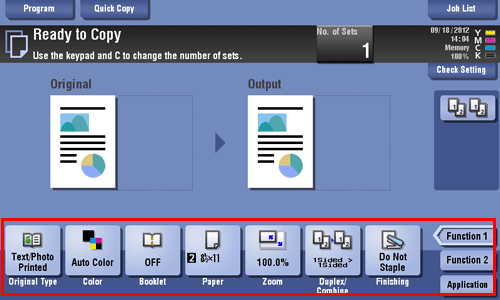
Configure copy settings.
Tap [Preview].

Tap [Preview on Screen], and select [Original Direction] according to the original direction.

Tap [Start].
The original is scanned, and the Preview screen appears.
Check the preview display, and rotate the page or change settings as required.
To continue to scan originals, load the original, and tap [Start Scan].
To start copying, tap [Print] or press the Start key.
To enlarge the preview image, double-tap the image.
To enlarge or reduce the preview image, pinch-in or pinch-out the image.
To rotate the image 180 degrees, rotate the preview image.
If a multi-page original has been scanned, you can flick the preview image to feed pages forward or backward.

Tapping
 displays Utility keys to allow you to enlarge or rotate a page.

After all originals are scanned, tap [Print] or press the Start key.
Copying begins.
Making a trial printing (proof copy)
Before beginning copying, make a sample copy and check it for irregularities.
When you are printing a large number of copies, use the proof copy function to prevent misprints.
Load the original.
Tap [Copy].
Configure copy settings.
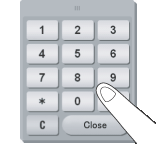
If necessary, specify the number of copies using the Keypad.
Tapping [No. of Sets] displays the Keypad. You can leave the Keypad displayed in order to be able to enter the number of copies (default: [When # of copies is pressed.]). For details, refer to Here.
If the [10 Keypad] is assigned to the Register key, pressing the Register key enables you to display the Keypad on the Touch Panel to enter data.
To correct the number of copies, tap [C] (Clear).
Tap [Preview].
Tap [Print], and select [Original Direction] according to the original direction.

Tap [Start].
If the original is loaded into the ADF, go to step 11. Copying begins for only one copy.
If the original is loaded on the Original Glass, go to step 8.
Load the next batch of the original, then press the Start key.
After all original pages have been scanned, tap [Finish].
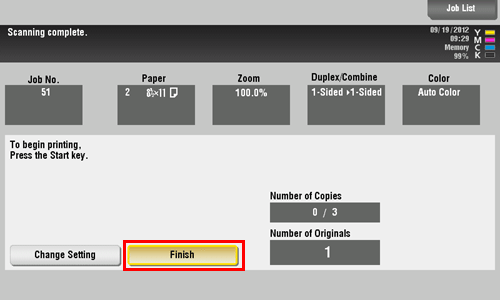
Press the Start key.
Copying begins for only one copy.
Check the proof copy.
If necessary, tap [Change Setting] to change the copy settings.
Tap [Print].
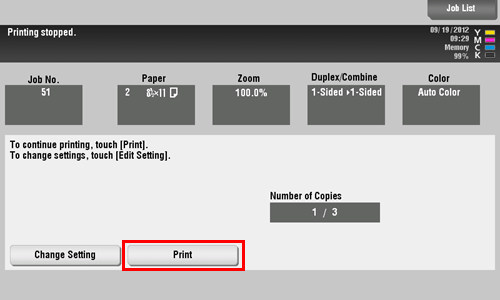
Copying of the remaining copies begins.