
What Is the Large Capacity Stacker?
Overview
The Large Capacity Stacker is one of the optional devices that is used in this system. If the Large Capacity Stacker is mounted on this system, a large quantity of unsorted or sorted paper can be stacked.
The Large Capacity Stacker LS-507 has the capacity to stack up to 3,000 output sheets in the Stacker tray.
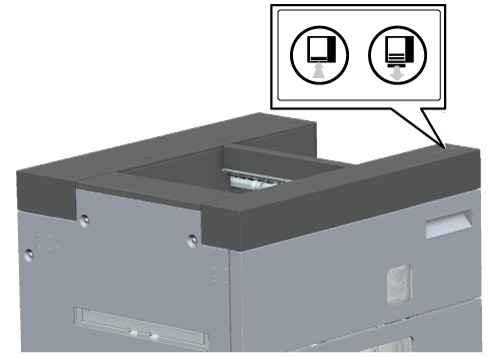
Operate the Control panel of the Large Capacity Stacker LS-507 to remove paper stacked in the Stacker tray. Using the Carriage allows paper to be smoothly delivered to the next process.
- The optional Large Capacity Stacker LS-507 is required to use this function.
- For details about the specifications of the Large Capacity Stacker LS-507, refer to Large Capacity Stacker LS-507.
Setting Procedure (Removing Paper Using the Carriage)
This section describes how to move paper stacked in the Stacker tray to the Carriage and remove the paper.
 ".
".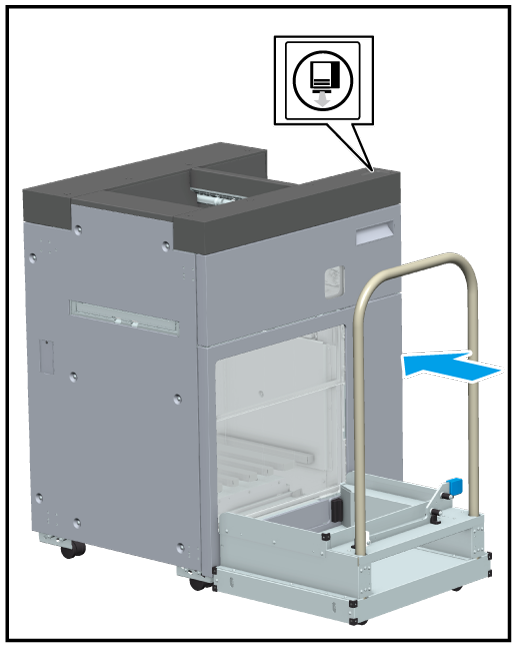
The Stacker tray lowers, paper is stacked on the Output Tray, and the Output Paper Gate opens.
When the Output Paper Gate opens, the Output Tray comes out on the Carriage.

 ".
".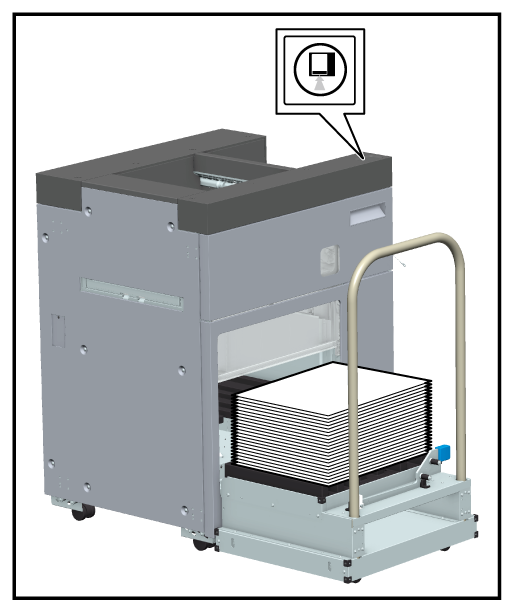
The Output Tray remains on the Carriage, and only the receiver of the Output Tray is housed in the stacker.
- While the receiver of the Output Tray is moving, do not to move the Carriage. Doing so may cause the Output Tray to drop or a paper bundle to collapse.

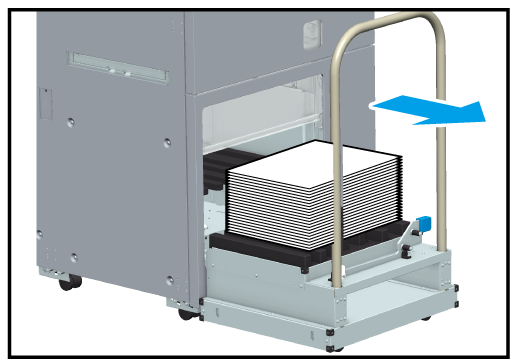
- Pull the Carriage straight out. When moving the Carriage, do not forcibly change the direction. The Carriage is used only to stack paper. Absolutely do not use it for anything other than loading paper.
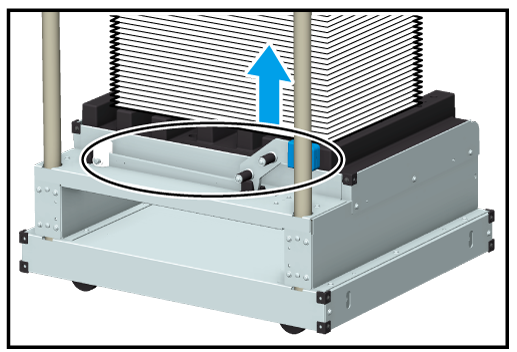
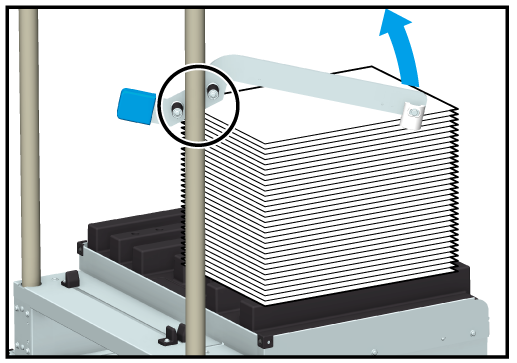
- The Paper stopper is provided to prevent an output paper bundle from collapsing when moving the Carriage with a large amount of paper stacked on it. For details about how to use the Paper stopper, refer to Setting Procedure (Preventing Paper in the Output Tray From Collapsing).

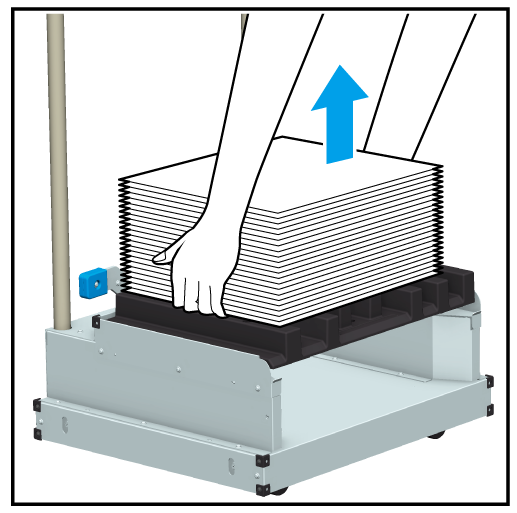

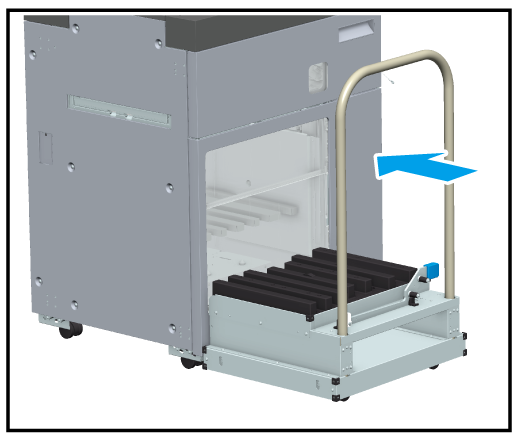
- At this time, check that no paper is left in the Output Tray.

 ".
".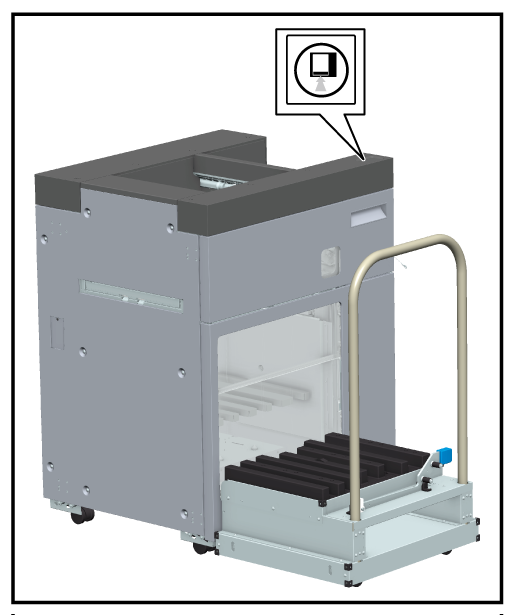
The Output Paper Gate opens, and the receiver of the Output Tray comes out from inside the stacker.

 " again.
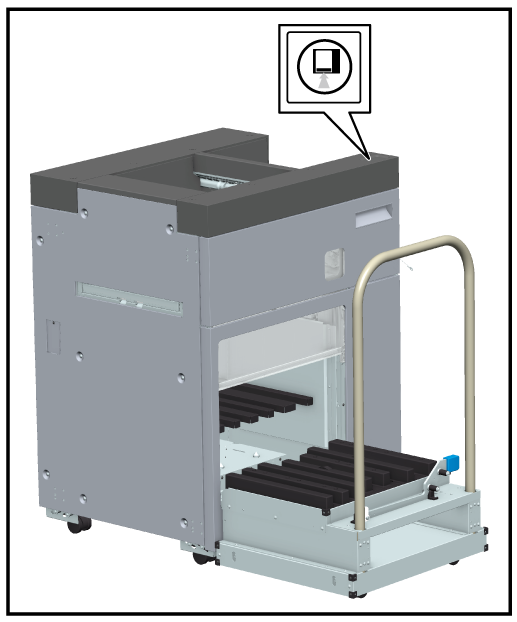
The Output Tray and the receiver are housed in the stacker.
- While the receiver of the Output Tray is moving, do not to move the Carriage. Forcibly moving it may cause a failure.

- If the Output Tray is removed from the Carriage, check the direction at the hole positions of the Output Tray, and return it to the home position. If it is not loaded correctly, the Output Tray cannot be returned in the stacker.
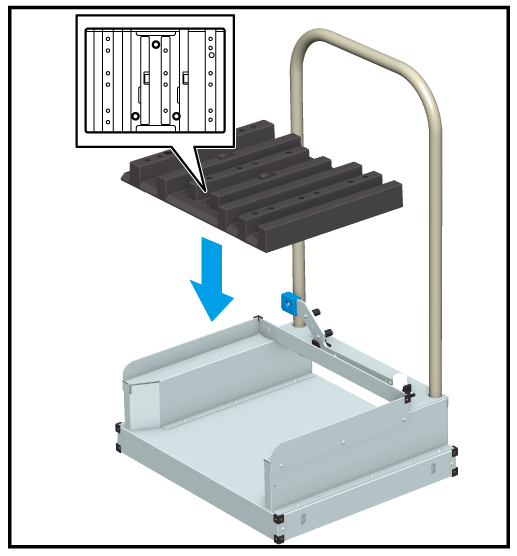
Setting Procedure (Removing Paper Without Using the Carriage)
This section describes how to directly remove paper stacked in the Stacker tray.
 ".
".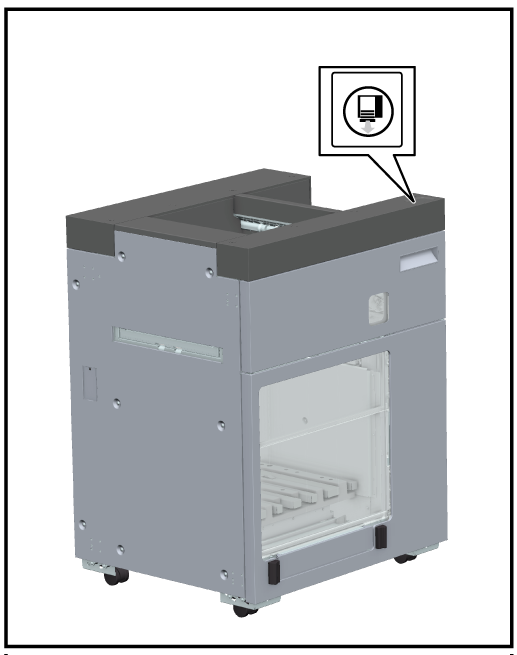
The Stacker tray lowers, paper is stacked on the Output Tray, and the Output Paper Gate opens.
When the Output Paper Gate opens, the Output Tray comes out forward from within the stacker.

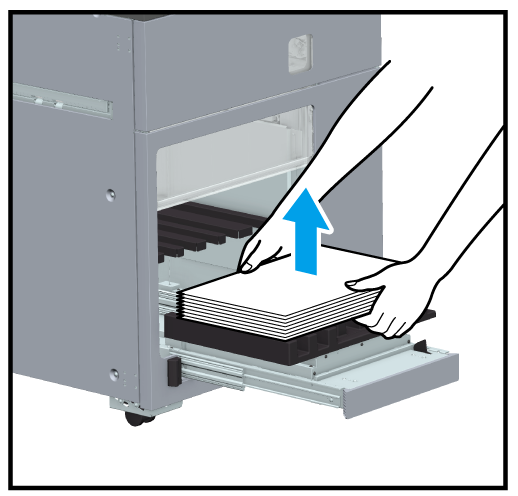
If the Output Tray is removed from the receiver, proceed from step 3, and return the Output Tray to the home position. If it is not loaded correctly, the Output Tray cannot be returned in the stacker.
- At this time, check that no paper is left in the Output Tray.

The Output Paper Gate opens, and the receiver comes out forward from within the stacker.
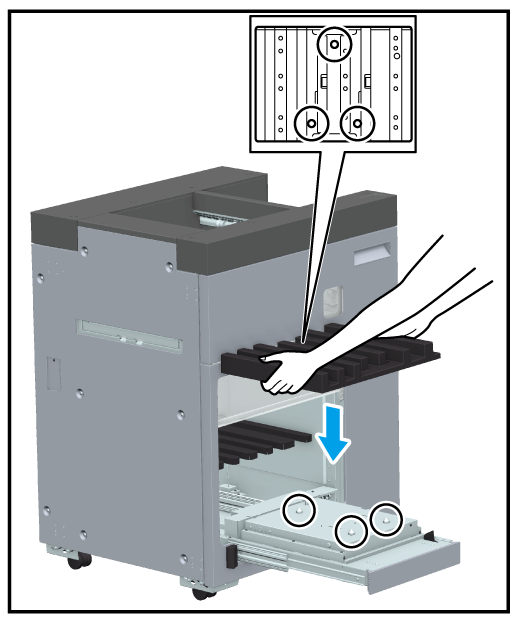
When placing the Output Tray, align the 3 holes of the Output Tray with the projections of the receiver.

- You can remove paper directly from the Stacker tray in the stacker.
1. Press the Eject button twice.
The Stacker tray lowers, and stops halfway.
2. Remove paper while the Output Paper Gate remains open by hand.
Be careful not to get your hands caught in the Output Paper Gate.
3. Close the Output Paper Gate.
Setting Procedure (Preventing Paper in the Output Tray From Collapsing)
This section describes how to use the Paper stopper. Using the Paper stopper prevents the paper bundle in the Output Tray from collapsing.


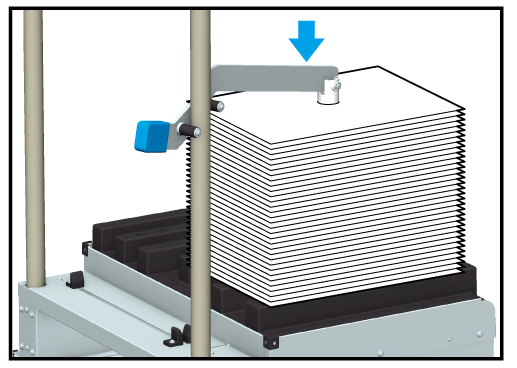
Be careful not to push more than necessary. Doing so may cause the output paper to wrinkle or tear.


 in the upper-right of a page, it turns into
  and is registered as a bookmark.