
Full Image Area: Copying with Full Size
When copying is performed, the machine usually erases approximately 0.12 inches (3 mm) on the lead edge and 0.08 inches (2 mm) on front side of rear edge, back side of rear edge, and left/right edge.
Use the Full Image Area function to make copies printed completely to the edges without performing such an image erasing.
This function is useful when you need to print on the entire sheet of paper that is slightly larger than the original, such as making a B4-size copy from an A4-size original.
Original | Original | Output |
|---|---|---|
 | Normal mode | Full Image Area |
 |  |
Position the original.
supplementary explanationBoth the ADF and original glass are available.
Press Application on the COPY screen.
Press Full Image Area on the Application screen.
The incompatible function keys will be dimmed to show inactivity.
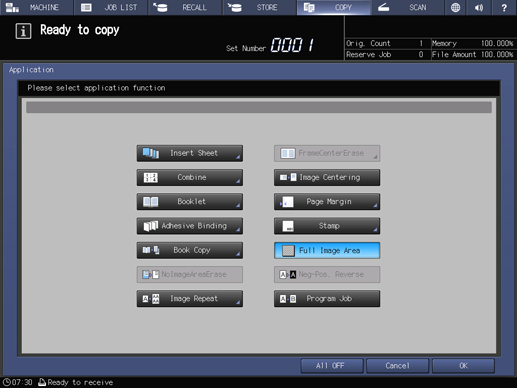
Press OK on the Application screen to return to the COPY screen.
The Full Image Area icon and shortcut key are displayed under Application on the COPY screen.
Enter the desired print quantity from the keypad on the control panel.
Press Start on the control panel.
supplementary explanationPrinting does not start without returning to the COPY screen. Be sure to display the COPY screen.