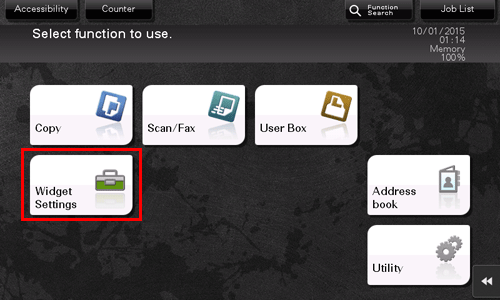
Arranging Widgets on the Touch Panel ([Widget Settings])
Widget arrangement function
You can arrange text, icons, GIF animations, and other items as widgets at desired positions on the main menu or the copy-mode screen. By arranging widgets on frequently used screens, important information can be highlighted.
Widgets can be arranged on the following screens.
 Main Menu
 Main screen of copy mode
 Current screen of copy mode
A widget icon or GIF animation image can be selected from the available selections or can be newly registered by the user. For details on how to register it, refer to [Arranging and registering a widget] .
The specifications of icons and GIF animation images that can be registered are as follows.
Type | Specifications |
|---|---|
Icon | File type: PNG File size: 1 MB or less Display size: 1024 pixels or less in width, 1024 pixels or less in height Number of items able to be registered: Max. 10 |
GIF animation | File type: GIF File size: 512 KB or less 512 pixels or less in width, 512 pixels or less in height Number of items able to be registered: Max. 3 |
Operations required to use this function (for the administrator)
Place [Widget Settings] on the main menu. For details on the setting procedure, refer to [Main Menu] .
Arranging and registering a widget
Tap [Widget Settings] on the main menu.

Select the screen to arrange a widget from the [Main Screen], [Basic Copy], or [Copy in Progress].
Tap [Add new widget].
Select the type of the target widget to be arranged.
 If you select [Icon] specify the desired icon from[Standard Icon] or [New Icon]. Up to 10 icons can be specified. To register a new icon, connect the USB memory device, which contains the target icon, to this machine, then tap [Register].
 If [GIF Animation] is selected, specify the target GIF animation from [Standard GIF Animation] or [Register GIF Animation]. Only one GIF animation can be specified. To register a GIF animation, connect the USB memory device, which contains the target GIF animation, to this machine, then tap [Register].
 If [Text] is selected, specify the text box to be arranged from [Text Box], then edit a text. Change the color or background color of the text as needed. Up to 10 text boxes can be arranged.
When widget specification is completed, tap [Close].
Change the size or position of the widget as needed.
 Selecting [Edit] allows you to edit the contents of the selected widget.
 Selecting [Size] allows you to change the size of the selected widget.
 Selecting [Move] allows you to move the position of the selected widget. Selecting [Lock the position] allows you to fix the position of the selected widget.
 Selecting [Delete] allows you to delete the selected widget.
Tap [Close].
Widget arrangement is then completed.
