
To add a management number to each file in User Boxes ([Annotation])
To register a User Box in which a management number is added to each file
Create an Annotation User Box
Only the administrator can create an Annotation User Box.
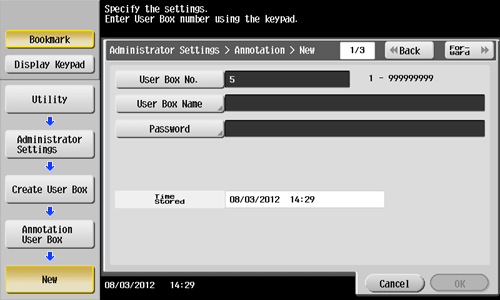
Tap [Utility] - [Administrator Settings] - [One-Touch/User Box Registration] - [Create User Box] - [Annotation User Box] - [New].
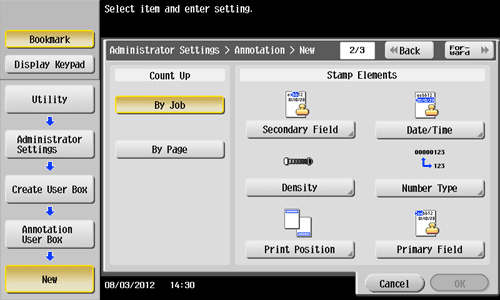
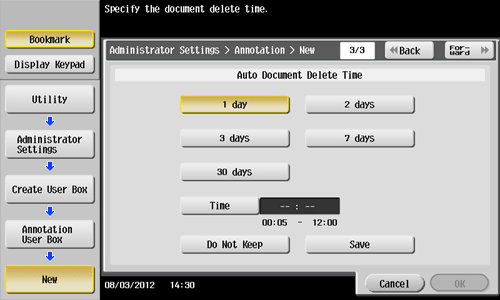
Enter the registration information, then tap [OK].
For details on registration information, refer to Here.

You can also create an Annotation User Box with the Web Connection. For details, refer to Here.
To save a shared file to a User Box
Save File in a User Box
Save (basic operation flow)
Load the original.

Tap [User Box].

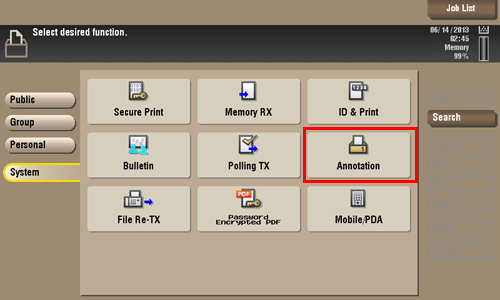
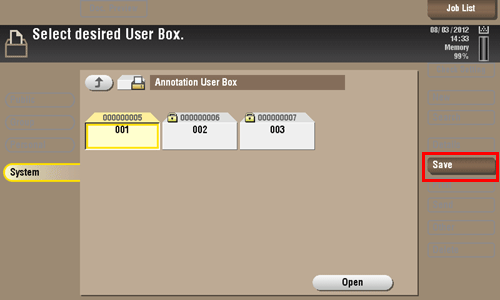
Tap [System] - [Annotation].
Select a User Box in which to save a file, then tap [Save].
Set file save options if necessary.
For detailed optional settings, refer to Here.
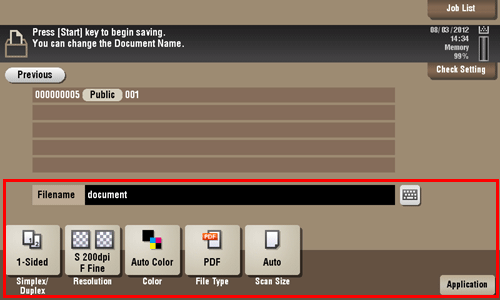
Press the Start key.
The file is saved.

Save files in Copy mode
You can read a document in Copy mode and save its data in the User Box.
For details, refer to Here.
Save files from a PC
When specifying to print using the printer driver, you can specify a User Box number and store the print data in the box.
For details, refer to Here.
To print a file saved in a User Box
Print Files in a User Box
Tap [User Box].
Tap [System] - [Annotation].

Select the desired User Box, then tap [Open].
If the box is password protected, tap [Open] and enter the password.
You can also open the desired User Box by tapping it twice.

Select a file to print, then tap [Print].
You can also long-tap the target file to display the menu icon, then drag and drop it to
 to get the same result.

Set print options if necessary.
If an output image cannot be displayed, [Preview on Screen] appears. To check an output image, tap [Preview on Screen], then confirm the target output image on the preview window.
For detailed optional settings, refer to Here.

Press the Start key.
Printing starts.
