
Creating Hot Folders
Create a hot folder in this machine. To create a hot folder, access the user mode of Web Connection.
Example: This section describes an example of sharing a Hot Folder with multiple users and setting the user authentication to the folder.

To set the user authentication, you have to register the user setting (user name and password) in advance (Refer to Registering a User Setting).
For details about Web Connection, refer to Overview of Web Connection.
Operate Accessing Web Connection to open the user mode page of Web Connection.
Click the [Hot Folder] tab.
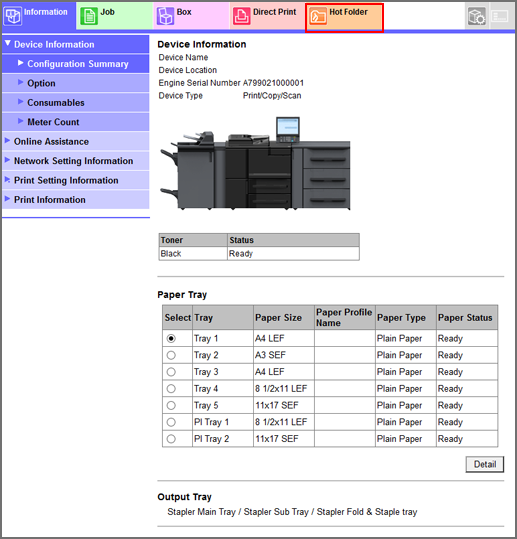
This displays the [Folder Setting] screen in [Hot Folder Setting].
Click [New Creation].
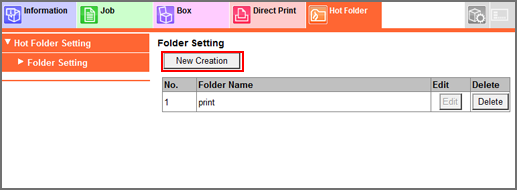
Multiple Hot Folders can be created (up to 100 folders).
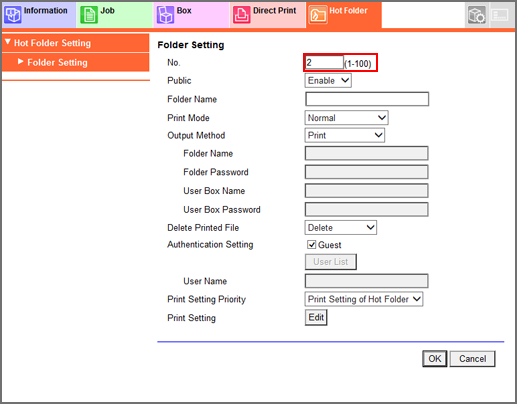
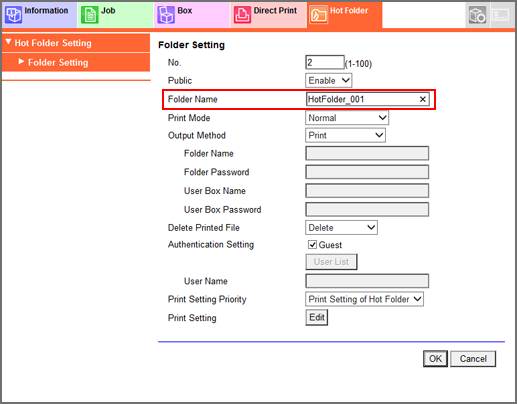
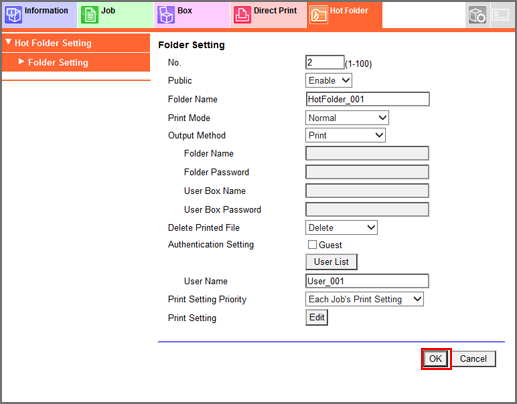
Enter [No.].
Example: "2" is entered.
Select [Enable] for [Public].
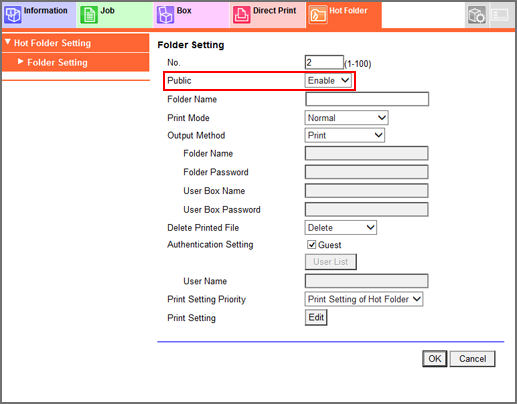
Enter a folder name.
Example: "HotFolder_001" is entered.
Clear the [Guest] check box in [Authentication Setting], then click [User List].
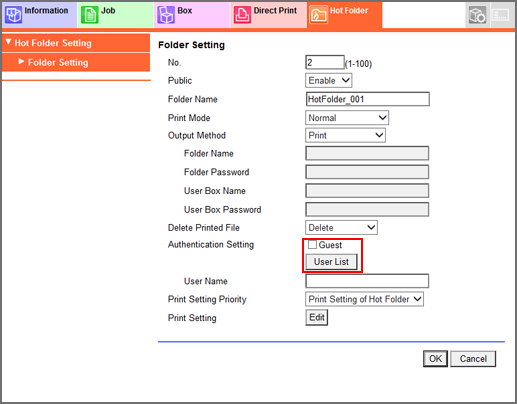
To set the user authentication, you have to register the user setting (user name and password) in advance (Refer to Registering a User Setting).
Select a user setting to use for the Hot Folder access authentication, and then click [OK].
Example: "User_001" of No. 1 registered in Registering a User Setting is selected.
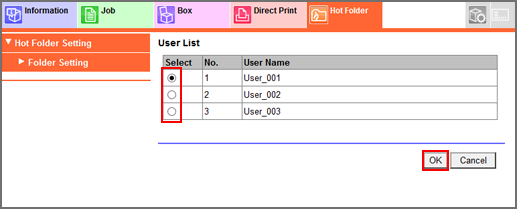
Only a single user setting can be assigned to a Hot Folder for access authentication.
Set the following options, as necessary.
The settings in this case are as follows:
Item
Setting
[Output Method]
[Print]
[Delete Printed File]
[Delete]
[Print Setting Priority]
[Each Job's Print Setting]
[Print Setting]
Refer to Registering Print Setting in Hot Folder.
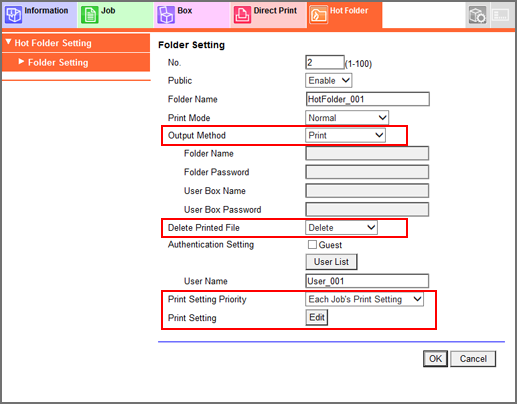
Set each item, and click [OK].
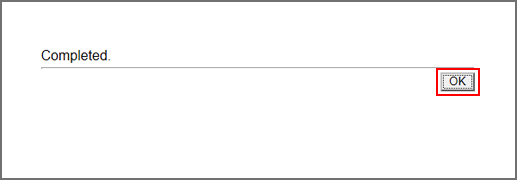
Click [OK] on the setting complete screen.
When the registration fails, retry from Step 3 and change the folder number without overlaps.
Click [To Login Screen] on the upper right of the screen, then click [OK].
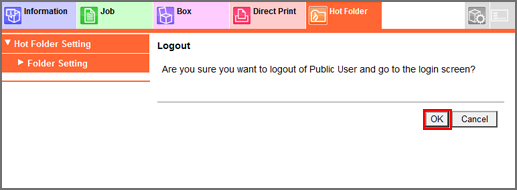
This returns to the login screen of Web Connection.
Operate Accessing Web Connection to open the administrator mode page of Web Connection.
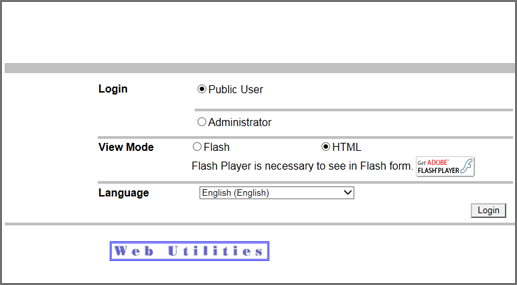

To enter the administrator mode, you need to enter the administrator password. For details about the default administrator password, refer to the Quick Guide.
If you cannot log in with the default password, contact the administrator.
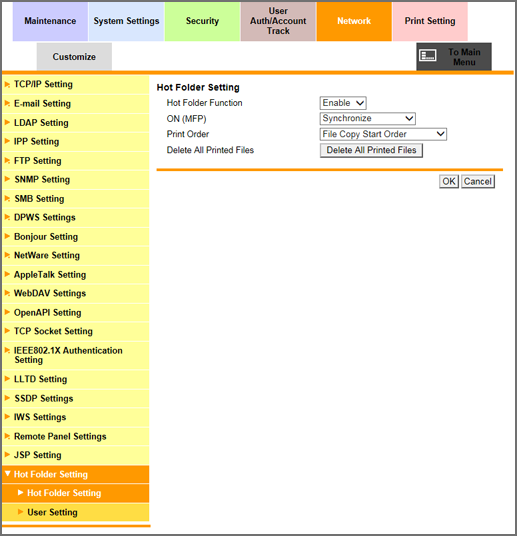
Click [Network] tab - [Hot Folder Setting] - [Hot Folder Setting] in sequence.
The [Hot Folder Setting] screen is displayed.
Select the following items, then click [OK].
Item
Setting
[Hot Folder Function]
[Enable]
[ON(MFP)]
[Synchronize]
It can be specified when [ON (MFP)] is selected for [User Authentication] in [User Auth./Account Track]. When [Not Synchronize] is selected for [Synchronize User Authentication & Account Track], however, [ON (MFP)] of Hot Folder Setting cannot be specified. For details about the authentication method, refer to User Auth./Account Track: Setting the User Authentication/Account Track Function.
Click [OK] on the setting complete screen.
The target hot folder is then configured.