
Installing the printer driver
Start the Macintosh computer.
Insert the Driver CD-ROM into the CD-ROM drive.
Exit all running applications, if any.
Open the folder in the CD-ROM that contains the desired printer driver.
Select a folder according to the printer driver, operating system, and language to be used.

For Mac OS X 10.7 or later, if nothing is displayed on the desktop when a CD-ROM is inserted, the mount setting may be disabled. Check with the "Preferences" of Finder if the mount setting is disabled.
Copy bizhub PRO 1100PS xx.pkg* on the desktop.
* "xx" indicates the version of the operating system.
Example: When "xx" is [10.6-10.11], versions from Mac OS X 10.6 to Mac OS X 10.11 are supported as the operating system.
Double-click the file copied onto the desktop.
The installer starts.
To cancel installation, click [Cancel].
Click [Continue] following the instructions on the windows that follow until the [Installation] window is displayed.
When the name and password prompt is displayed during the procedure, enter the administrator name and password.
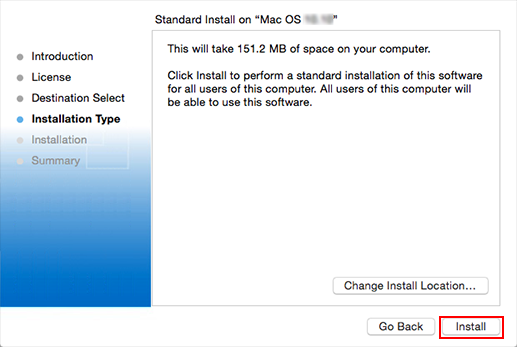
Click [Install] on the [Installation Type] window.
The printer driver is installed in the computer. When the installation is completed, a message is displayed.
Click [Close]
This completes the printer driver installation.
Next, select a printer. -> Adding a Printer by Selecting a Connection Method